I struggle with making bows all the time, and I tend to buy the premade ones.
She does a great job explaining thoroughly with up close instructions.
Ive never sat and watched a video because Im super impatient.
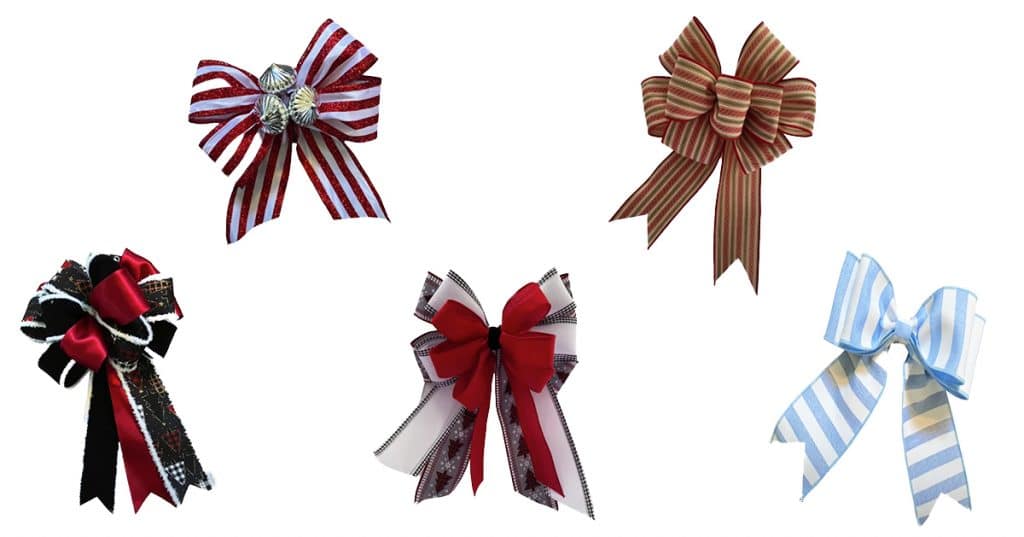
Image by Julie’s Wreath Boutique via YouTube
Im so happy that I came across this tutorial because all 5 of these bows are unique.
One of the strips will be for the tail, the loop, and the second loop.
Use hot-glue to glue the ends of the ribbon together for the loops.
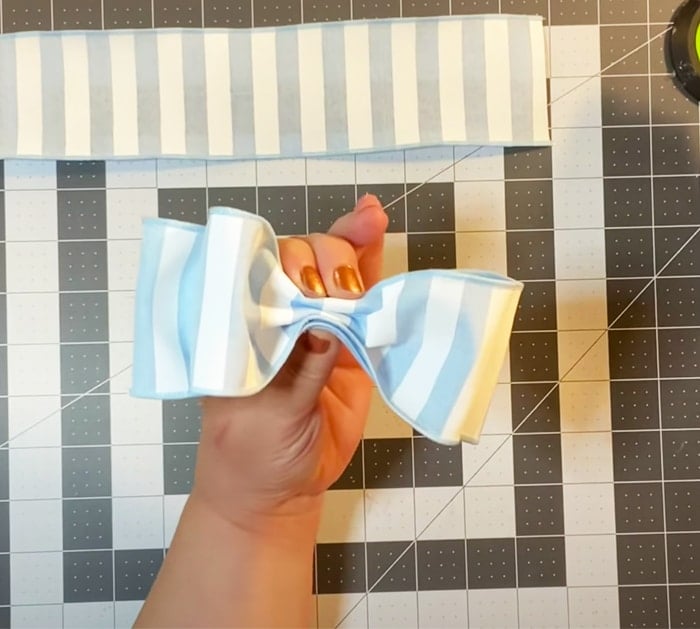
Lay the two loops on top of each other.
Then, start from the middle of the bow, and cinch the middle.
Put the last ribbon strip on the back of the bow, and secure with a pipe cleaner.
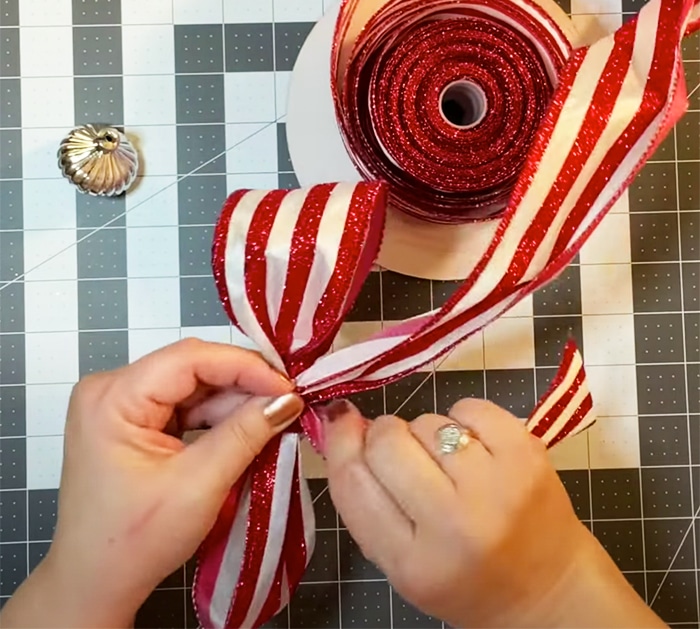
The Mary Casey Bow:
Take the ribbon and make one loop and gather it together.
you’re able to measure for exact loops, but continue to make loops and twist.
Continue to watchJulies Wreath Boutiqueon YouTube for full instructions and details.
The Zip Tie Bow:
This bow requires 3 different ribbons and zip ties.
Depending on how big you want your bow to be, measure how many inches and create a loop.
Make another loop with the same exact measurement that is perpendicular.
Continue until you have 4 total loops with 2 on each side.
Take a zip tie and attach it right in the center to secure them together.
Repeat the same process on the other two different ribbon designs, but bigger in length.
First, start with the tail and measure the size you want it to be.
This bow is all about looping.
Pro Bow The Hand Bow:
Pro bow the hand is a professional stacked bow maker.
Bow making essentially has the same technique throughout and making loops.
I need to improve my gift wrapping game, and I can after watching this tutorial.
