Looking for an easy and beginner-friendly pattern?
Heres a baby hourglass quilt block bymy sewing room.
Learn how to make it step-by-step with this tutorial.
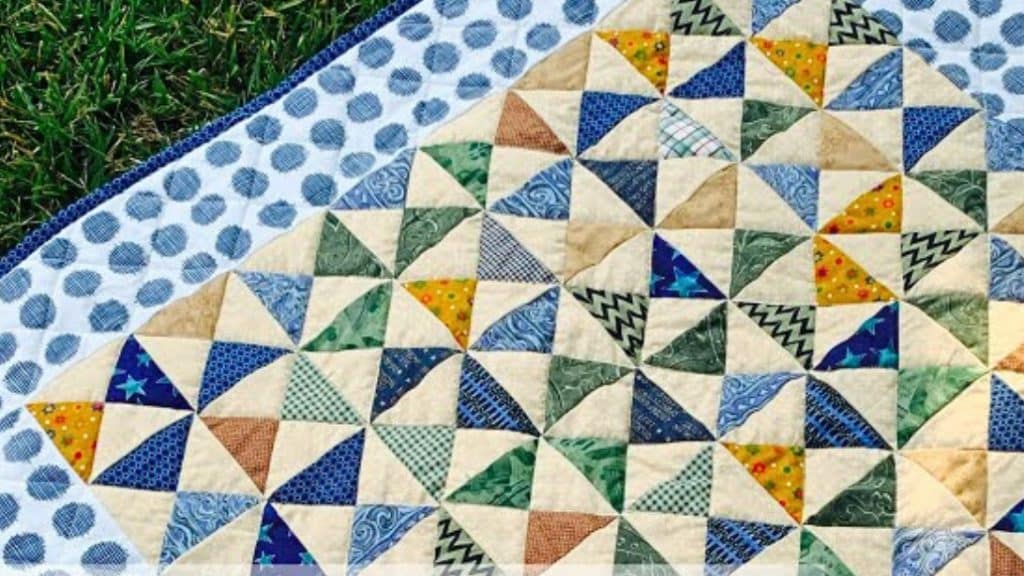
Image by my sewing room via Youtube
Place the background squares on top of the printed squares, right sides together.
Draw a diagonal line from corner to corner.
Sew 1/4 away from the line on both sides.
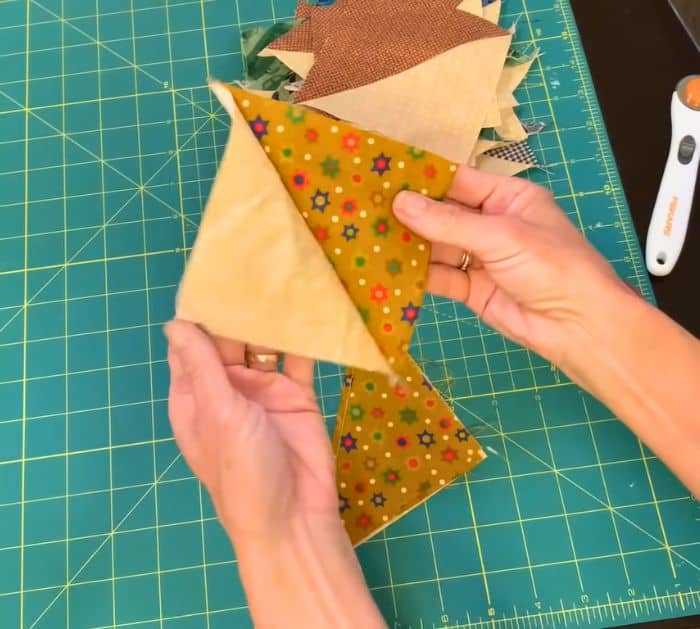
Once done, cut directly on the line.
Open them and press them flat.
Draw a line in the middle across the seam.
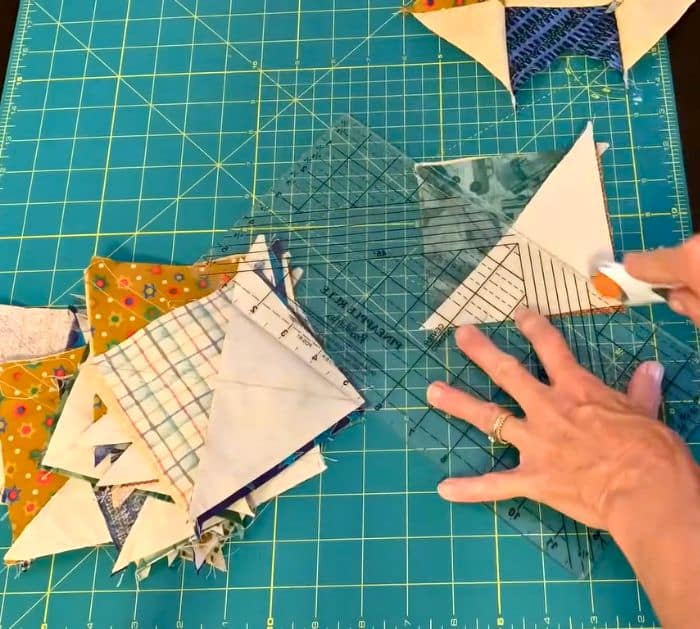
Sew 1/4 away from the drawn line on both sides.
Cut directly on the line, open them, and press them flat.
Trim them into 4 squares.
Step 3:
Arrange 8 rows of hourglass blocks.
Each row has 8 blocks that are arranged in alternating directions, then pin them.
see to it not to put the same fabrics together.
Sew them in rows first.
Once done, sew the rows together.
Step 4:
Sew 5 borders on each side.
Step 5:
Spray fabric adhesive to the batting, then place the quilt on top.
Press and smoothen it out.
On the back, spray again and smooth out the backing fabric on top.
Step 6:
Quilt in diagonal lines.
Start in a corner, and draw diagonal lines from the seam to the border.
Sew directly on the line and seams.
Trim the excess fabrics.
Step 7:
Sew the 2 1/2 strips together to make a long piece.
Roll the binding to the front and sew the binding.
