Sometimes, the simple patterns become the most amazing designs just by twisting them a little bit.
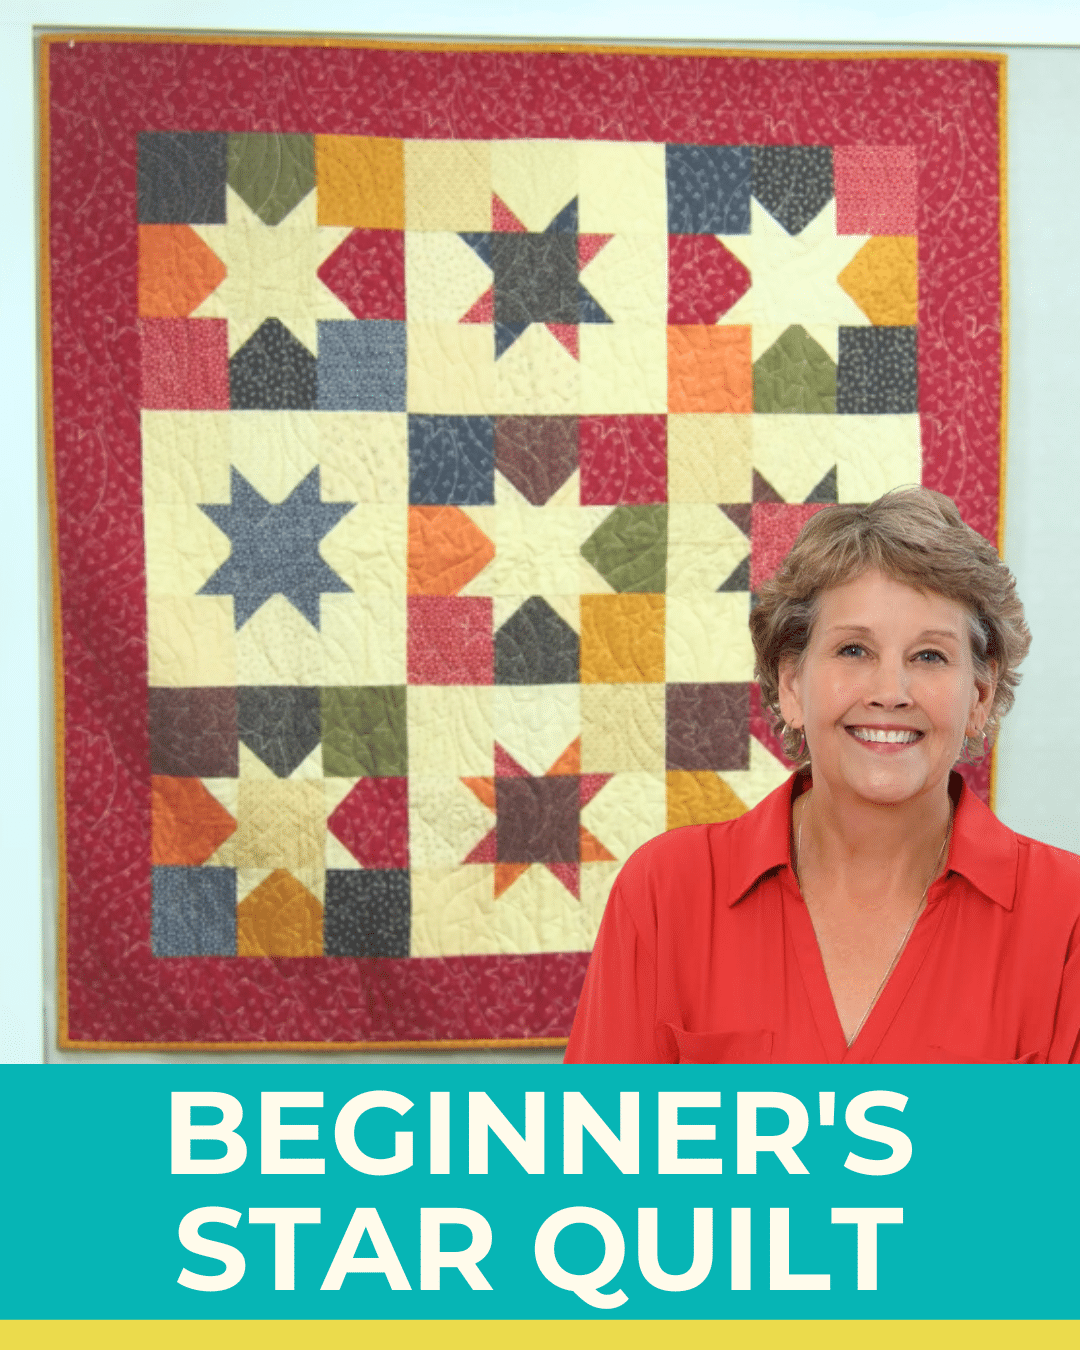
This beginners star quilt byMissouri Staris a testament to that statement.
I have seen this pattern a ton of times already and have never thought of making it this way.

Image by Missouri Star via YouTube
I am sure everyone will be amazed when they see the finished quilt!
It is also a great gift option for your friends and family.
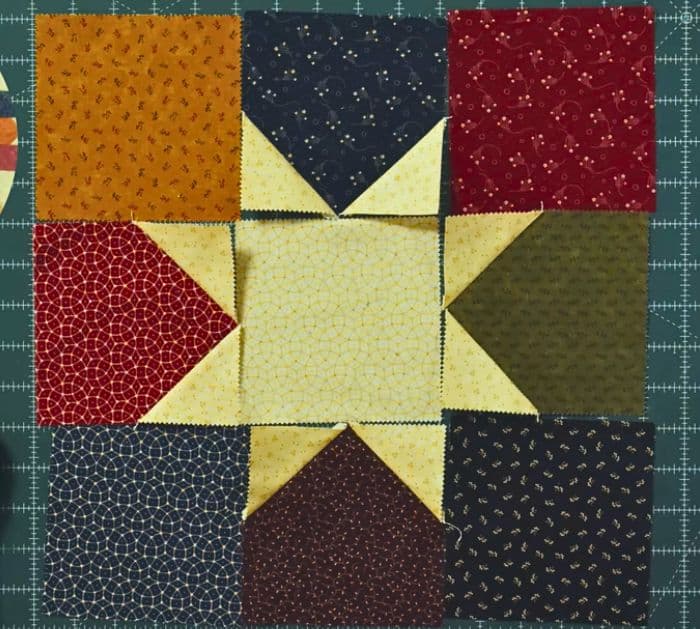
Arrange them in a 9 patch with the light square on the middle.
Press them in half diagonally to make a crease.
Step 3:
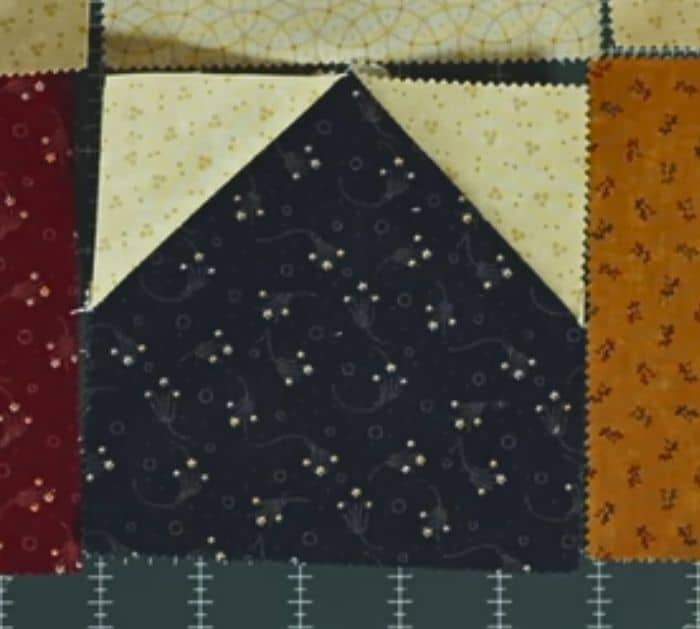
Get the middle squares on the 9 patch.
Take one and place the small square on one corner, right sides together.
Sew right on the line and trim excess.
Do the same on the other side.
Repeat for the other middle squares.
you’ve got the option to chain piece them to make the process faster.
Step 4:
Arrange the squares just like in the photo below.
Sew them in rows first.
Once done, sew the rows together to make the block.
You need 5 of this block.
For the other block, invert the colors.
Only use one color or matching colors for the middle square and star points.
You need 4 pieces of this second block.
