I am certain they will enjoy creating this small decor piece at home.
For this craft byNataliDoma DIY, you will only need simple materials like yarn and cardboard sleeves.
Its a great way to recycle them instead of throwing them in the trash.
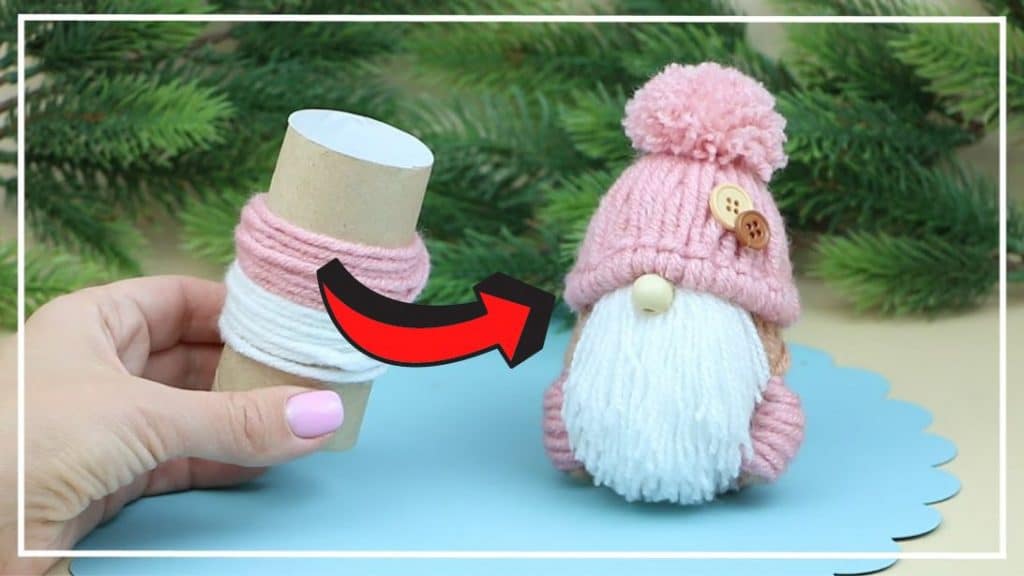
Image by NataliDoma DIY
Watch the video below for step-by-step instructions.
Once done, press the ends to make a cone shape, then glue them together.
Take one of the ends of the yarn and start wrapping it around the whole sleeve.
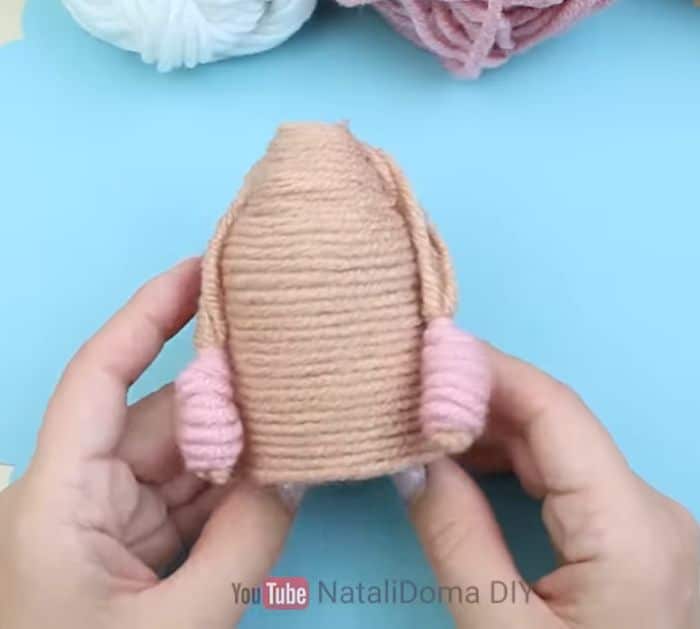
double-check to glue it so it stays in place.
Do the same on the other side.
Step 3:
Take the 3rd yarn and loop it several times on your four fingers.
Insert a small yarn and tie it to the loops.
Once done, cut the loops on the other end.
confirm that they are all the same length.
Comb the yarn to loosen each thread.
Trim it a little bit then glue it on the upper front part of the gnome.
Step 4:
Take the 2nd yarn and wrap it around the gnome two times.
With that length, make 4 loops then cut it.
Cut small pieces of yarn of the same length.
Do the same for the remaining pieces until the whole loop is covered.
Tie the ends together.
After that, take a small piece of yarn and tie it in the middle.
This will be the hat of the gnome.
Insert it and glue it on the sides.
Step 5:
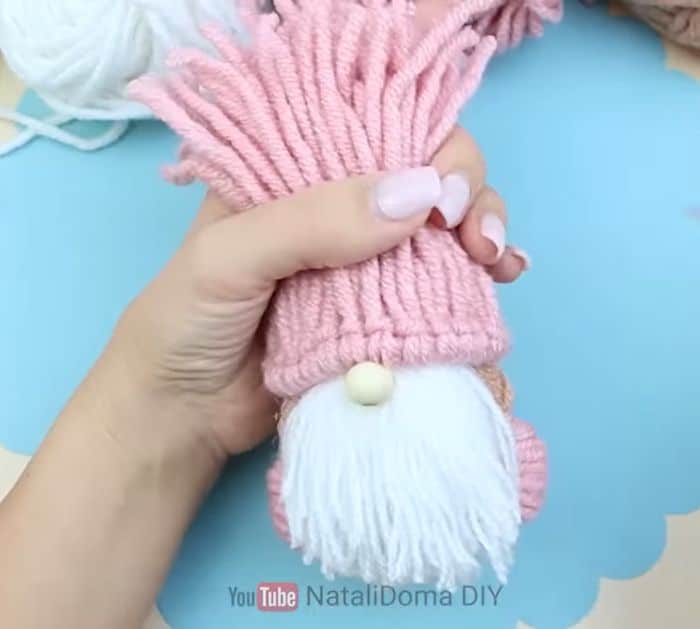
Glue the bead just below the hat in the middle.
Cut the ends of the hat, to make it small, then brush it with a comb.
Decorate the hat with buttons.
