If you have some lovely colored scraps from your past projects, dont throw them out yet.
Make them into this DIY chunky statement liberty braid bracelet instead.
I am sure they will love it!
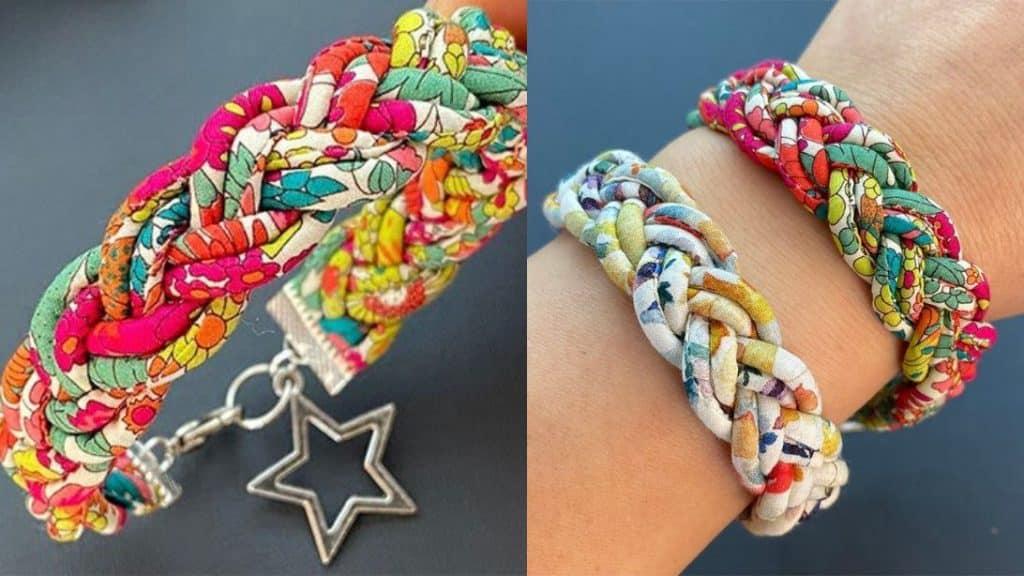
Image by Red Blossom Designs via Youtube
Learn how to make these through this tutorial byRed Blossoms Designson Youtube.
you might also watch the video below for full instructions.
Sew with a 0.2-inch seam allowance.
Cut the ends diagonally forming a triangle.
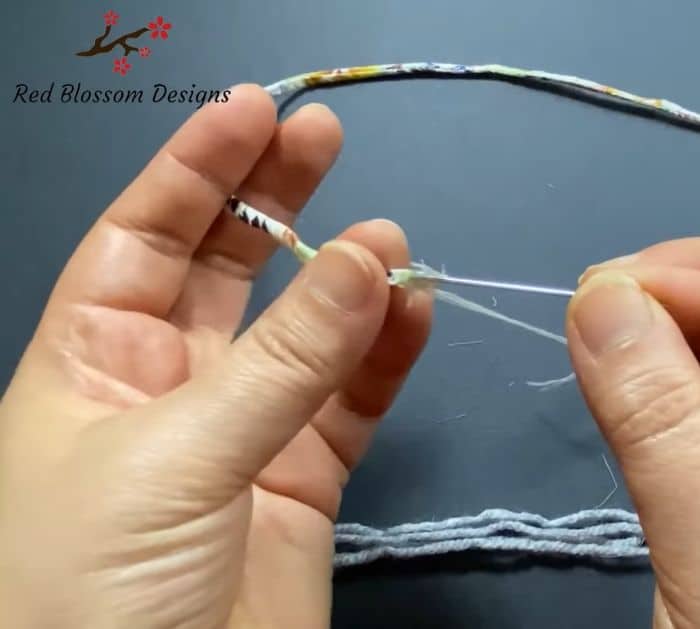
Once you reach the end, carefully pull the thread to flip the fabric right side out.
Step 2:
Get two long strands of yarn.
Tie the end of the thread on the needle to the middle of the strands.
Insert the needle into the tube again all the way to the other end.
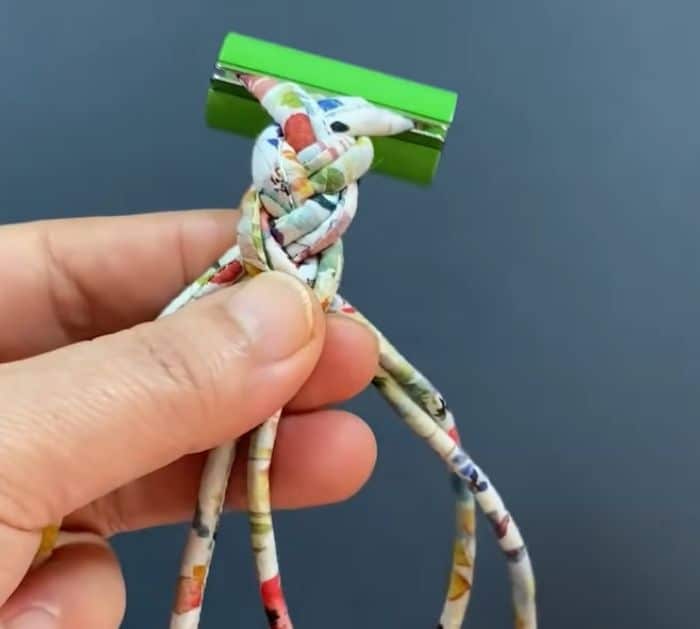
Step 3:
Repeat steps one and two for the other fabric strips.
Step 5:
Measure your wrist using a strip of paper.
Then trace the ends to your braided strips.
Hand-sew it on the drawn lines.
Once done, cut the excess.
Step 6:
Attach the ribbon clamps on the end using pliers, then attach the hook.
