Looking for a cute Halloween project to make with the kids?
Look no further than this DIY clay ghost!
I found this quick and easy Halloween decor idea onSonya Art 22s YouTube channel.
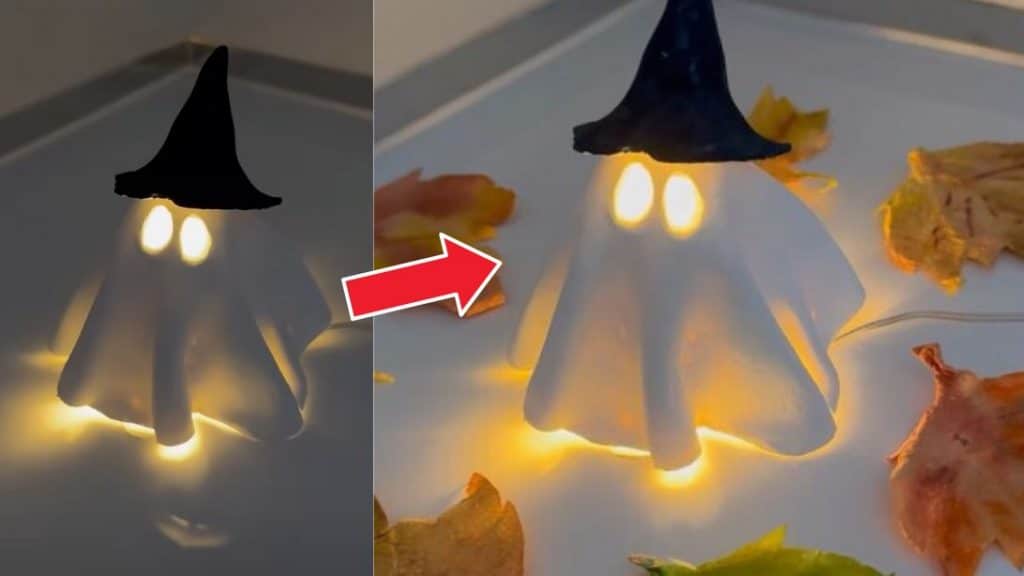
Image by Sonya Art 22 via YouTube
Its so adorable, especially when the light is on.
It looks like its floating because of the light passing through the bottom.
This clay ghost decor uses a pop in of clay that does not require firing.
you’re free to find air dry clay in most craft stores near you.
Be as creative as you want when you make this small Halloween project.
Place it on your working surface and roll it flat with a pen.
It should not be a perfect circle.
Step 2:
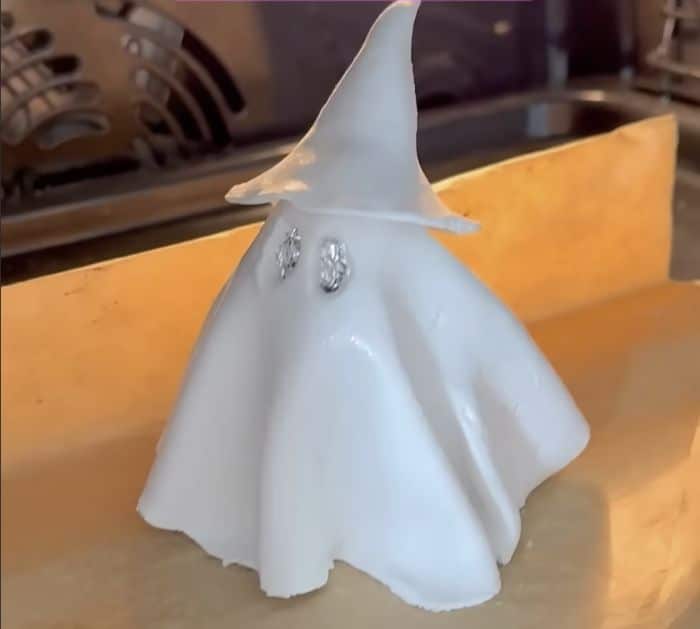
Take some aluminum foil and form it into a cone.
confirm the ghost can stand on its own, even without the foil.

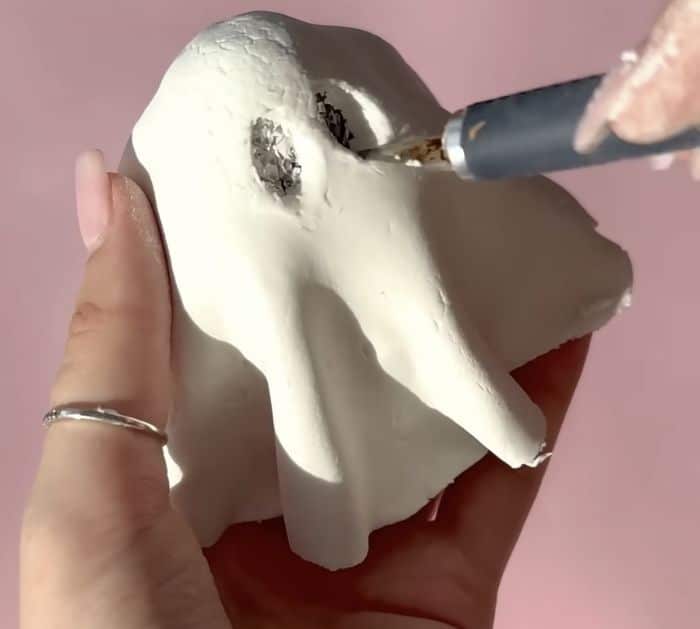
Using the stencil cutter, cut out the eyes of the ghost.
Place it on top of the ghost.
Let them dry for hours according to package instructions.
Step 5:
Once they are fully dry, remove the foil inside the ghost.
Using sandpaper, sand areas where it needs some polishing.
Remove the dust and clean before painting.
Step 6:
Paint the hat black and let it dry completely.
