Arent these the most adorable table decor you have ever seen?
Pretty sure all of your friends would love to have one!
Learn how to make these DIY cute berry dolls with this tutorial byMoth Art.
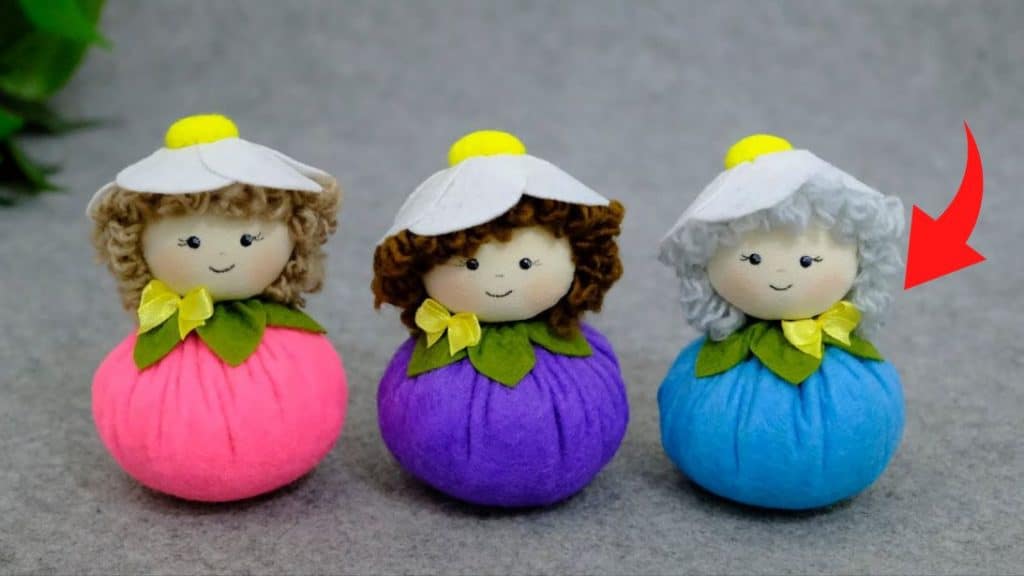
Image by Moth Art via Youtube
Stitch all around the edges, then pull.
Fill the inside with fiberfill, then close it by making knots.
Fill with more fiber if needed.
Step 2
Cut a 5.9 by 1 rectangular green felt.
Fold it 4 times, then cut a V on both folded sides.
Do not cut all the way through to make connected leaves.
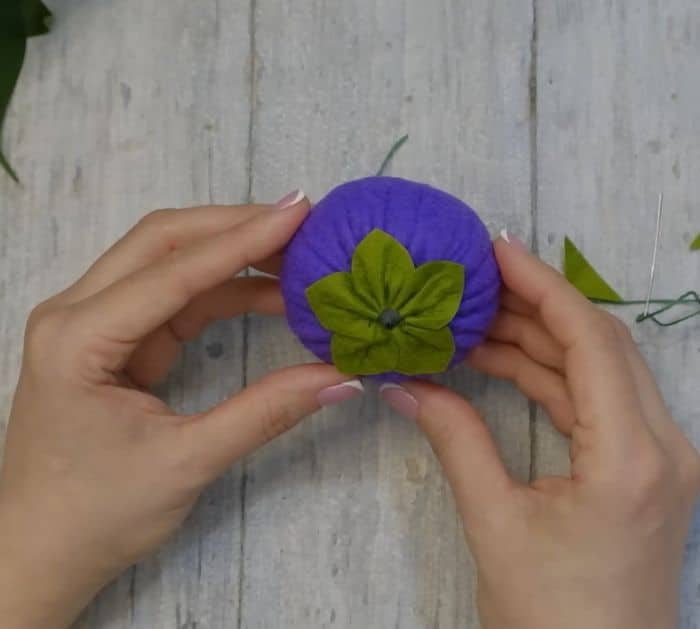
Glue it on the top of the felt ball.
This will be the body of the doll.
Fold one of the squares in half, then cut it into a round leaf.
Repeat with the other squares.
Sew them together with each one overlapping the other.
Sew the first and last leaf together.
Stitch the circle and fill it with fiber.
Close it into a ball, then glue it on the bottom of the flower.
Step 5
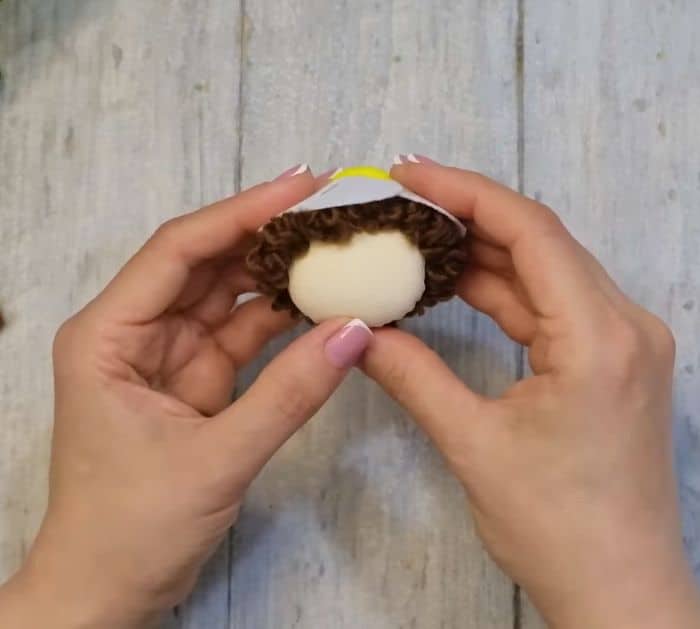
Get a 3.5-inch beige circle.
Stitch around, fill with fiber then close to make a ball.
Glue the flower on the ball.
This will be the head of the doll.
Step 6
Get a piece of yarn.
Get one and loop it around your two fingers, then tie it with another strand in the middle.
Repeat several times for the hair.
Glue each piece around the head.
Step 8
Glue the body to the head of the doll.
Make a bow with a ribbon and glue it to the neck of the doll.
