This will surely brighten up and give good energy to your space.
Its a very easy and fun project to do on a weekend.
Watch the video below for full instructions.

Image by Dots DIY via Youtube
Once done, tie it to secure it in place then cut the excess.
Step 2:
Fold the paper several times until it becomes a small square piece.
Wrap the woolen thread several times.
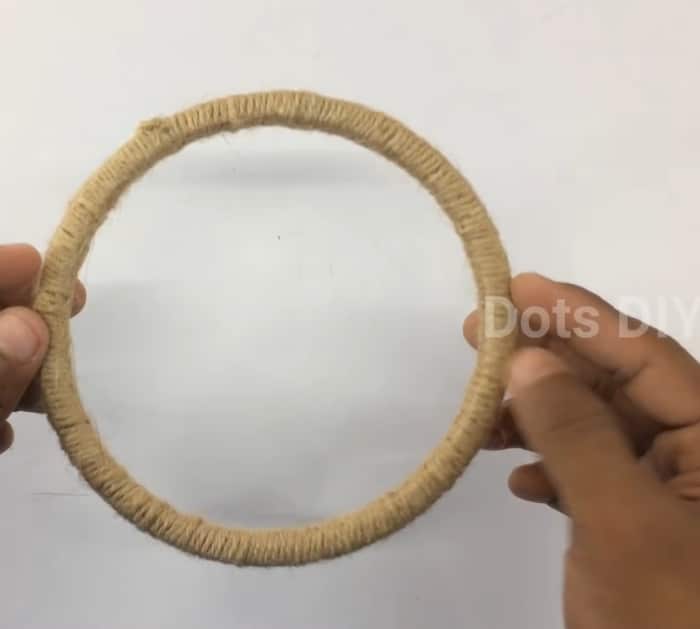
Once done, cut a small thread and tie it around the loops.
Remove it from the paper.
Step 3:
Get another small thread and tie it just below the top of the loop.
Step 4:
Cut the loops on the other end.
Now it will look like a tassel.
Repeat it 3 more times for a total of 4 tassels.
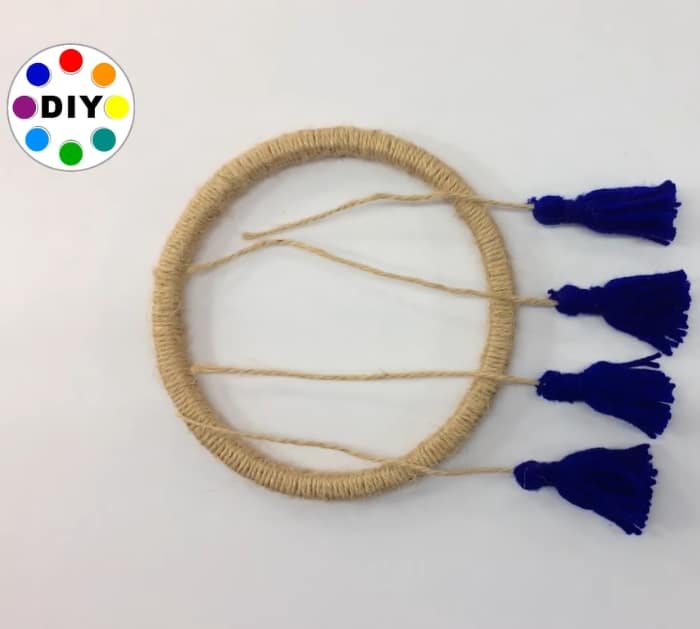
You need four tassels for every color.
The length of the cord for each set will vary short, medium, and long.
Tie the cord of each tassel in the ring.
verify that they are equally spaced.
Repeat with the other colors tie them to the exact place as the first layer of tassels.
Since the cord of each one differs, there will be three layers.
Trim off excess jute.
