This small project is so adorable it even has a tail made from a pompom!
I cant wait for the kids to see this bag that I made.
Im sure they will love it.
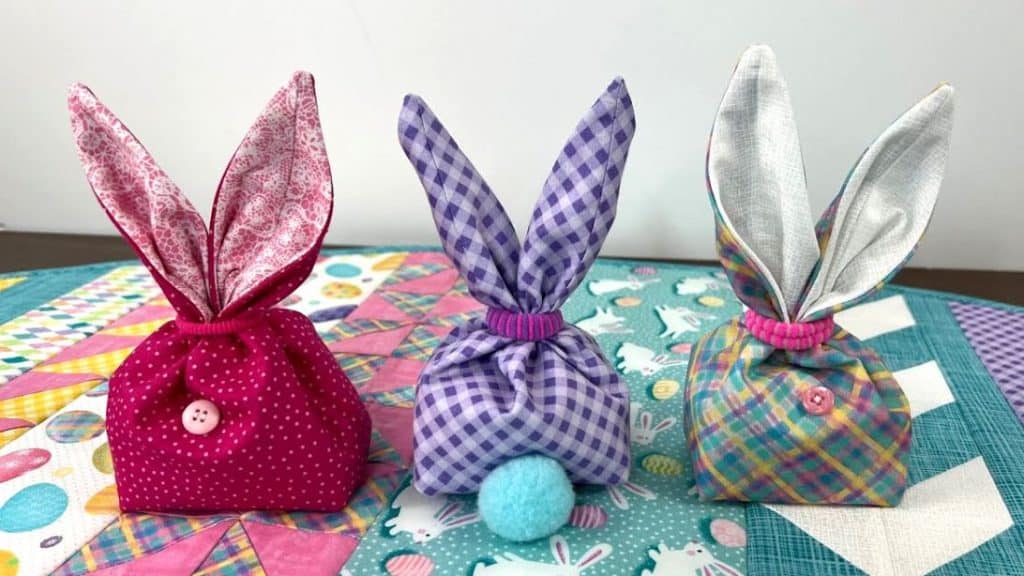
Image by The Quilted Forest via Youtube
Next, cut from the dot to a quarter of an inch away from the side of the piece.
Do it on all of the corners.
Sew a quarter of an inch away from the two sides.
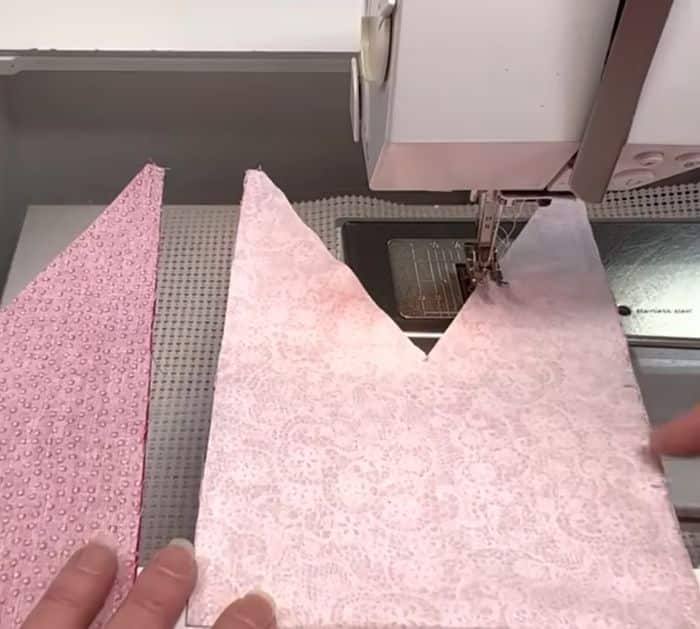
On the lining piece, mark a 2-inch opening on one of the sides.
Sew the sides except for the opening.
Step 3:
Pull the sides apart and match up the side seams to each other.
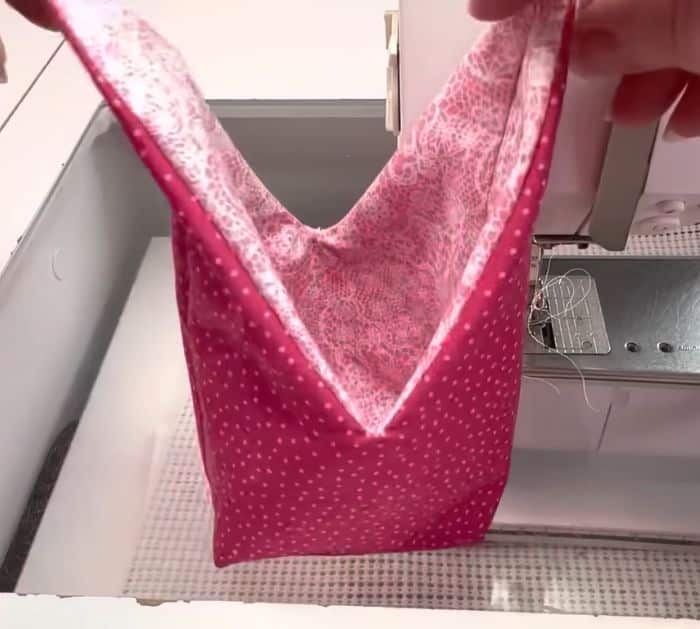
Make the bottom into a square.
Sew a line on each side across it will be an inch away from the point.
Do it for the outer and lining pieces.
Trim the seam allowances down to a quarter inch.
Step 4:
Finger press the seam allowances.
Line the sides together and pin.
Sew with a quarter of an inch away from the edge all away around.
Trim off excess fabric at the points of the ears.
Sew the opening, then tuck that lining into the inside.
ensure not to add too much.
