Imagine transforming a simple embroidery hoop into a stunning clock that complements your homes aesthetic.
Learn how to make one by simply watching the video tutorial below for the easy to follow instructions.
Pull the fabric to tighten it, then cut the excess.
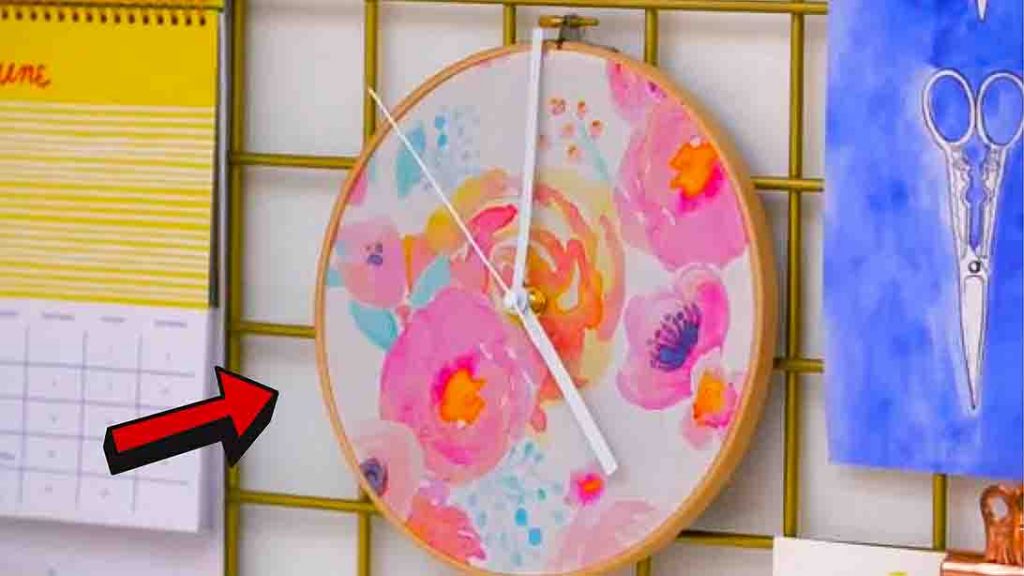
Image credits: HGTV Handmade via YouTube
Step 2
Next, flip the hoop over and place the cardboard at the back.
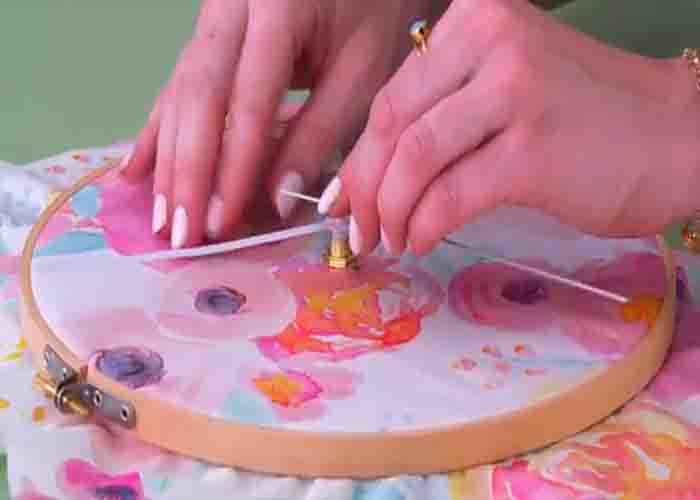
Now, flip it over again, then find and mark the center point using a ruler.
Punch a hole, then place the battery-powered clock kit.

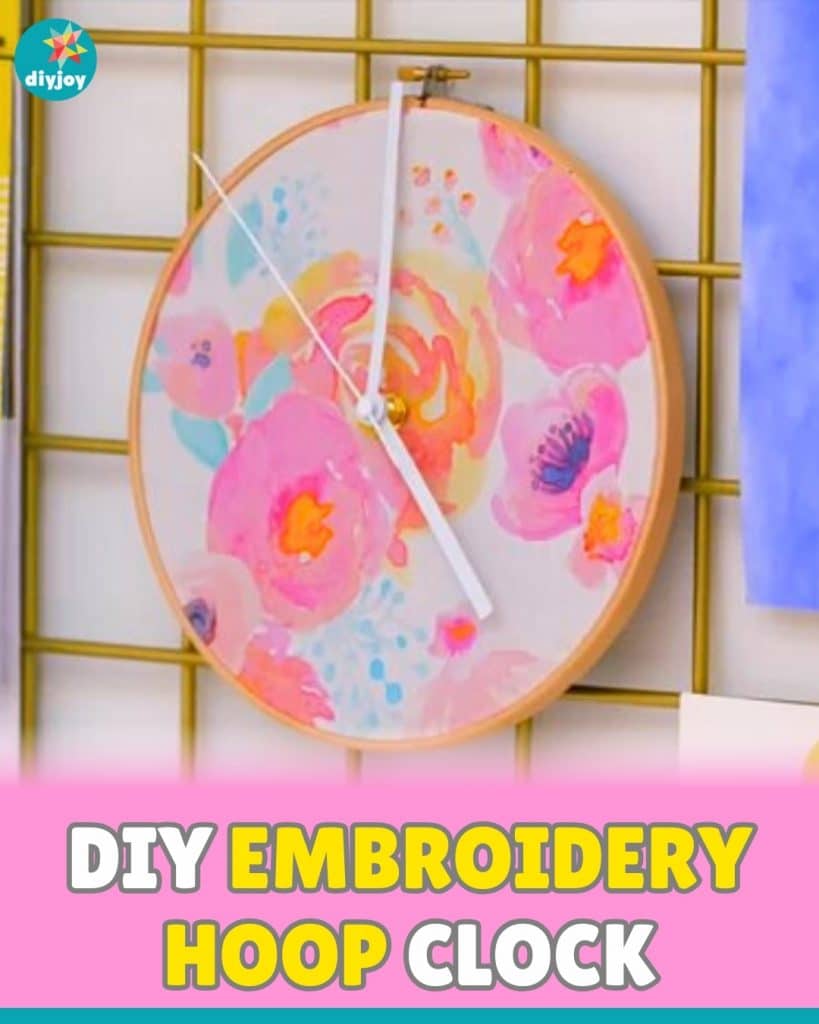
Your DIY clock is now finished.
Place it anywhere you like!
DIY Embroidery Hoop Clock