Running out of ideas for your fabric scraps?
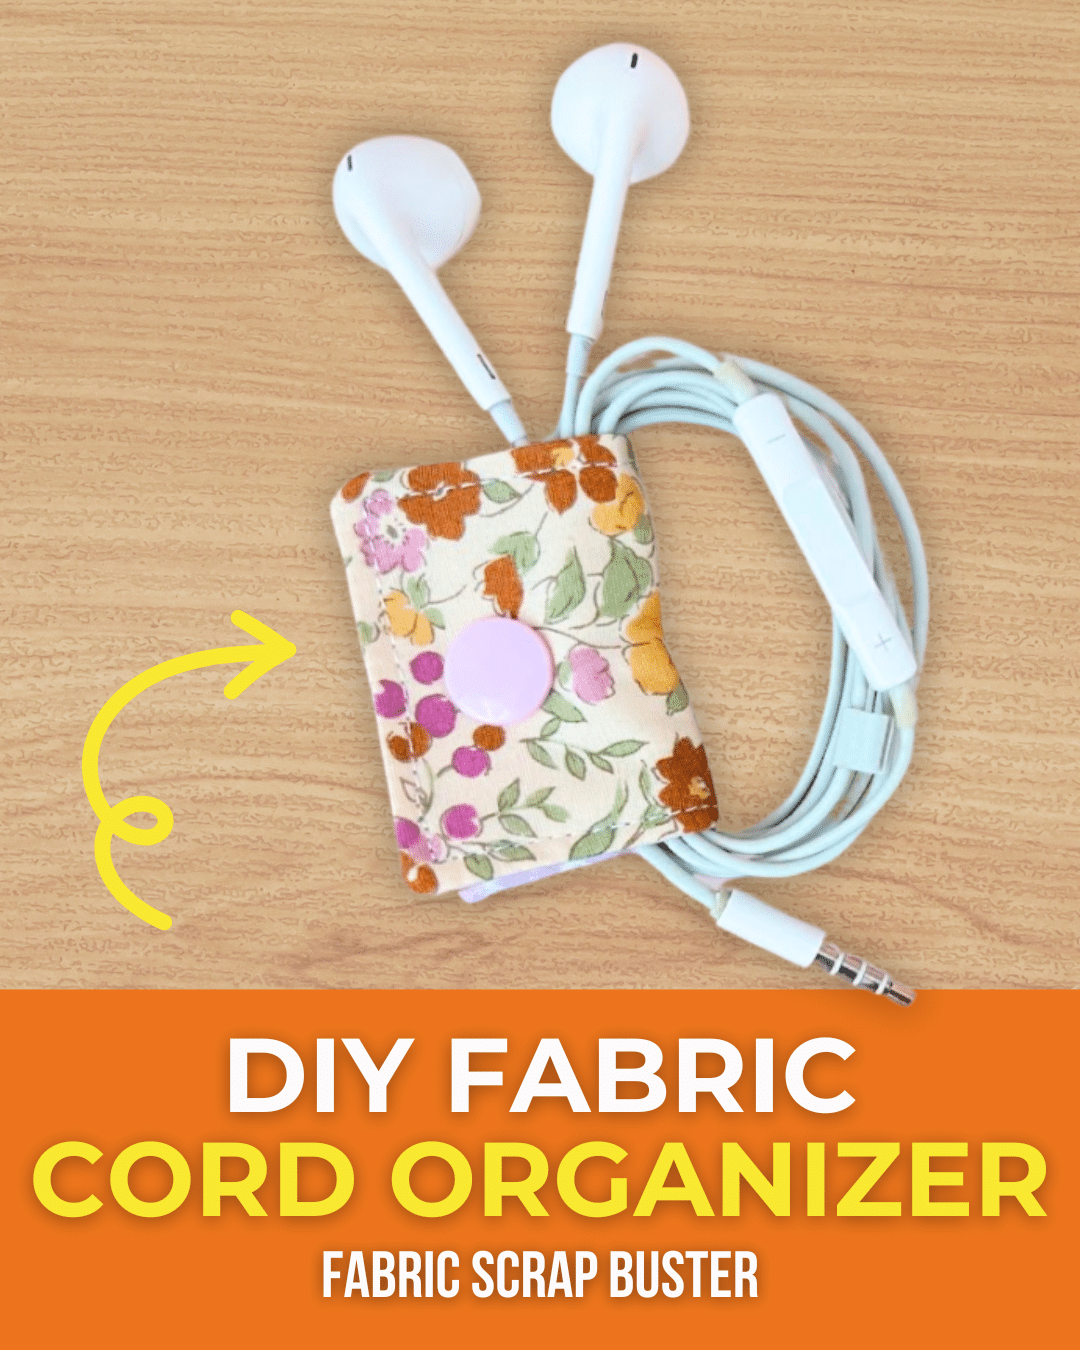
Turn them into DIY fabric cord organizers!
Its also the perfect make-ahead stocking stuffer!
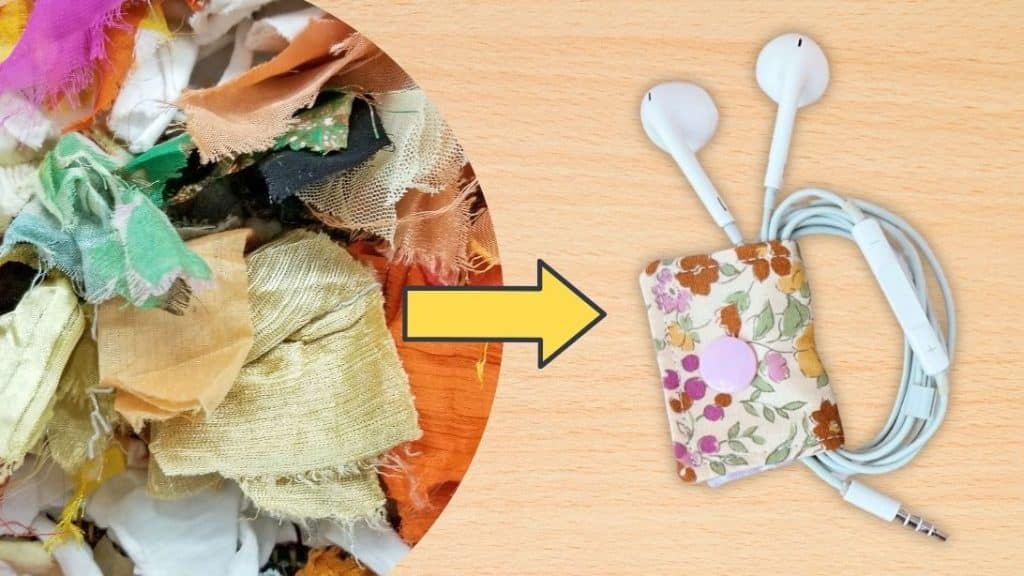
Image by Stacey Lee Creative via YouTube
Making this small sewing project is so easy and fun.
you might create one in less than 10 minutes.
How fast is that?
If you are tired of dealing with tangled cords, use these cord organizers.
They will keep you from getting stressed!
Use them to organize your earphones, headphones, chargers, and cords.
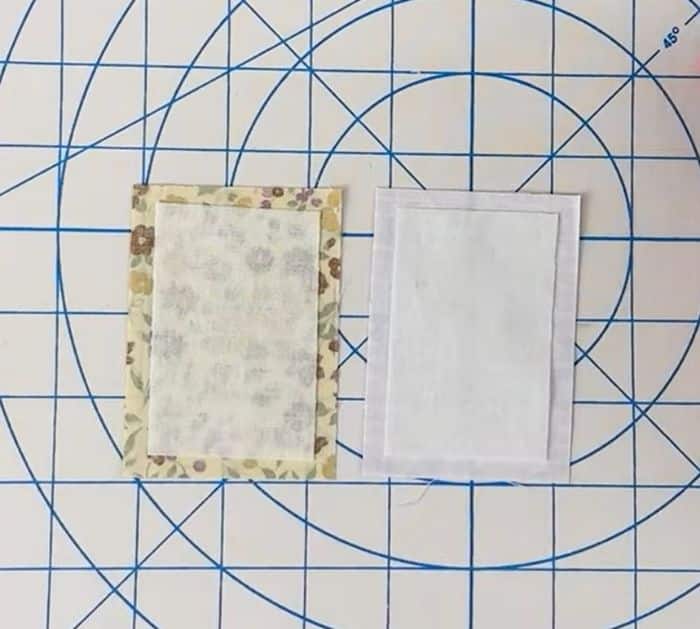
Take your interfacing pieces and place them on top of the quilting fabric bumpy side down.
see to it they are centered.
Press them in place with an iron.
Step 2:
Place the two pieces on top of each other right sides together.
Sew around the three sides with a 1/4 seam allowance, leaving an opening at the end.
Cut the corners to remove the bulk.
check that not to cut the stitches.
Step 3:
Flip it right side out.
Take your point-turner to fix the corners.
Step 4:
Come to the opening and fold them inside.
Press it flat, then top stitch all the way around to kill the opening.
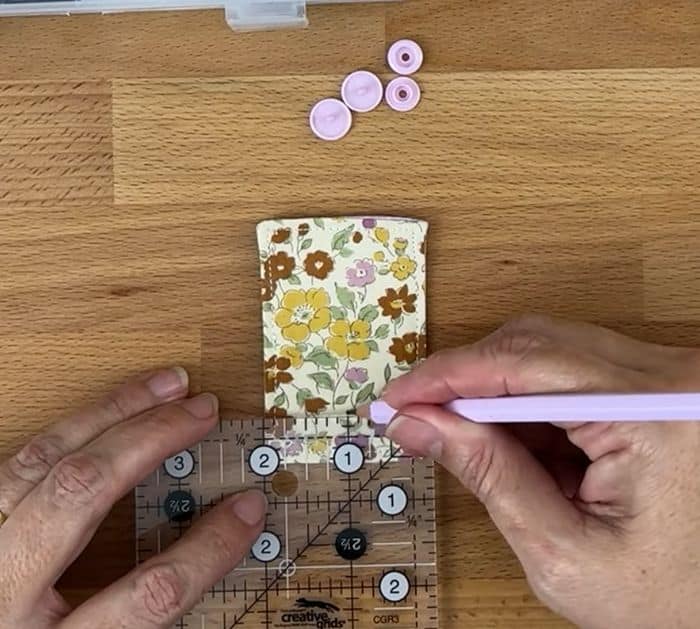
Step 6:
Fold the piece in half with the fabric that youd like to show.
Hold it firmly and poke a hole through all the layers.
Take one of the caps and pop it on top.
Take the bottom piece and place it on the other side.
Use your pliers to push it down.
Do the same to the other side.
