This is probably the cutest small project I have encountered, and its perfect for spring!
This DIY flower doll decor is an idea byMoth Arton Youtube.
I thought it was hard to make, but its actually easy!
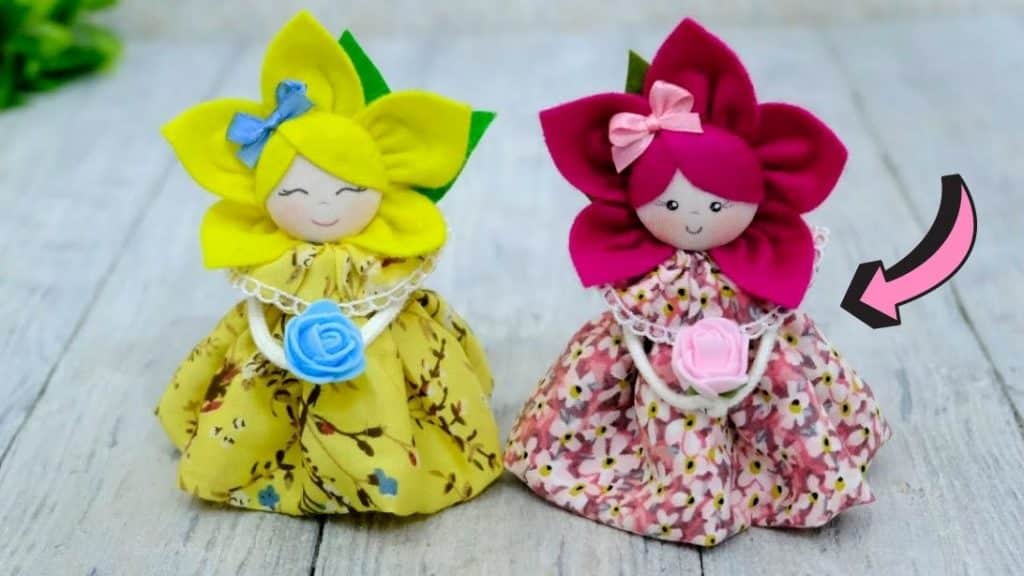
Image by Moth Art via Youtube
It just requires basic sewing, and you just need to glue the pieces together.
Watch the video below for full instructions.
Add glue to the end and start rolling it until the diameter is 1 inch.
Step 2:
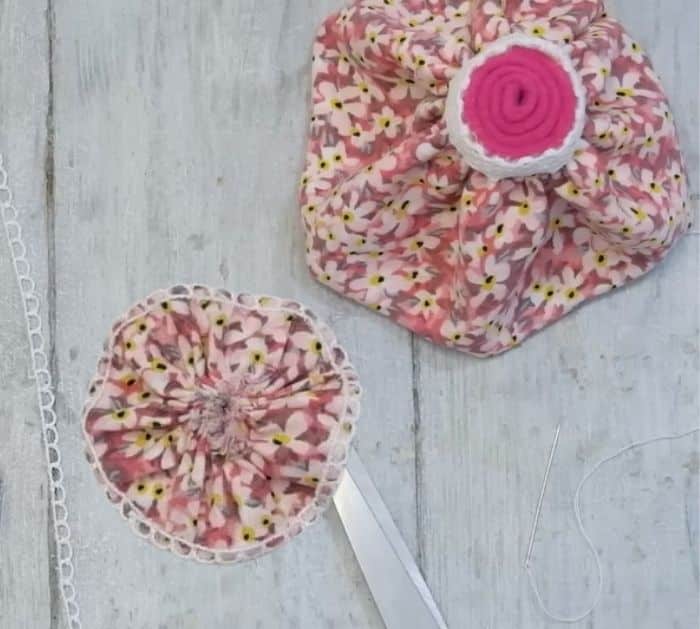
Cut a 12.6 by 5.12 cotton fabric.
Fold it in half right sides together, then glue the ends.
Fold the other half upward.
Baste stitch the edges, pull the thread, then place the rolled felt on the center.
ensure that the fabric fits perfectly.
Pull the thread more if needed, then make a knot to secure it in place.
Step 3:
Glue the lace around the top edge.
Pull the thread until it closes, then sew it in place.
Glue the lace around the edges.
Step 5:
Get the button and place some polyester wadding at the back.
Cover it with the fabric jersey.
Use a thread to tie it at the back.
Cut the excess fabric.
Step 6:
Get a 3.5 inches diameter circle of soft felt.
Now you have 4 pieces.
Cut another 1 for a total of 5.
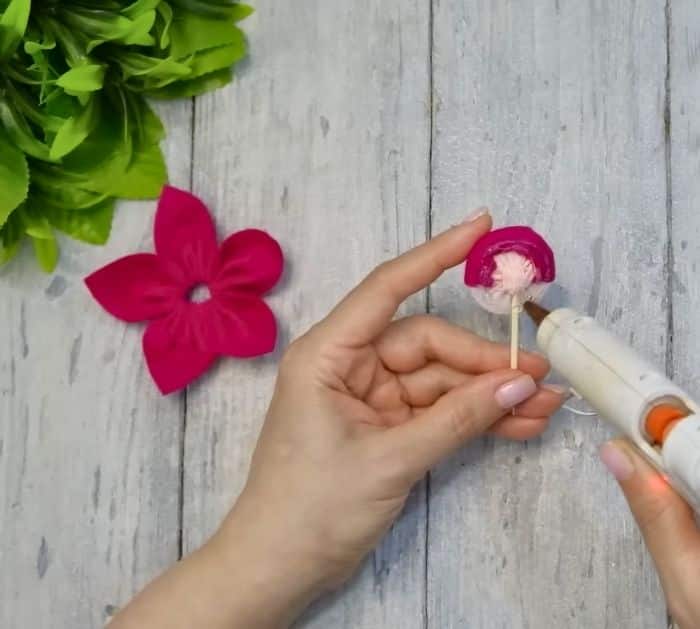
Step 7:
Sew the curved sides of the quarter circles together.
After that, sew the ends together to make a flower.
Next, glue a toothpick at the back, then the flower.
Step 9:
Get a 6.3 rope and make a knot in the middle.
Glue the ends to opposite sides of the body.
Step 10:
Insert the head into the cotton fabric, then glue it in place.
After that, glue the head to the body.
Glue them to the back of the head.
Step 12:
Draw 2 dots and a curve for the face.
