How adorable is this DIY hanging bird planter?
it’s possible for you to hang it on your porch, ceiling, or tree!
Watch the video below for full instructions.
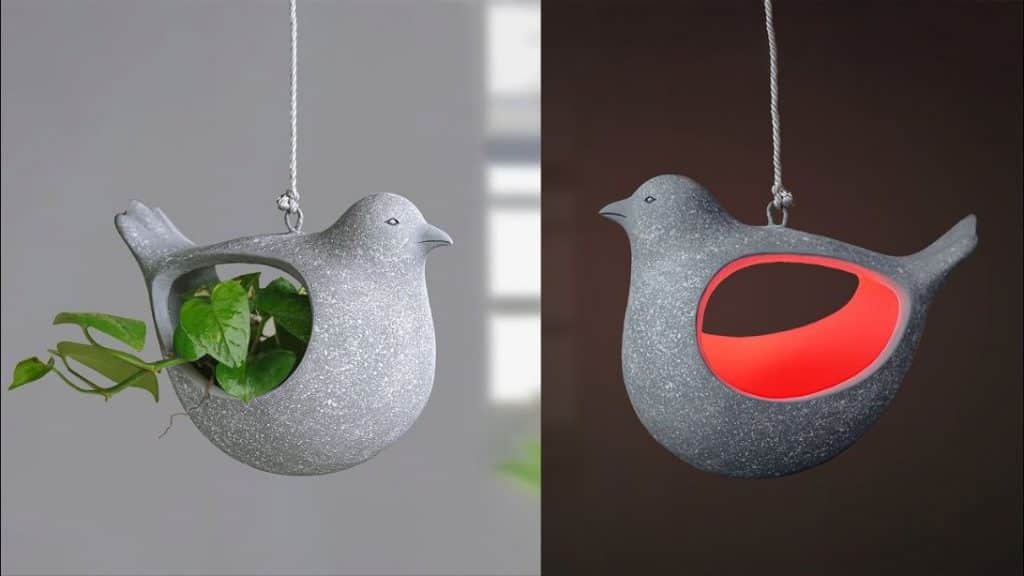
Image by Kuti Bari via Youtube
Get a small rectangle of cardboard and cut it in the middle halfway through.
Bend it so the middle overlap and make a pointed tip.
Glue it in place.
Trim off the sides and tape it on the top of the balloon.
Step 2:
Get two pieces of rectangles of the same size.
Cut the end into a bird tail shape.
Step 3:
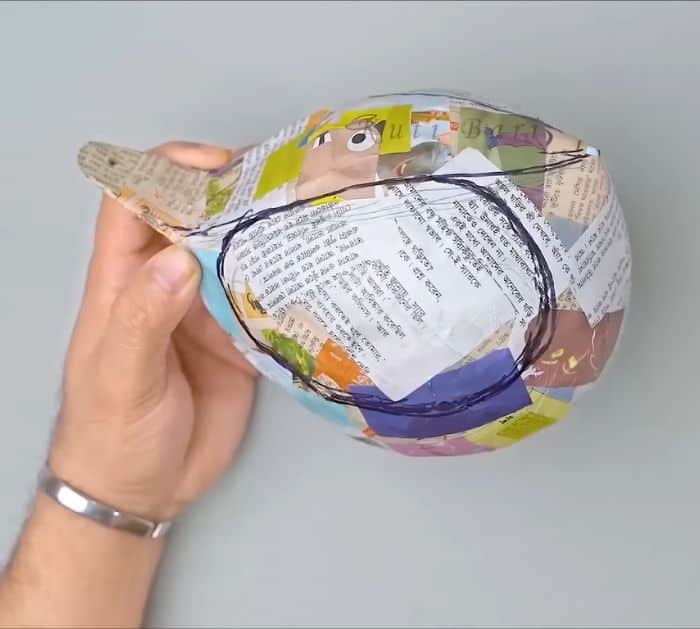
Glue the newspaper with the glue-water mixture all around.
check that its fully covered even the tail and beak.
Once done, let it dry completely.
Step 4:
Draw this on the bird and cut the circle.
Use it to trace the other side, then cut it.
Step 6:
Cover the whole bird with the cement mixture.
ensure to use gloves.
Do not forget to cover the wire, except for the hook part.
Once its fully covered, smoothen it out using your hands.
While its still wet, carve out the tail.
Get a big portion of the cement mixture and make the head and beak of the bird.
After that, brush it with the water and glue mixture.
Let it dry for about 12 hours.
Step 7:
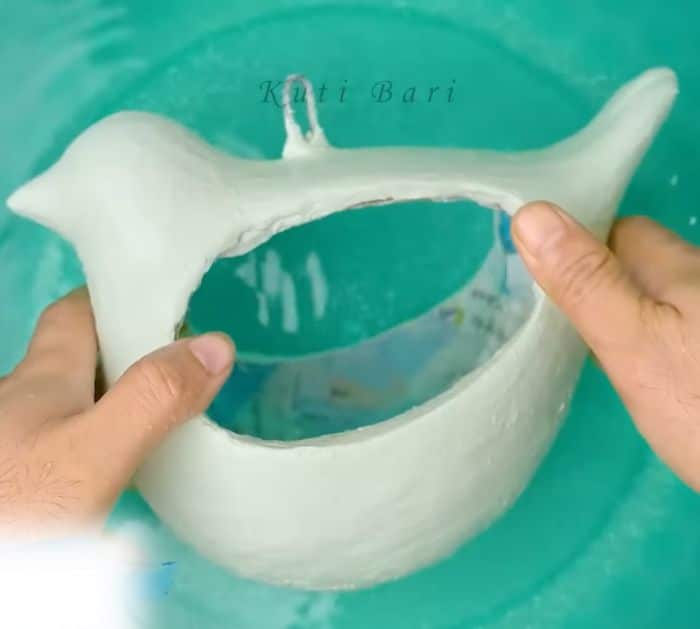
Rinse it with water then remove the balloon and paper on the inside.
Use sandpaper to smoothen the outside part.
Step 8:
Paint it with your desired color.
Step 9:
Tie the cord onto the hook, then place the LED light or plant.
