Have tons of used paper at home?
Repurpose them and make them into these adorable DIY mini wheelbarrow decor pieces.
Learn how to make them through this tutorial byBir Parca Kagt.
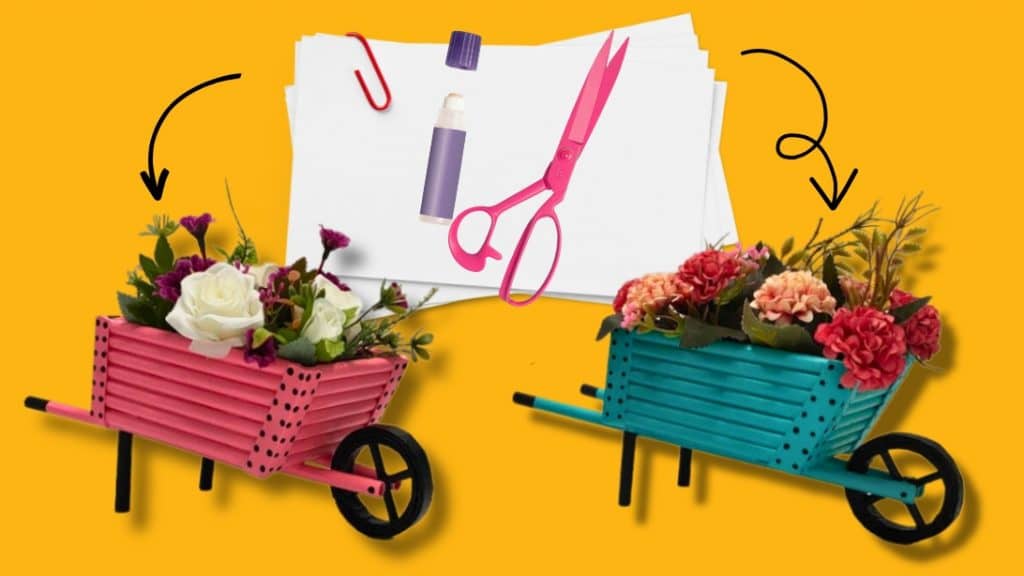
Image by Bir Parça Kağıt via Youtube
Get one and roll it on the stick.
Glue the ends using the glue stick.
Once done, flatten it.
Repeat three more times.
Glue it on the end.
Cut 2 pieces of 1.6-inch rolls.
Glue them on the inside of the ring in the form of a cross to make the wheel.
Step 4:
Get a whole piece of paper and roll it on the o.
Glue the ends to secure.
Step 5:
Glue 7 pieces of 5.12-inch rolls together.
Measure 0.8 inches from the bottom edge of the roll and mark it.
Place a ruler on the top edge on the same side then onto the mark.
Draw a diagonal line, then cut it out.
Repeat to make another one.
Step 6:
Glue 7 pieces of 3.54-inch rolls together.
Repeat with the remaining 7.
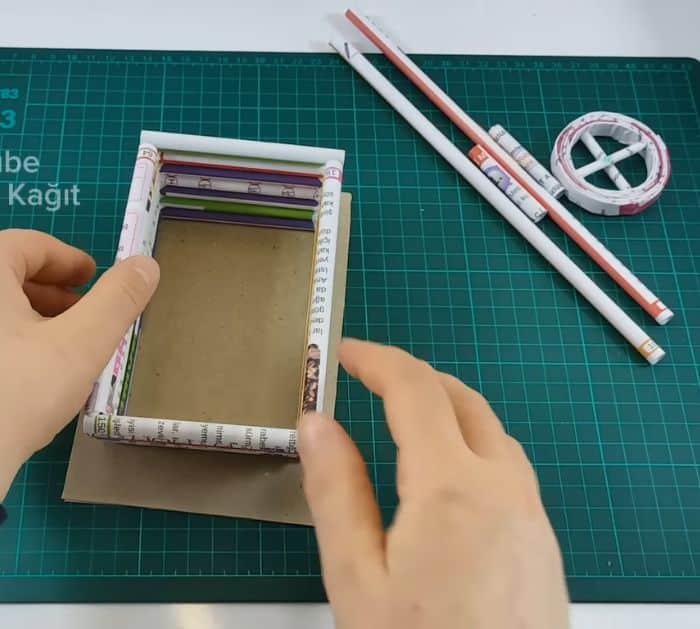
Step 7:
Glue the pieces from steps 7 and 8 to make the tray.
Next, cover the bottom with the pasteboard.
Open one of the folds and use it to cover the edges of the tray.
Step 9:
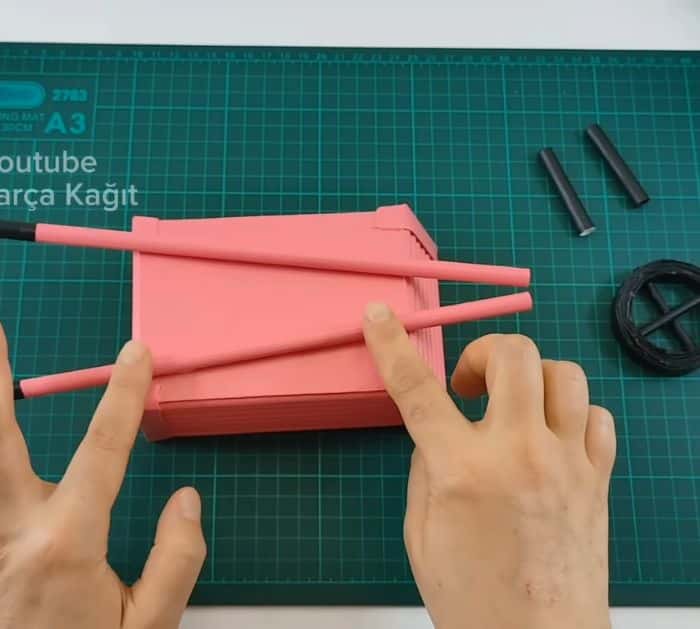
Paint the tray and other pieces.
Let them dry completely, then assemble and glue them.
Step 10:
Place the flowers inside the tray.
