Easter is coming; are your decors already up?
If youre still looking for DIY ideas, try making these easter chicks fromAmyFamily DIYon Youtube.
Its simple, fast, and easy, and did I mention that its a no-sew project?
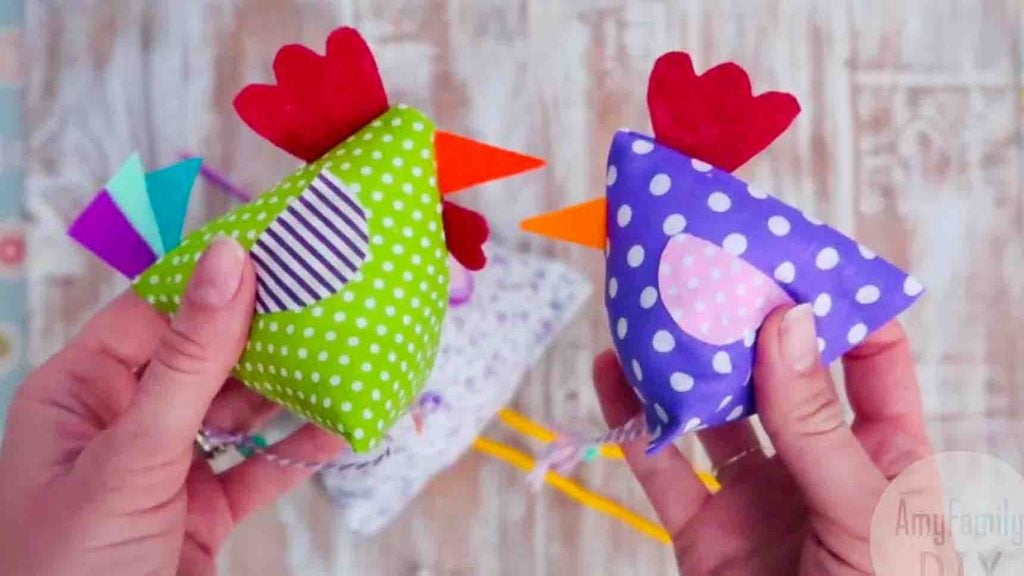
Image credits: AmyFamily DIY via Youtube
Youll definitely enjoy making these with your friends or family.
Watch the video below to learn the step-by-step instructions.
Cut a piece of felt into a crest shape and a little triangle for the beak.

Place these in the corner.
(See the picture below for the placement.)
Next, cut three stripes of felt of different colors for the tail and put them overlapping the other.

Now, fold your piece of cloth in half and mark the crease.
Open it again and place the tails on the upper center, pointy corners facing outside.
Attach them in place with hot glue.
Fold the cloth and press it quickly while the glue is still hot.
Apply hot glue again half a centimeter away from the edge on the side, then press quickly.
Turn the piece inside out.
[social_warfare]
Step 2
Now make the wings.
Put the corners of three felt sheets with different colors, and cut half a circle.
Then, cut each layer of the wing piece a little smaller than the other.
Attach all layers of the wing piece by gluing them.
Repeat this step to make the other half of the wings.
(See the picture below for the placement.)
