You dont need a lot of money for decorations this holiday season.
You only need simple materials and a bit of creativity, and youre ready to make beautiful decors.
Start with these DIY paper angels byCraftastic.

Image by Craftastic
They are so fun and easy to make!
it’s possible for you to even let kids join you on this project.
Watch the video below for full instructions.
Once done, open it up.
Step 2:
Do an accordion fold or zigzag fold following the creases already on the paper.
Leave a small space on the edge.
Draw the same on the other end.
Step 4:
Draw these patterns on the folded paper.
See the below photo.
There are 2 half-crescent shapes, then a half-circle, followed by 2 flipped half-crescent shapes.
These will be on the left and right.
Near the bottom draw a small triangle.
[social_warfare buttons=Facebook,Pinterest,Twitter,WhatsApp]
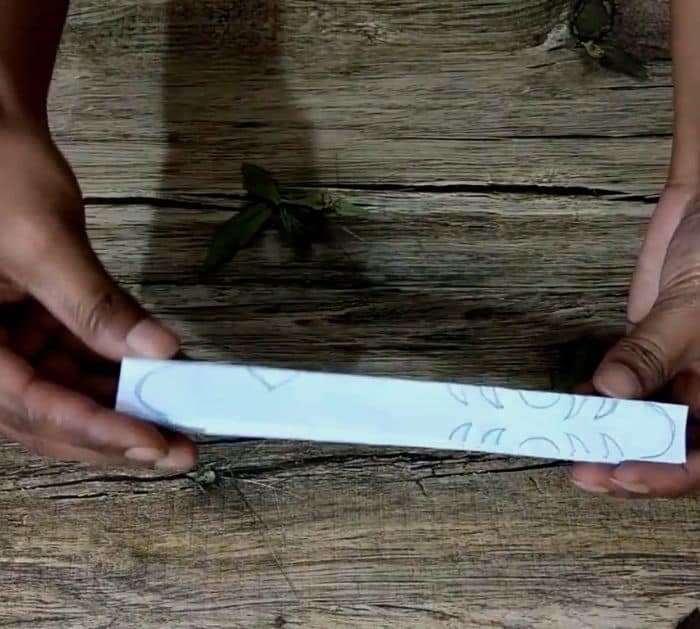
Step 5:
Cut the patterns.
check that to use sharp scissors and do it carefully.
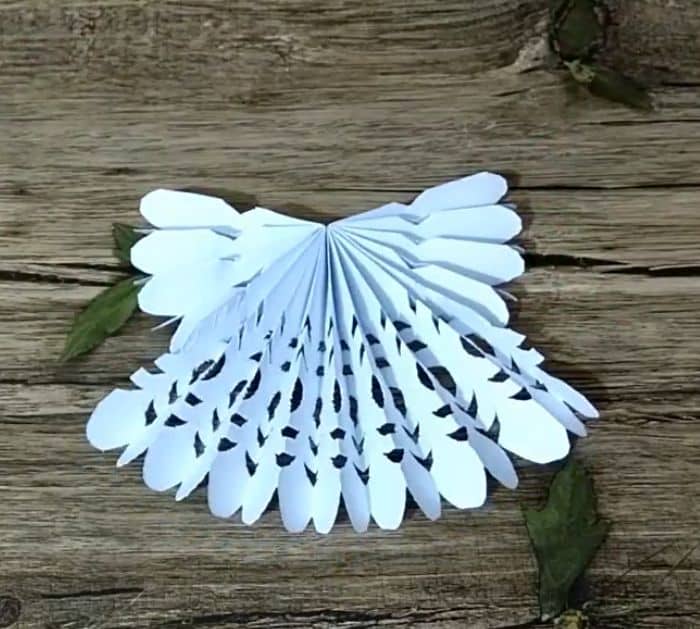
After that, it will be smaller, glue the bottom center together and the folded 1/3 parts.
Now you have the body of the angel.
Step 7:
Cut a strip measuring 8.3 inches by 0.6 inches.
On one end, roll it to make a small circle then glue it.
Next, make 2 bigger circles and glue them on the same sides as the first one.
Glue the head to the body.
Make more in different colors.
