However, it’s possible for you to make them yourself instead of getting them from the stores.
One of the projects that I would recommend is this DIY paper honeycomb ball ornament byGift Wrapping Love.
These ornaments are stunning and easy to make and they cost less than buying a dozen Christmas balls.
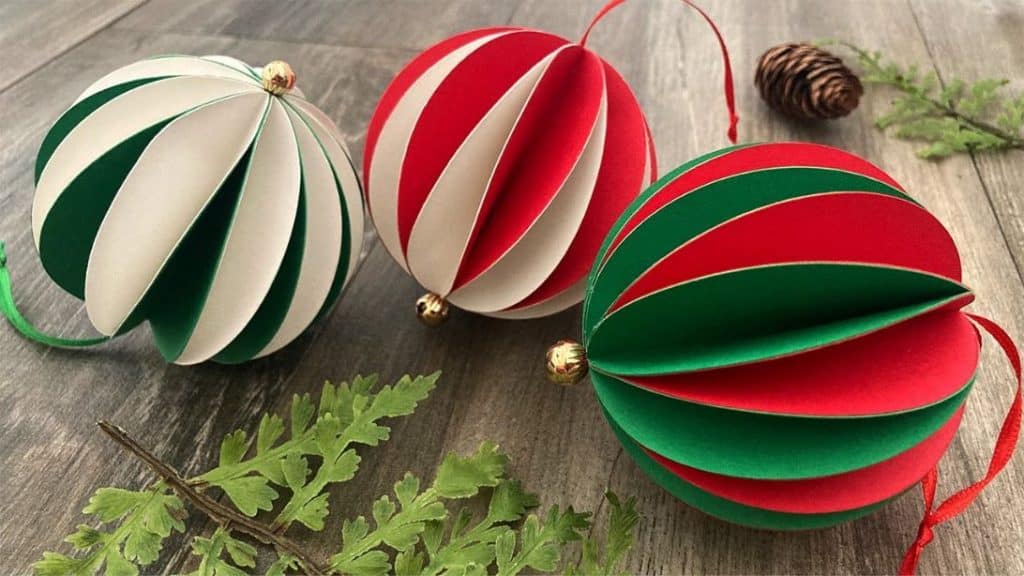
Image by Gift Wrapping Love via YouTube
To create this beautiful two-toned design, you will need two card stocks in different colors.
You will also need ribbons, beads, scissors, glue, and some clothespins.
The clothespins are used to keep them in place while they dry.
This is a nice project to spend time with your loved ones or friends.
Each person can make their own personalized ornament and hang it on the tree.
It will surely be a fun activity!
Fold your cardstock in half, open it then fold the edges toward the center.
On one folded edge, place the straight edge of the folded circle and trace the curve.
Repeat all the way down and on the other side.
You need 10 pieces red and 10 pieces green for a total of 20.
Repeat until you glue the 20 pieces together, alternating the colors.
Wipe the excess glue on the straight edge.
Step 3:
Separate the flaps and wipe away any excess glue.
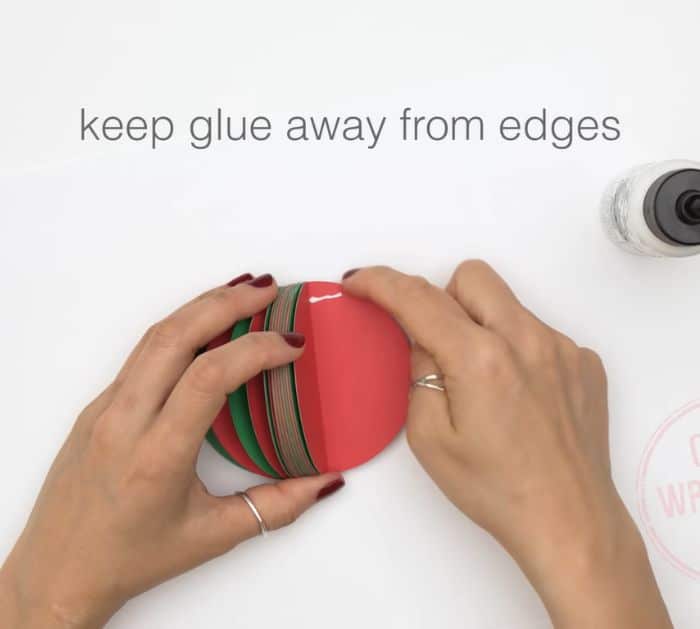
Step 4:
Add glue near the top and bottom, alternating for each flap.
verify to keep the glue away from the edges.
Once done, hold them together with a clothespin on both ends.
Let it sit for a couple of minutes, to let it dry.
Step 5:
Glue the ends together.
Use a small clothespin to keep it in place.
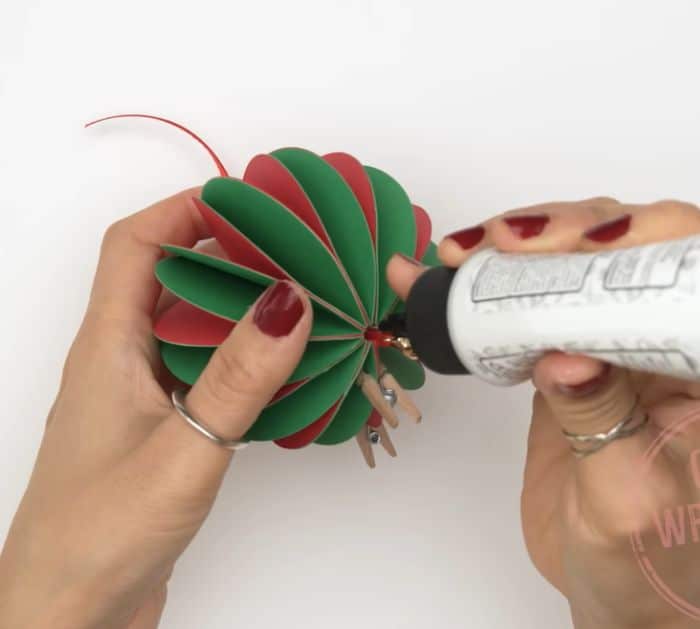
Step 6:
Insert the gold bead on the red ribbon.
Hold the ends together, then use it to measure the ornament so you know how long you need.
Glue the ends together, then insert them in the middle of the paper ornament.
Glue the bead on the bottom, then tie the ends of the ribbon together.
