Do you always have a water bottle everywhere you go?
If you do, this sewing project is perfect for you.
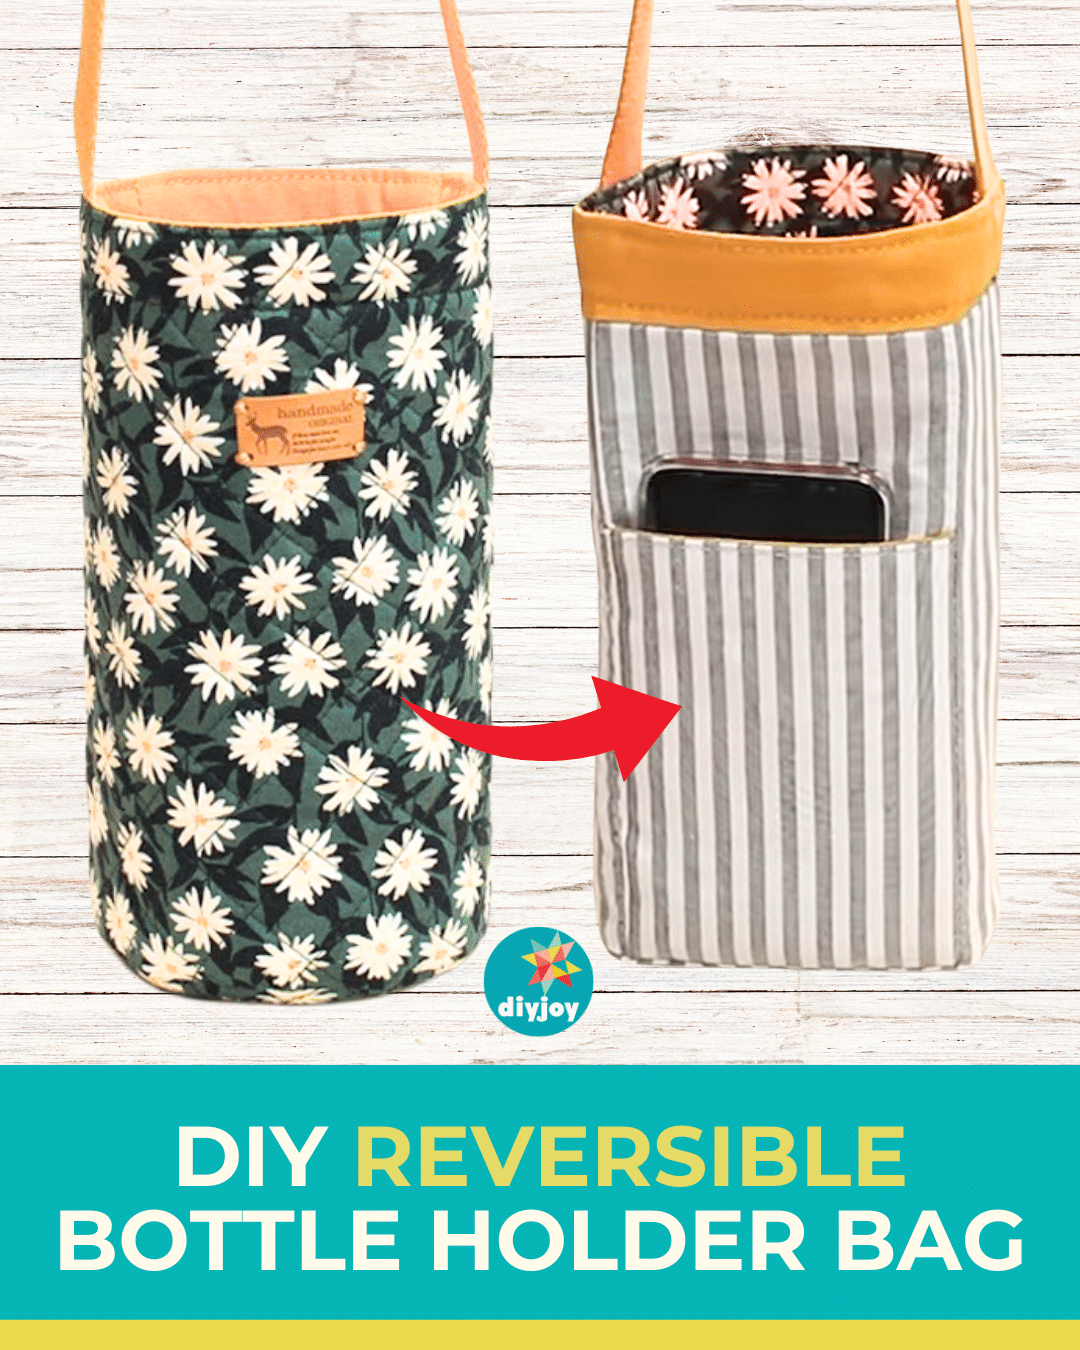
Learn how to make a DIY reversible bottle holder bag withsewingtimes tutorial.
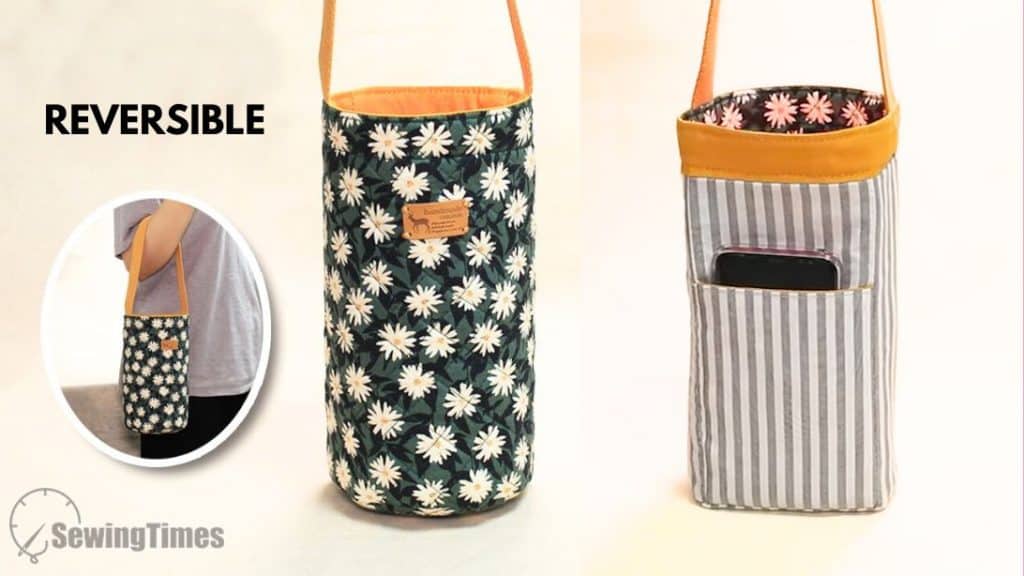
Image by sewingtimes via YouTube
This water bottle bag is reversible and both sides have pockets.
ThisDIY bagis not as hard as you think.
The instructions are very easy to follow.
Watch the video below for full instructions.
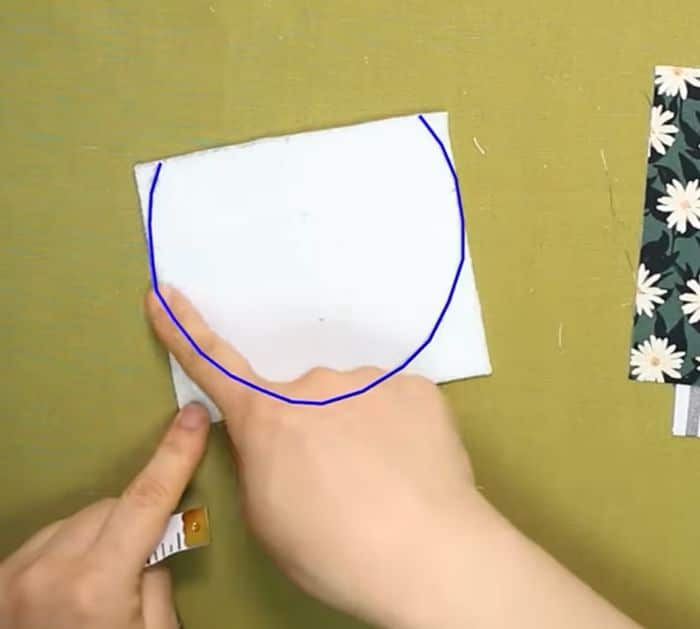
Mark the center on the top long side of O, then mark 2 away on both sides.
Measure 1 1/4 from the bottom center and mark.
Measure 2 on both sides and mark.
Connect the points in a curved line just like in the photo below.
Measure the curved line.
It should be 10 3/4.
Press with an iron.
Cut the excess fabrics leaving 1/4 seam allowance.
Sew C with fusible on a crisscross pattern.
These curved shapes will be the bottom piece.
Step 2:
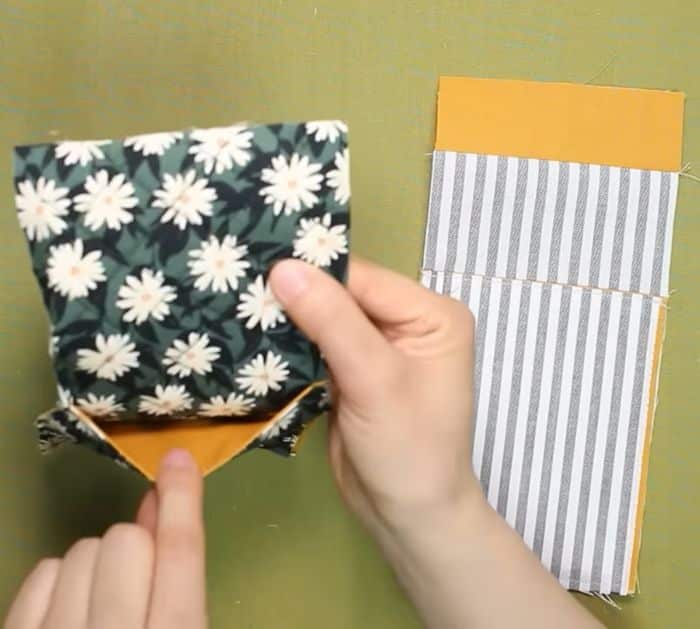
Get B and place N on the wrong side centered.
Next, get A and place M on the wrong side centered.
Press with an iron.
Flip them over and sew on a crisscross pattern.
Press with an iron.
Place them on top of the two G rectangles right sides together.
Sew them on the top edge of the fusible, then open and fold on the right side.
Top stitch on the folded edge.
Sew on the edge with a 1/4 seam allowance.
Lets call this unit A.
Do the same with the small piece from step 3 and the long piece from step 4.
Lets call this unit B. see to it they are the same fabrics.
Sew on the sides and bottom of the small pieces.
Next, sew the bottom piece C with a 1/4 seam allowance.
Flip it right side out.
Step 7:
Sew the ends of the strap on both sides.
Sew the bottom piece K with a 1/4 seam allowance.
Flip it right side out through the opening.
Step 10:
Top stitch the top edge.
