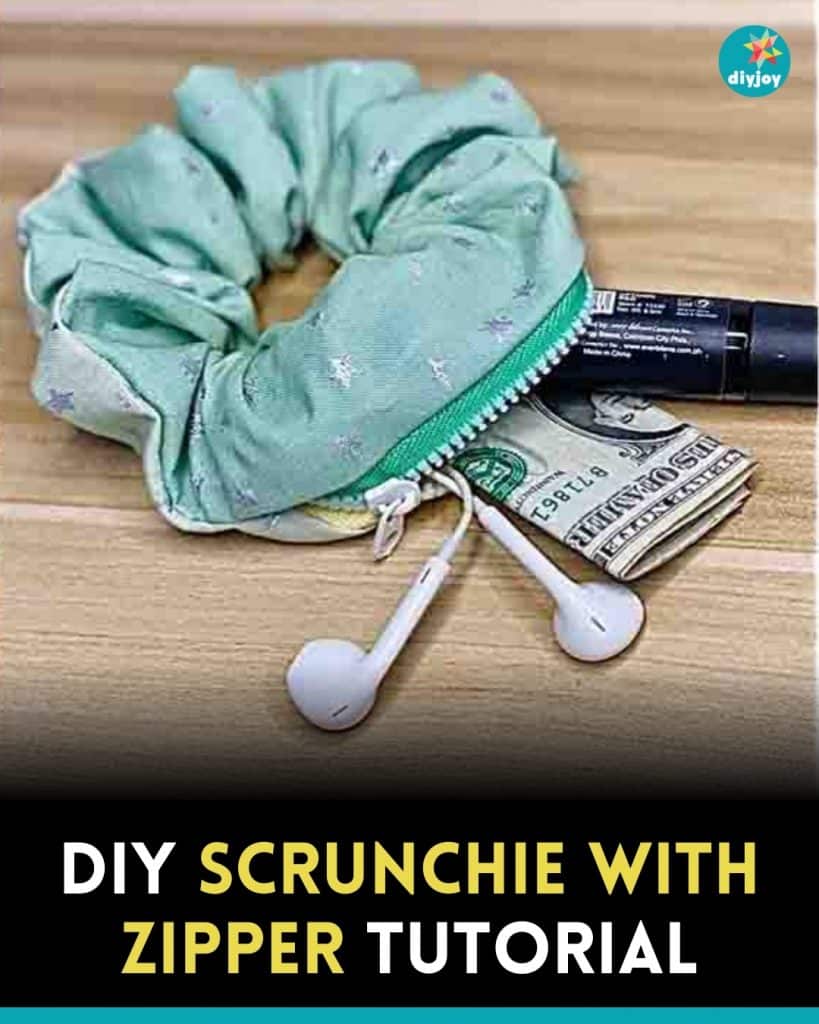
This adorable scrunchie has a secret zipper, so you might put some small stuff inside like bills.
Its also a great scrap buster as you wont need large pieces of fabric to do this project.
Watch the video tutorial below to learn the step by step procedure.
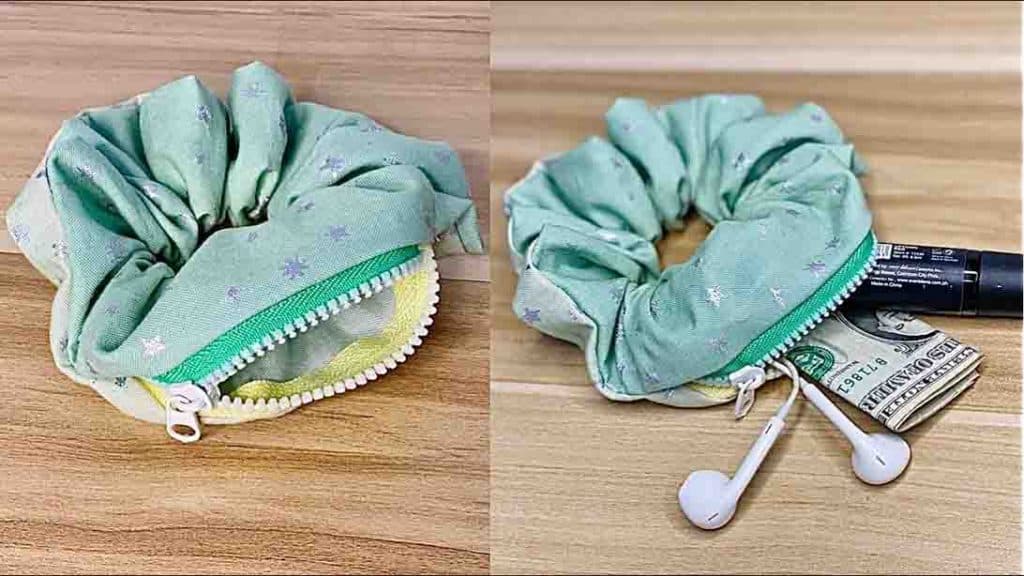
Image credits: Nanay Express via YouTube
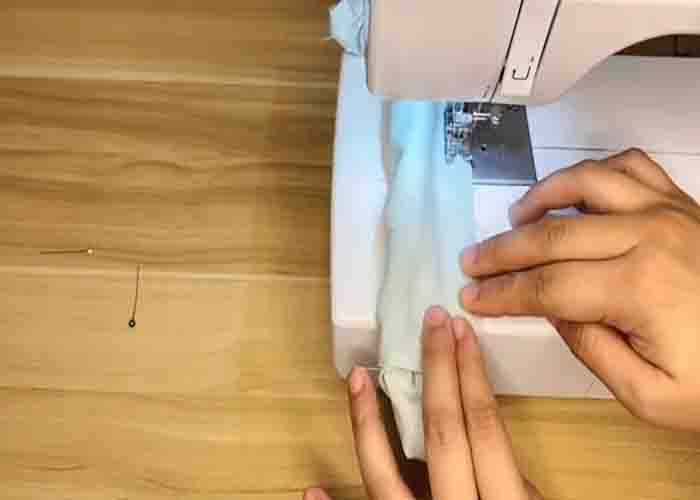
Sew the bottom part of the zipper into the fabric.
Sew it in place.
When you reach the edge, pull the fabric and continue sewing down.

Step 2
After sewing, turn the scrunchie right side out through the zipper.
Now, put the elastic through the inside of the scrunchie, then tie both ends to secure.
Your DIY scrunchie with a zipper is now finished!
DIY Scrunchie with Zipper Tutorial