It definitely looks like it came out of a fairy tale!
I was so happy when I saw it that I immediately gathered all the materials needed.
This will surely be a talking point in my neighborhood.
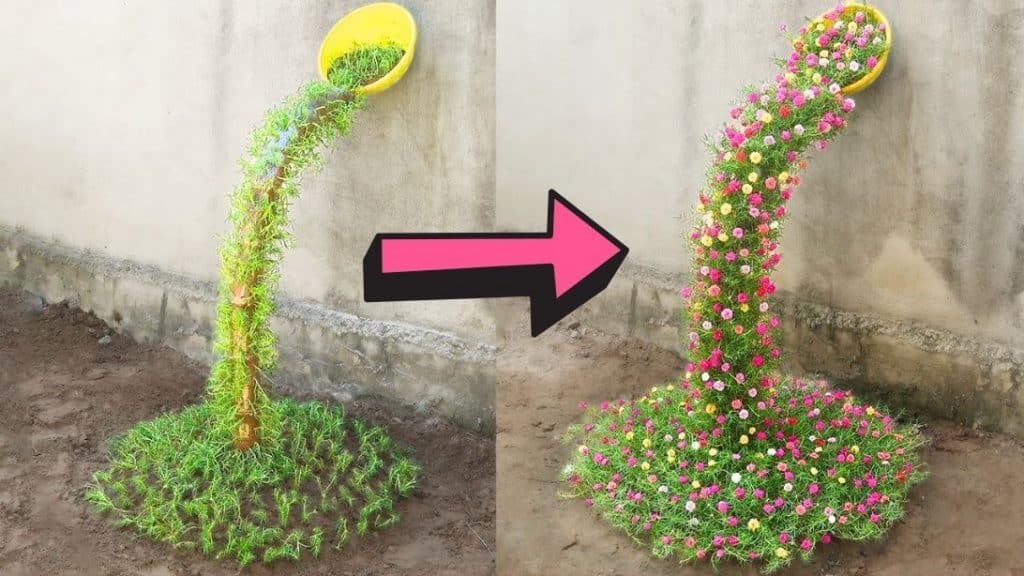
Image by Balcony & Garden via Youtube
Be careful when doing this, as you dont want to hurt yourself.
Step 2:
On a very large piece of paper, draw a big curve.
This will be your pattern.
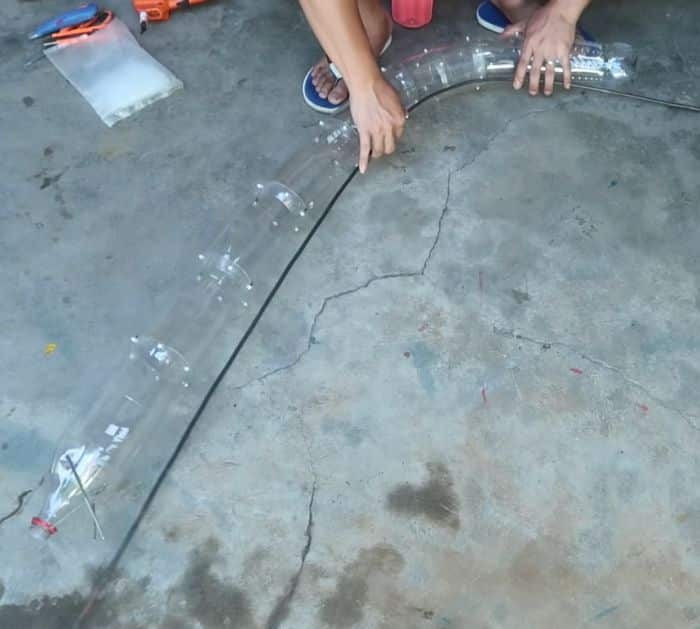
Lay it on your workspace.
Insert the zip ties into the pair of holes to secure the bottles.
Step 4:
Continue linking the other bottles and tieing them with zip ties.
double-check to follow the pattern.
you might cut the bottles smaller so you might easily follow the curve.
For the last piece, use the bottom part of the reserved bottle.
Use the top part at the start of the curve but do not attach it yet.
Insert zip ties and attach the bendable metal rod.
Be sure to make an allowance on the bottom part as you will attach it to the wall.
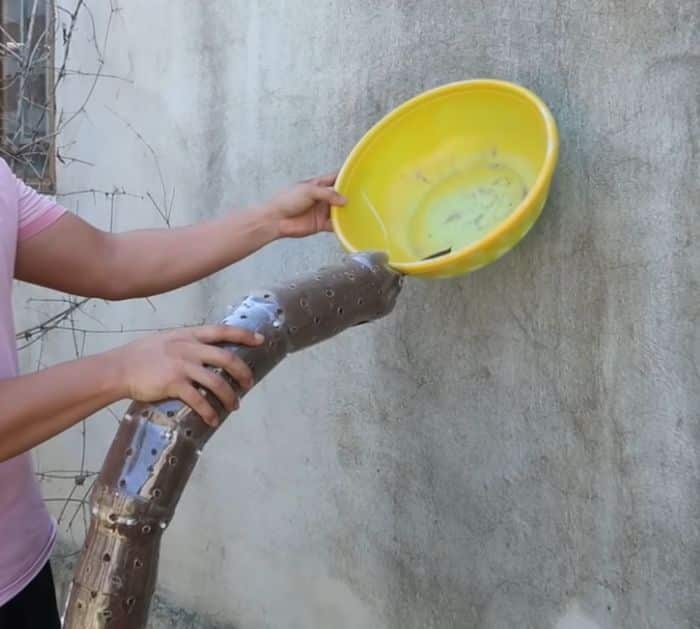
Step 6:
Make small holes around and at the bottom of the plastic bowl.
Do the same with the curved bottles.
Attach the plastic bowl to the end of the curve.
Step 9:
Bury the other end to the ground and fill the bowl with soil.
Step 11:
Water it and take care of the plant until the flowers bloom.
