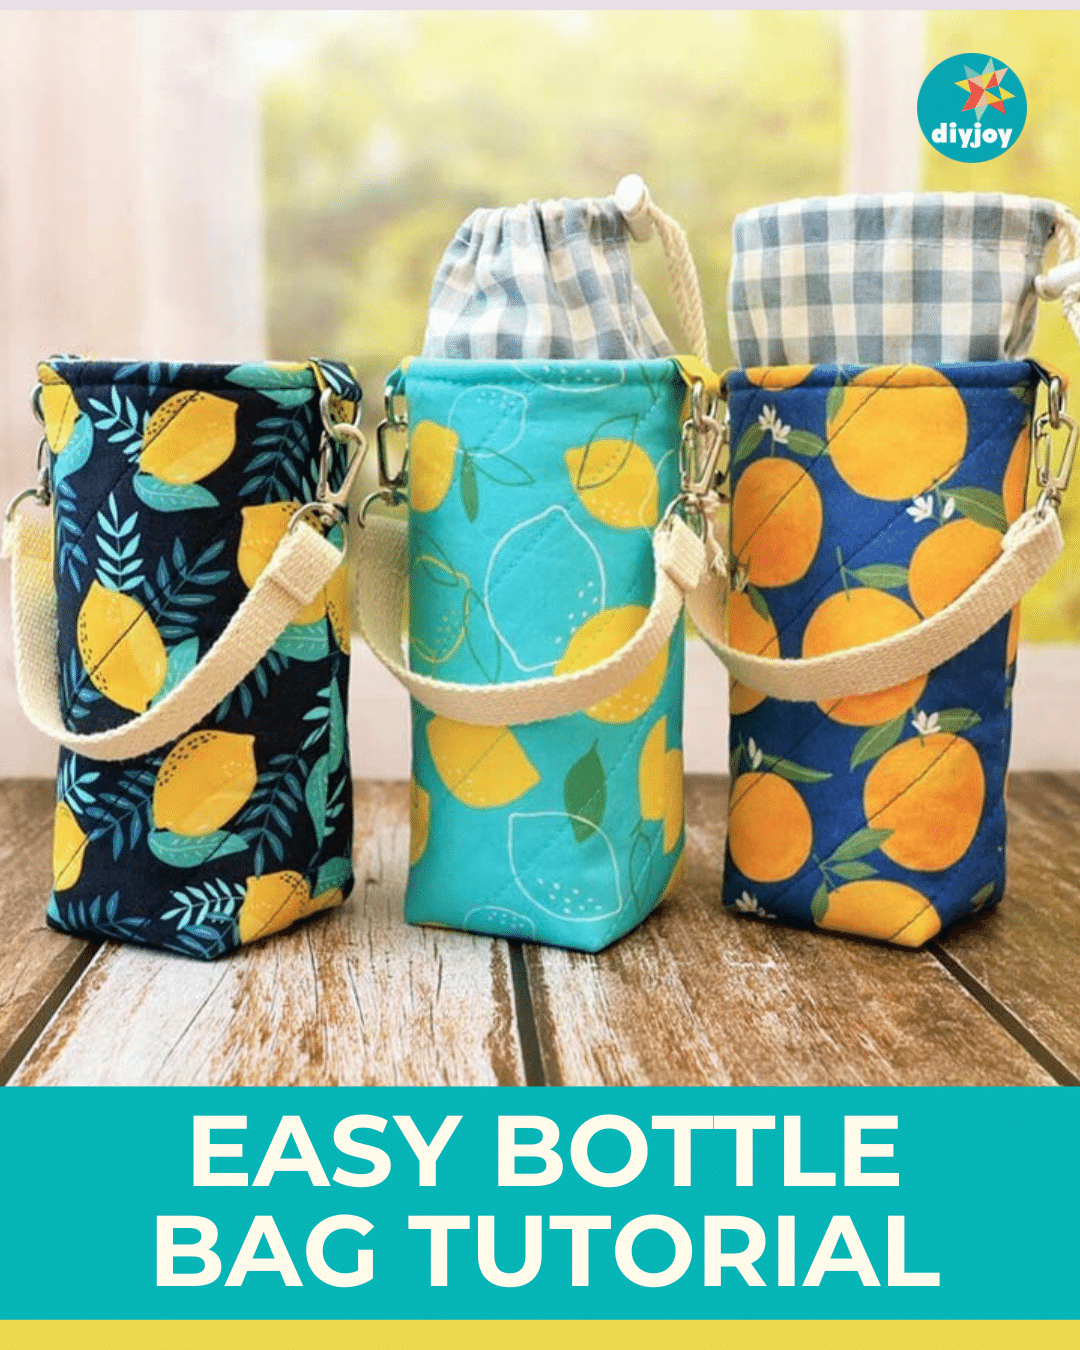
Searching for your next sewing project?
How about you make these cute bottle bags?
I bring my tumbler everywhere.
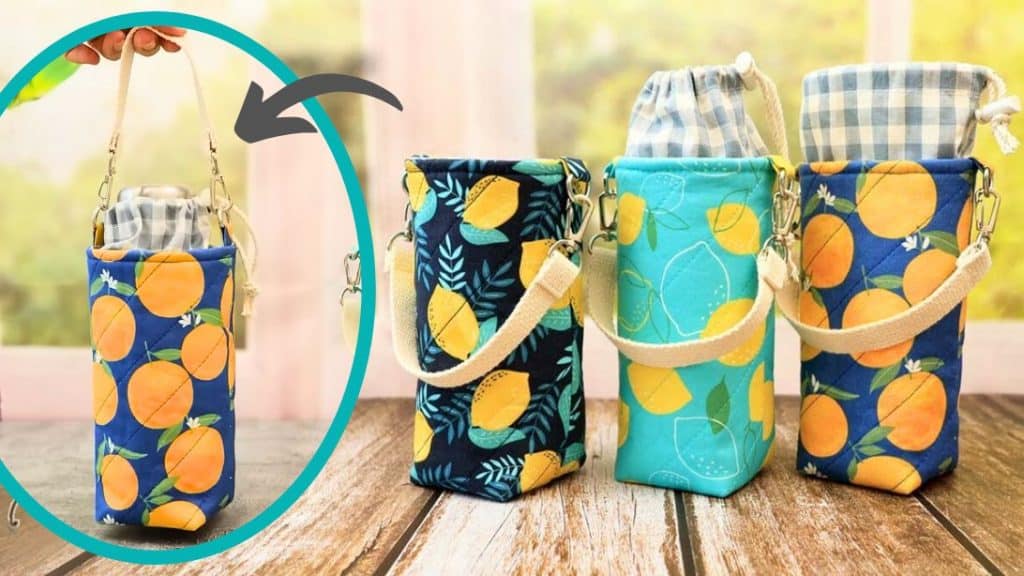
Image by sewingtimes via YouTube
But the handle of my tumbler is too small to fit my wrist.
This bag solved that problem.
I even made the strap adjustable so I could sling it across my body.
I am absolutely in love with these DIY bottle holders bysewingtimes.
The one that I made snug perfectly to my tumbler.
I brought it to my friends house, and I received a ton of compliments.
They all loved it.
Its definitely worth making!
Repeat to the bottom part.
Draw straight lines on those marks.
Make two points that are 2 5/8 apart on the center of each line.
Connect the marks from the top to the bottom.
Cut the outside rectangles.
double-check it is centered.
Iron it in place.
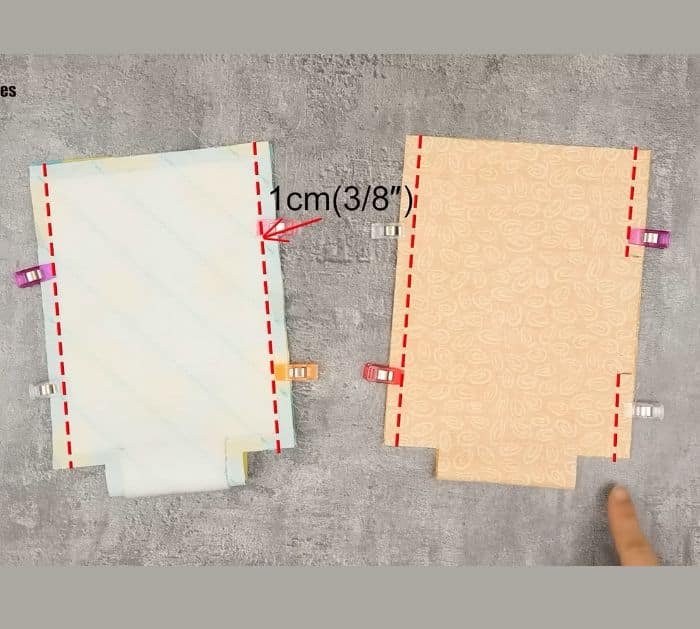
Place it on top of the lining (A) right sides together.
Cut the rectangles on the center with a 3/8 allowance.
Set the lining aside.
Sew the outer fabric with the fusible diagonally from top to bottom.
Step 3:
Fold both of them in half right sides together.
Sew with a 3/8 seam allowance on both sides to close.
Repeat with the lining.
Step 5:
Get the 2 small rectangles (B).
Flip the outer fabric, then sew the strips with the D rings on each side.
Sew 3/8 from that mark to the bottom.
Press the seams open and sew.
Fold 3/8 from the top, then fold 5/8 again.
Sew all the way around.
Sew them together around the edges.
Step 8:
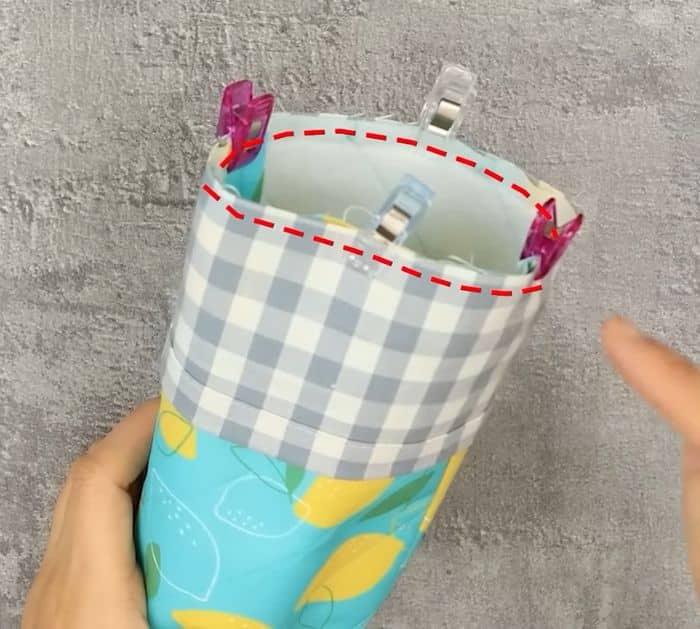
Insert the outer bag inside the lining and sew around the top edge.
Flip it right side out from the opening.
Step 9:
Tuck the lining and opening inside and sew the outer edge.
Step 10:
Insert the string into the opening, then attach the cord lock.
Step 11:
Sew the swivel snaps to the webbing strap.
Attach to the bag.
