Looking for a fun project this weekend?
Heres an easy butterfly bow hair clip tutorial byRin DIY!
This is surely the perfect gift for someone who loves butterflies.
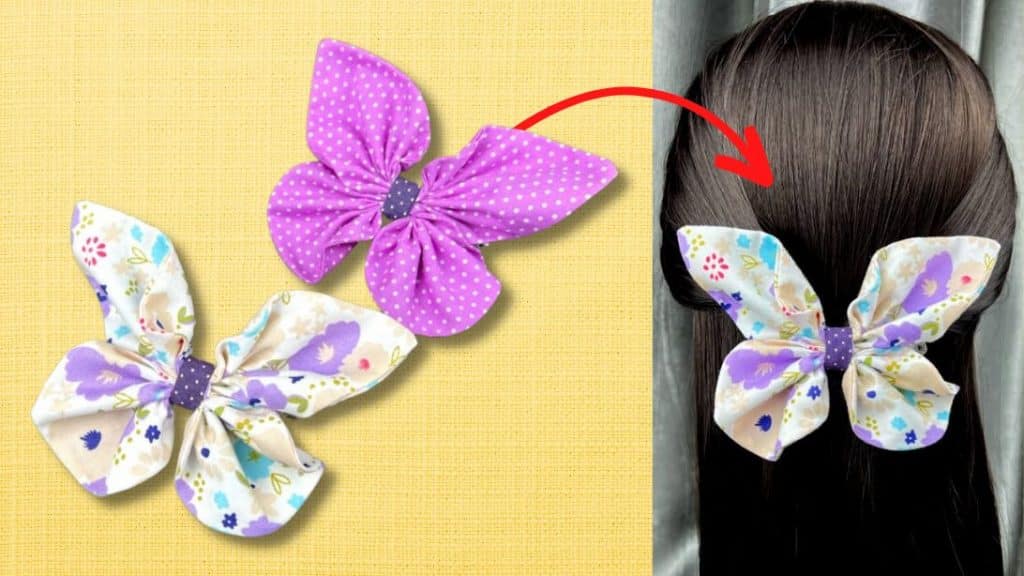
Image by Rin DIY via Youtube
Read on or watch the video below for full instructions.
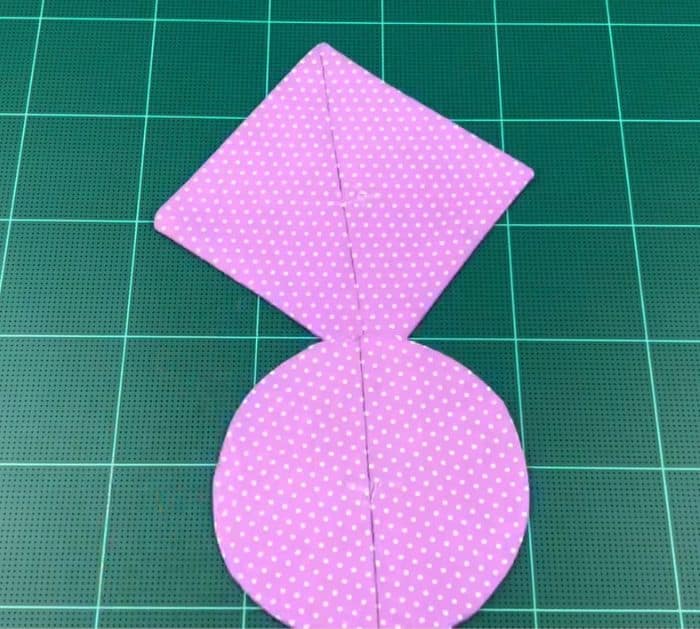
Trace the circle and square pattern with a marker, then secure them with pins.
Step 2:
Sew all the way around the drawn circle and square.
Trim off excess fabrics on the sides and corners.
Step 3:
Separate the top and bottom layers of the square fabric by pinching.
Cut a small cross in the middle and pull the fabric right side out through the opening.
Use a stick for the corners.
Do the same with the circle one.
Press them flat with an iron.
Do the same with the circle.
Step 5:
Place the square on top of the circle with the lines aligned.
Step 6:
Baste on the line drawn on the circle and square.
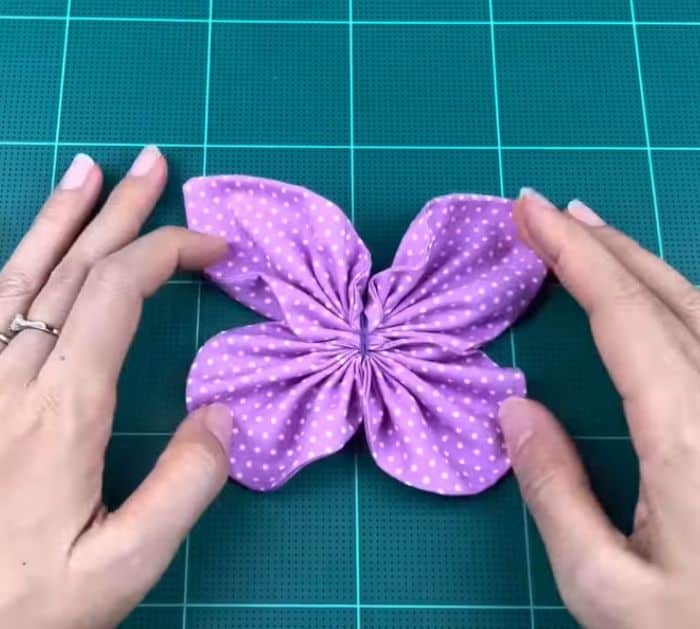
Pull the thread to tighten, then wrap it around to hold them together.
Fix the fabric to form it into a nice butterfly.
Tie it to secure, then cut the excess thread.
Step 7:
Cut a rectangle fabric measuring 1.6 by 3.15.
Fold it in half lengthwise, open it, then fold the sides toward the center.
Fold again in half.
Step 8:
Add glue to the hair clip and glue to the bow horizontally.
Get the rectangular folded fabric, wrap it in the middle of the bow, and sew.
Cut the excess fabric.
