Looking for the perfect outdoor chair?
Make them with this easy DIY Adirondack chair tutorial byAna Whiteon Youtube.
Its not as complicated as you think.
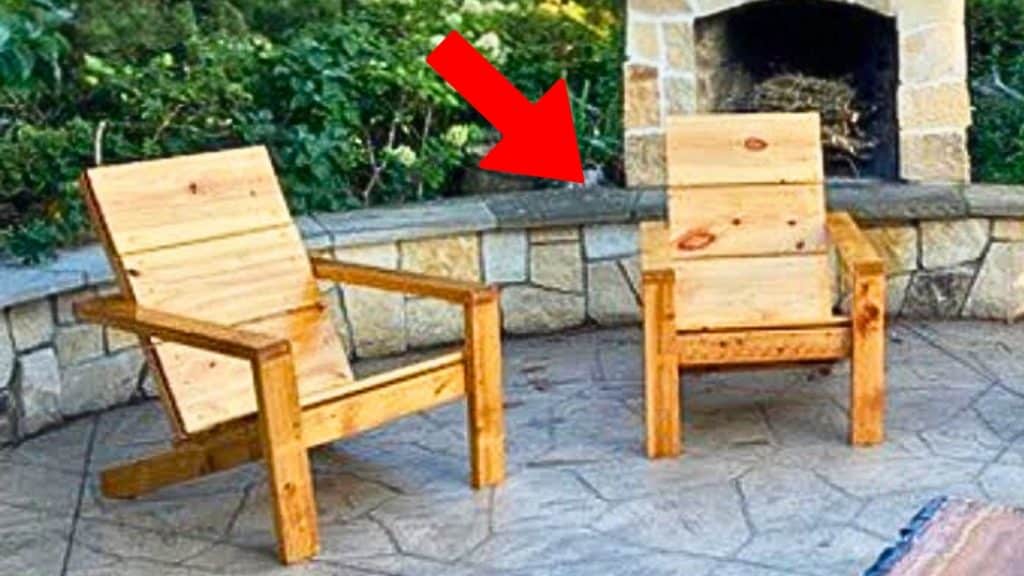
Image by Ana White via Youtube
it’s possible for you to do it at home with just basic woodworking knowledge!
Watch the video below for full instructions.
Connect an arm to a leg with 2 1/2 long screws and exterior wood glue.
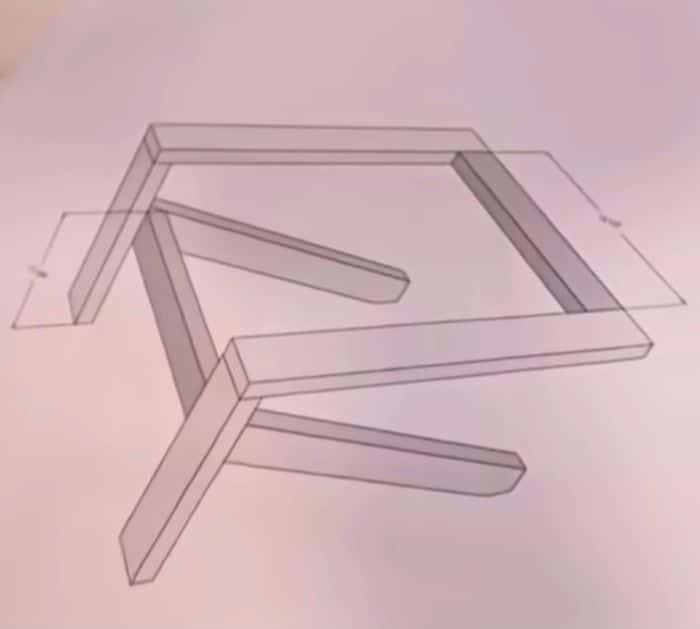
Repeat on the other arm.
confirm that they are built the same.
Use 2 1/2 screws to attach them to the chair frame.
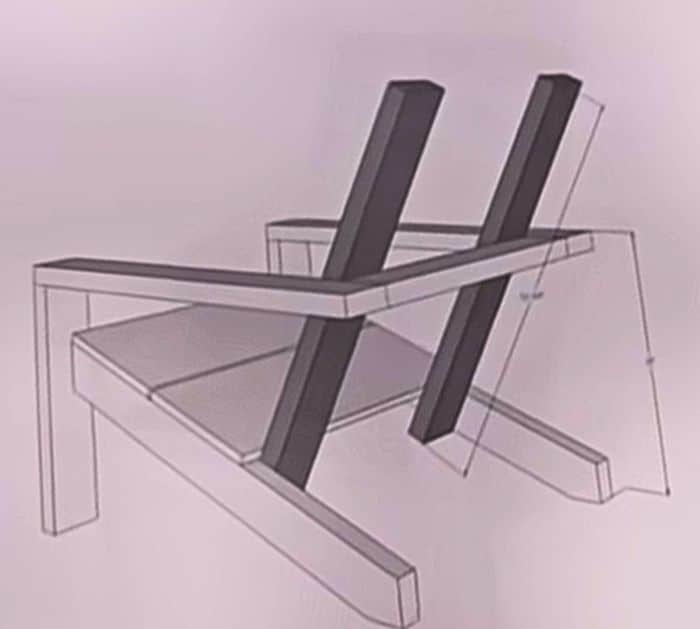
Step 3:
Place the seat boards on the 24 frame.
Use 3 pieces of 1 1/2 long screws per end of each 110 to the seat frame.
ensure to leave about a 1/4 gap in between the seat frame for water drainage.
Step 4:
Put the remaining 24 @ 19 1/2 long under the back of the chair.
Do not attach it to the chair this is just to hold the back of a chair.
Next, place one seat support and hold it flush to the bottom of the stringer.
Use screws to attach it to the stringer and to the back support.
Move the support to the other side of the chair.
Do it again to the second back support.
Once done, remove the 24 @ 19 1/2 long.
Leave a gap at the base of the back to allow the water to flow.
check that to evenly split the gaps.
Step 7:
Apply exterior finish.
For step-by-step illustration,visit Ana Whites website here.
