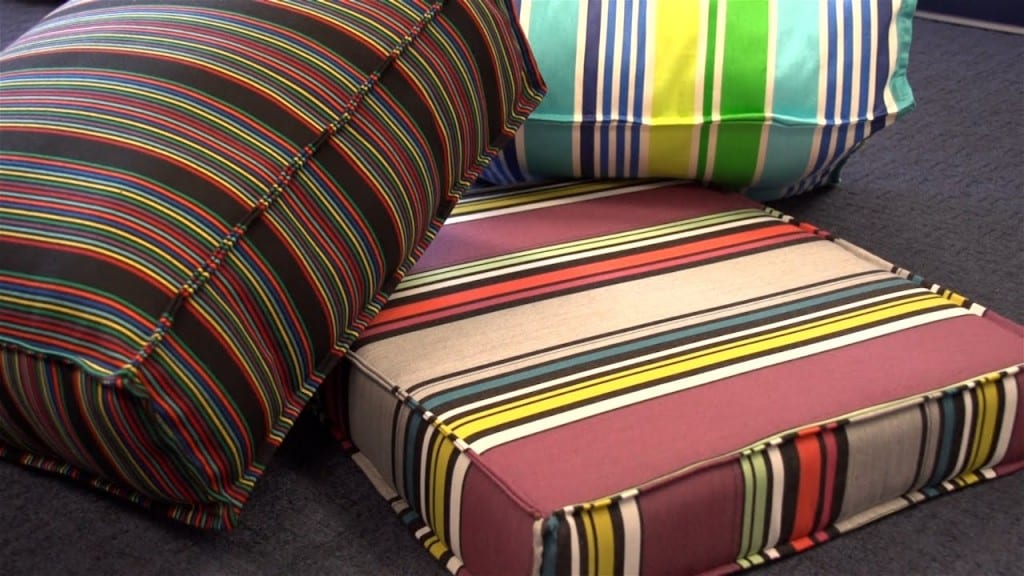
Easy DIY Outdoor Cushion Covers
What you need for this sewing project:
1.
This extra amount will account for the mattress style seams.
Step 4
We are cutting the fabric using a hot knife.

this seals the edge of the synthetic fabric preventing the unraveling of the fabric.
Do this on top of a metal ruler to prevent damage to the table top below the hot knife.
Our 2 plates and 4 boxing strips are now cut to size and ready for sewing.

We have now covered patterning for a cushion filled with fiberfill.
If youre not gonna use fiberfill hey skip this part.
Then trace around a plate and a boxing strip.
We will get two plates and 4 boxing strips all at once when we cut it out.
lay the fabric panels out in an organized fashion to reduce the chance of mistakes.
Be sure the outside surfaces are facing each other and sew along the end that completes the chain.
FLip the boxing over so outside surfaces are facing each other and the edges are even.
step 5
We will start sewing near the center position on the side.
We will use a straight stitch.
set at about 6mm in length and sew about 3/8 from the edge of the fabric.
Be sure to line up the strips and the edge carefully as you sew.
Rotate the the fabric on the corner and then lower the foot and continue to sew down the leg.
Ensure the opposite corner will line up with the plates corner.
Step 7
Continue sewing around all sides until you reach your starting stitch and do some reversing there.
To do this, line up the plates so that the stripes match on the two sides.
Be sure the outside surfaces are facing each other.
It is easier to sew the assembly with the boxing on the top and the plate on the bottom.
Start sewing 2-3 away from the corner to leave room for the insertion of the cushion or foam.
Sew around securing the boxing to the last plate.
Check to double-check the stripes match up.
This leaves an opening for the insertion of the foam or insert in a later step.
Turn the cover inside out.
When you reach the next corner, stop about a 12 away and do some reversing.
Step 5
Once the plate and boxing are sewn and now we can move on to the opposite side.
It will be sewn shut in a later step.
And now we are ready to insert the cushion.
Assembling Cushion Insert (Fiberfill only)
Build a pillow insert from the spun bonded fabric.
Turn this cover right side out.
Fill the pillow insert with fiber fill until its plump.
We recommend a stuffing of about 2lbs for a cushion measuring 20 x 20 x 5.
The amount of fiber fill used is completely up to you.
Adding Filling and Closing Cushion
Use silk film and cover the cushion on all sides.
This is done so that it will be easier to insert the cushion into the cover later on.
Using a vacuum, compress the pillow insert until its reduced into half its former size.
Insert the cushion with the vacuum still on.
Once done, you’re free to turn off the vacuum and watch the pillow slowly expand.
you’ve got the option to leave the silk film inside to render your cushion water resistant.
To sew the opening, create a folded hem to simulate the rest of the sides of the cushion.
With the fiber fill stuffing closing, sewing up the opening is not too difficult.
And your cool pillow is done!
Love this DIY idea?
Save it and