Its one of the first patterns Ive learned, and its still a personal fave of mine.
Its a go-to pattern whenever I need a quick quilt for gifting.
Its super easy, and the pattern is just gorgeous.
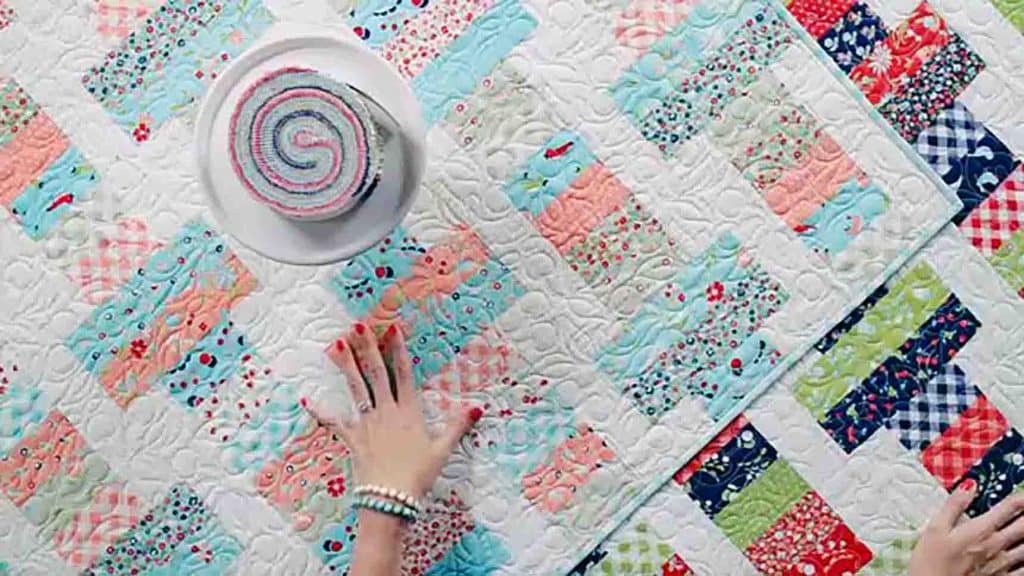
Image credits: Fat Quarter Shop via Youtube
Learn the step-by-step instructions by watching the video tutorial below.
The first stack is for the quilt while the second is for your future projects.
Next, start by sewing four strip sets together (fabric A), then press open.
Make two of these.
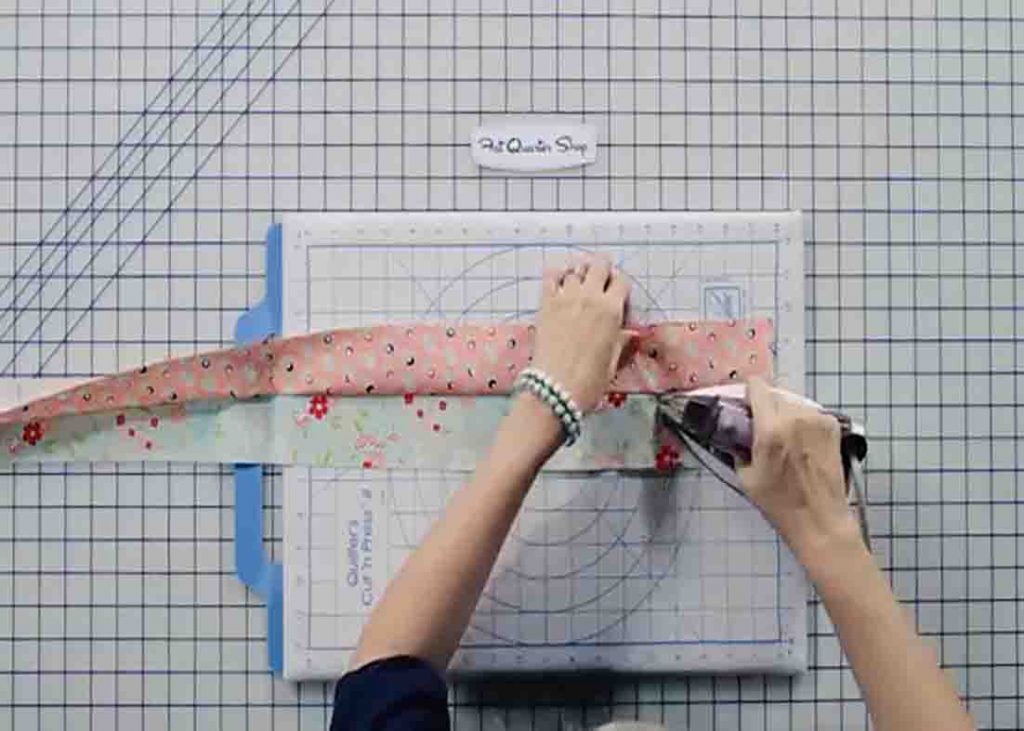
Now, cut each of these strip sets into seven 4 1/2 x 8 1/2 rectangles.
[social_warfare]
Step 2
Next, add two fabric D squares to a fabric B rectangle.
Make 24 slice units.
Now, make some more strip sets by sewing two together and make three two-piece strip sets.
After this, cut the two-piece strip set into four 4 1/2 x 8 1/2 rectangles.
Cut the remainder of the strips to make 12.
Assemble two slice units and one two-piece unit.
Make 12 slice blocks.
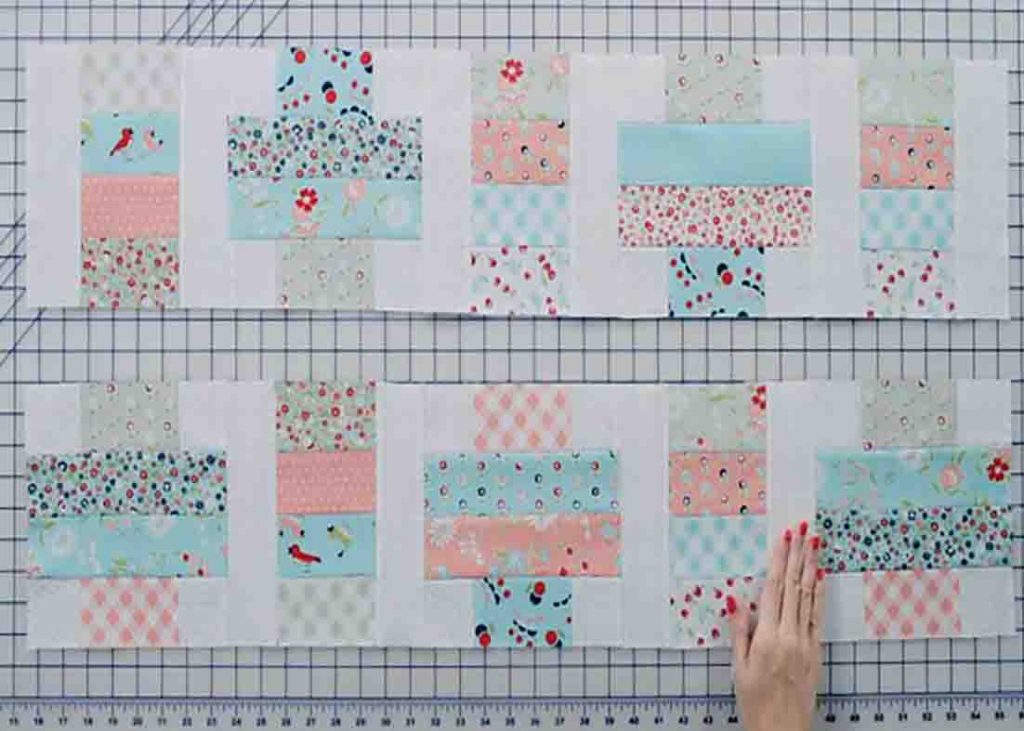
Now, assemble your quilt center.
Make three rows and two rows like in the picture below and just alternate your blocks.
