This pattern will definitely highlight those prints, and I cant wait to try this out on the weekend.
Watch the video tutorial below to learn the step by step instructions.
Thanks toFat Quarter Shopfor this gorgeous quilt project.
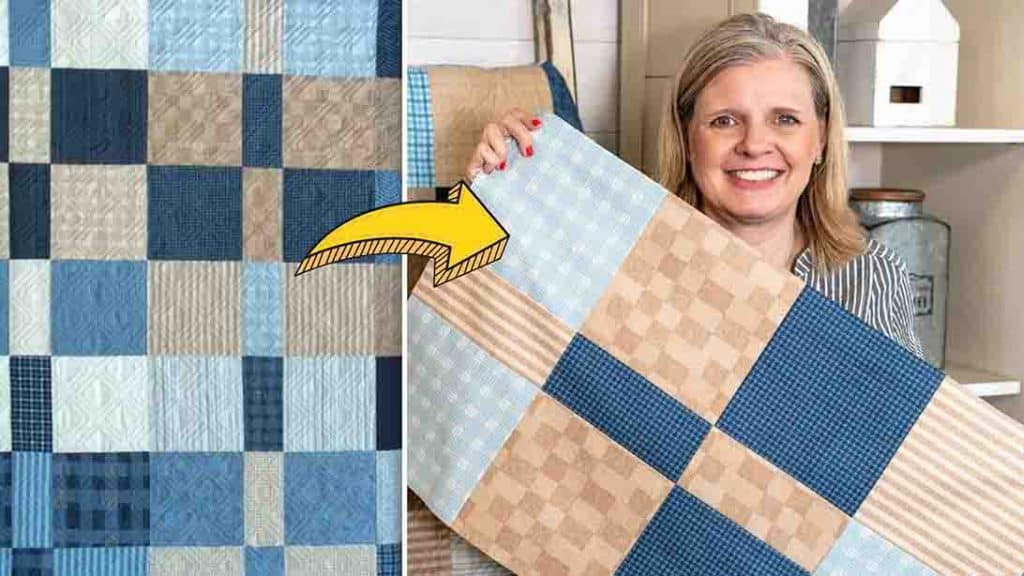
Image credits: Fat Quarter Shop via Youtube
Take four of them for the first block and sew them together with a 1/4 seam.
After sewing, press everything in one direction.
Make eight of these for the throw size.
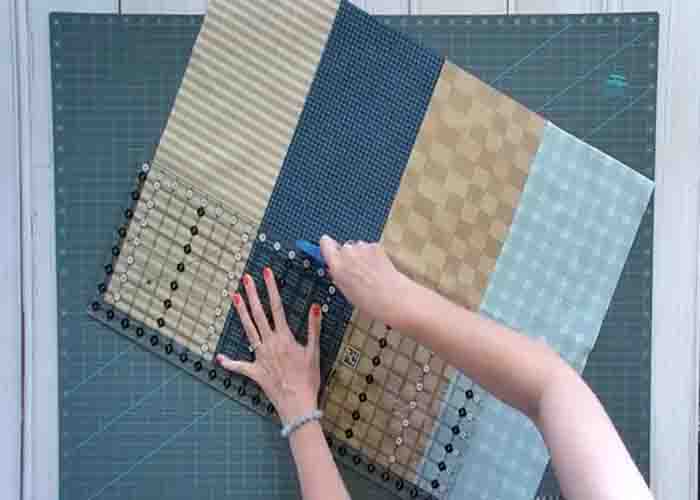
Once done, start subcutting.
Cut these into two 7 1/2 rectangles and one 3 1/2 rectangle.
Pin in every intersection, sew with a 1/4 seam allowance and press in one direction.

Make eight of these for the throw size.
Next, put two pieces side by side, nesting the seams.
Pin them and put them together.
Make four rows, then put all four rows together to complete the quilt.
