Looking for a fun and eye-catching pattern?
Heres a funky chicken quilt bySew Yeahon Youtube!
I enjoyed making this so much as its very different from the designs I usually do.
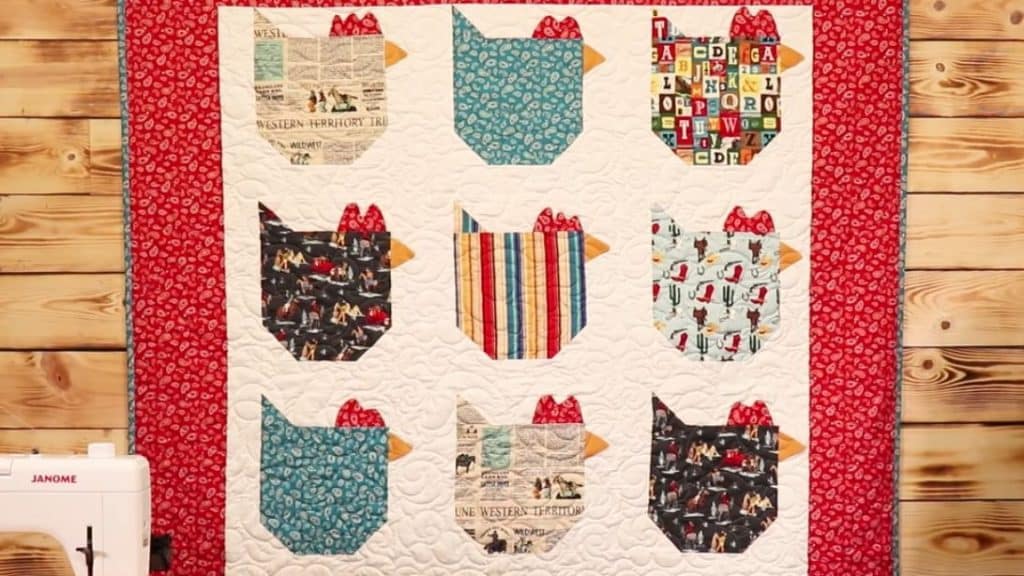
Image by Sew Yeah via Youtube
Read on or watch the video below for full instructions.
Step 2:
Take one of the 10 x 10 squares and place it right-side up.
Place two of the fabric B 3 x 3 squares face down in the two bottom corners.
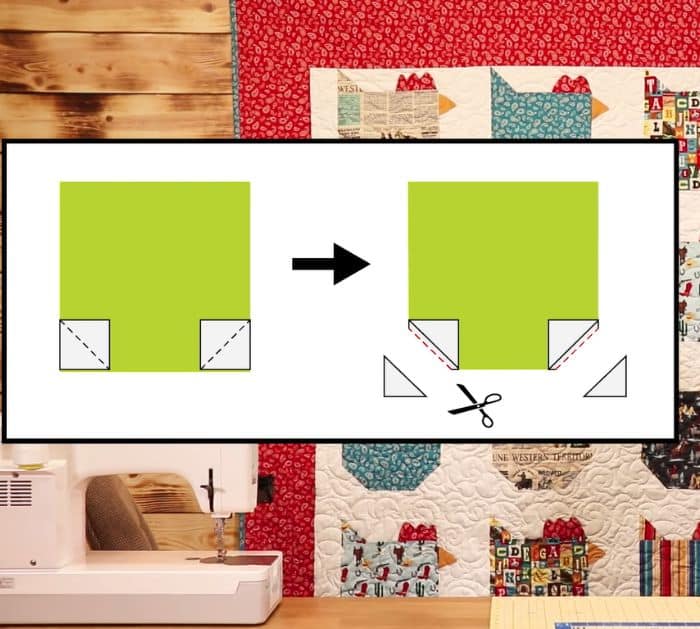
The drawn line should be pointing downwards.
Sew across the drawn line, then trim 1/4 away from the sewn line.
Step 3:
Make the tail.
Get one of the 10.5 x 3 strips and place it right side up.
Trim 1/4 away from the sewn line, then press it flat.
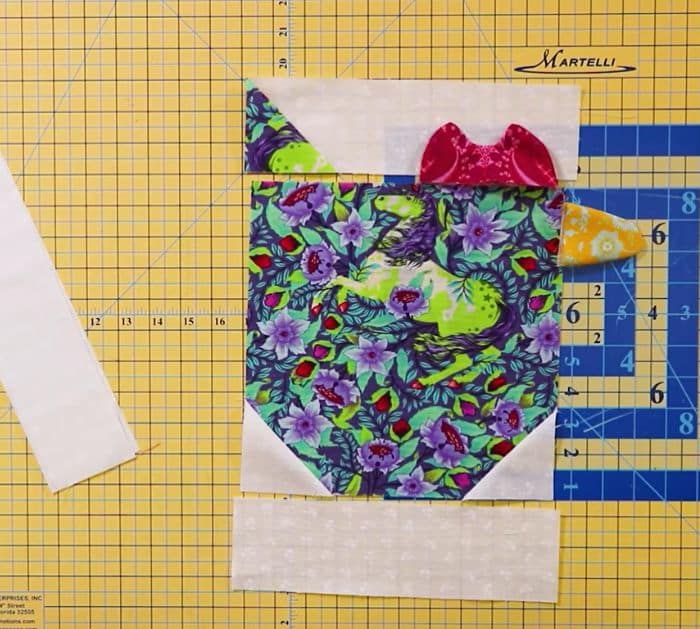
Step 4:
Make the beak.
Get two of the 3 x 3 fabric D and place them right sides together.
Trace a beak shape onto the wrong side and sew over it.
Trim as close to the edge of the stitch line and flip it right side out.
Next, place the 10.5 x 3 tail strip on top, right side down.
The crown should be in between the body and the tail strip.
Sew 1/4 from the top edge and press it flat.
Sew 1/4 from the edge, press, and trim if needed.
Step 7:
Put the beak about 1/2 down from the top right side of the chicken.
double-check to line up the raw edges.
The beach should be in between the right side of the body and the sashing.
Sew 1/4 from the edge, turn, and press it flat.
Sew at 1/4 and press.
