This is used in different sewing projects to make a clean and neat look on the corners.
You may see this in tablecloths, blankets, quilts, and curtains.
Learn how to easily sew a mitered corner with this awesome tutorial byOnlinefabricStoreon Youtube.
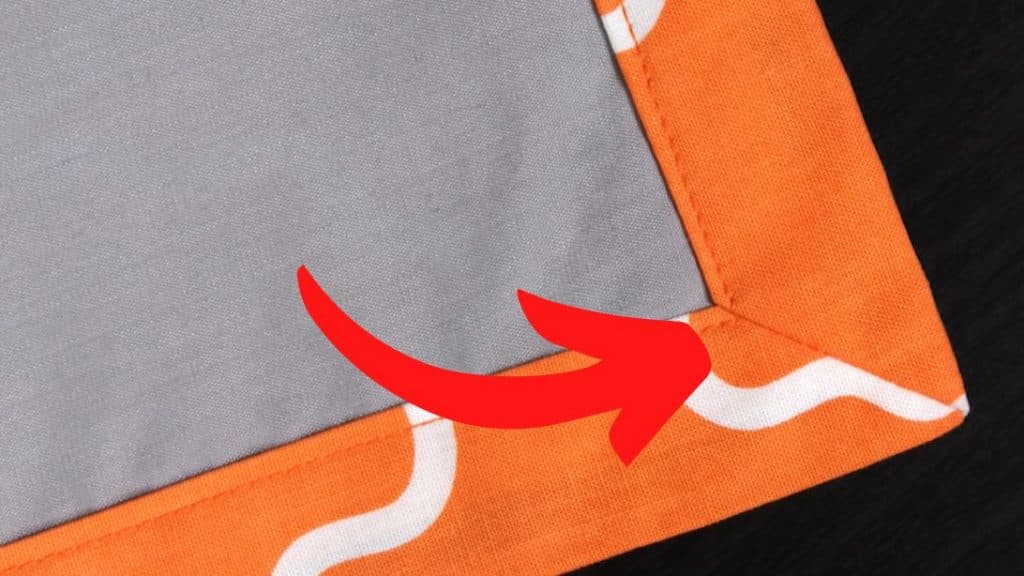
Image by OnlineFabricStore via Youtube
Watch it below for full instructions.
Do the same on all sides.
Repeat this step on all the other corners.
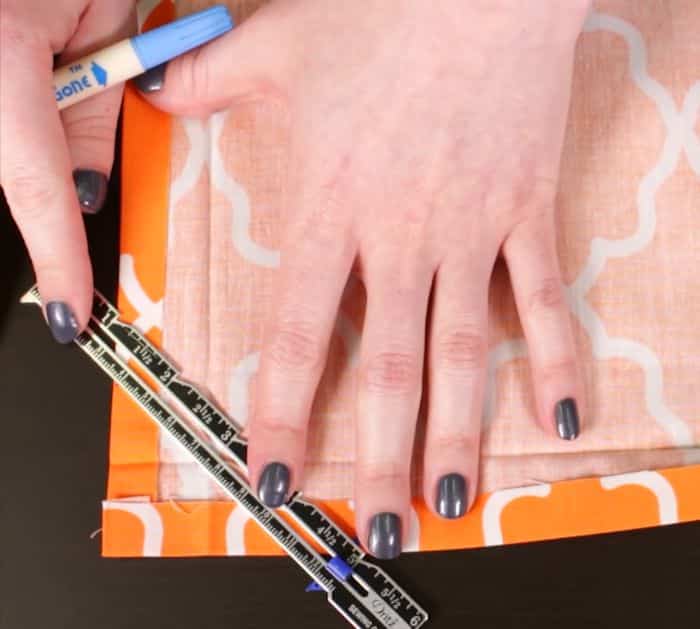
Step 3:
launch the fabric so just the first crease is folded over.
Once done, draw a line connecting the two marks.
Step 4:
Fold the corner in half diagonally with the wrong side facing out.
Be sure the two marks line up and then pin them together.
Repeat the steps on all the other corners.
Stitch on the marked line, backstitching at the beginning and end, then sew to the edges.
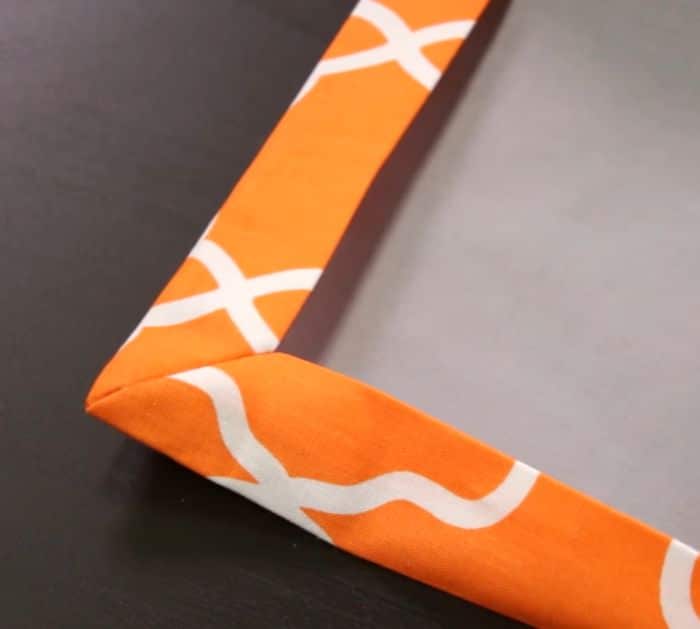
Step 5:
Cut off the excess fabric about 1/4 inch from the seam.
Pull it right side out, and push the point of the corner out.
Do the same on all four corners.
Step 6:
If you want to add a backing, slide it under the mitered corner.
Lastly, top stitch around the inner edges.
