Have you noticed that your outdoor faucet always leaks no matter how much you turn the handle?
You are not alone many homeowners have the same problem.
It will only take a few minutes and a few dollars to stop a leaking outdoor faucet.

This tutorial will teach you how to fix a leaking outdoor spigot with a 12-inch stem.
Leaks are often sparked by a damaged or wrong washer.
The step-by-step instructions below will help you how to get it replaced using simple tools.
you’re able to do it by yourself and save money.
Watch the video below for full instructions.
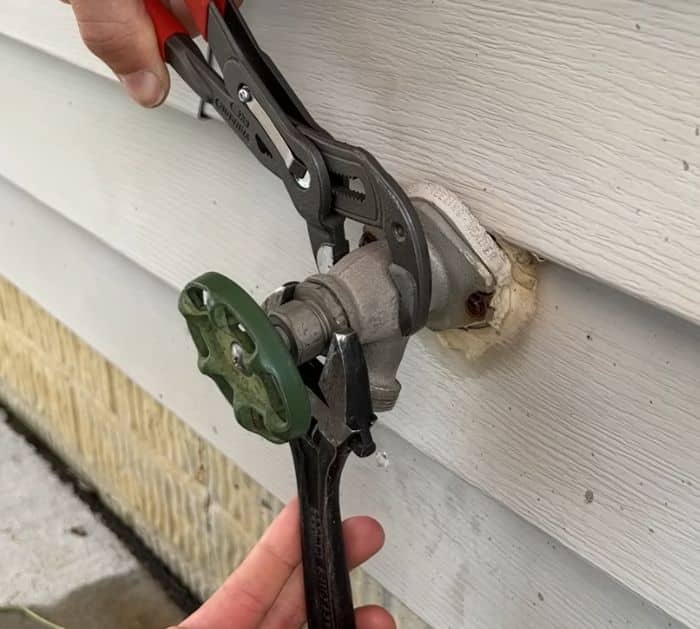
Using a crescent wrench, loosen the bonnet nut with your right hand.
By doing so you wont rotate and apply pressure inside, which can cause damage to your pipes.
As you loosen up your bonnet, it will unseat your seal, and will open your valve.
While waiting for the water to drain, spray WD-40 to the threads.
Let it penetrate for 5 to 10 minutes.
Step 3:
Come back and attempt to loosen the bonnet nut again.
You might find a plastic gasket inside.
Pull your stem all the way out.
Step 4:
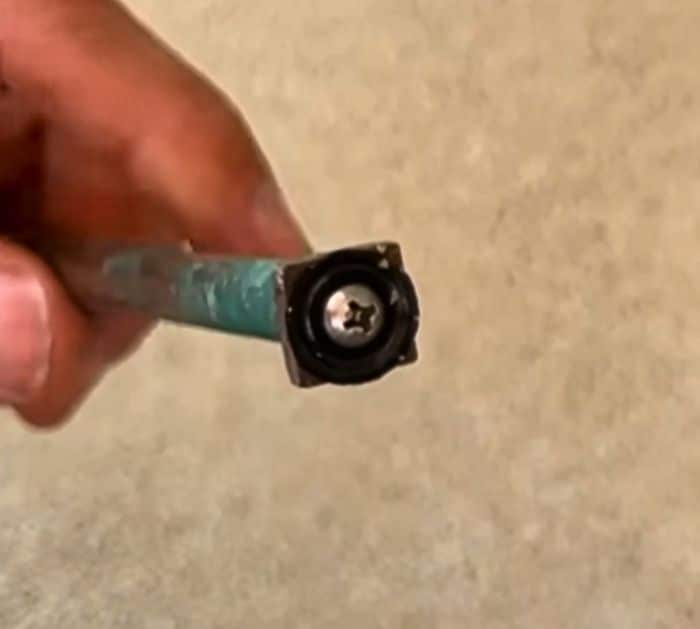
Look at the flat washer at the end of the stem.
That may be the source of leak.
Hold the stem with your channel locks, then undo the screw with phillips head screwdriver.
Step 5:
Using a utility knife carefully remove the washer.
Find a washer with the same size and shape as the one you removed.
Sometimes, it can be the wrong size, so verify if its correct.
you might bring the stem and the washer to the store to get the right size.
Step 6:
Put the new washer and screw it in place.
Remove any debris inside the faucet.
you could place teflon tape on the threads to avoid any issues.
Turn the water on and peek if it still leaking.
You have about 30 to 60 seconds of drip especially when you have that 12 inch frost proof.
