Do you feel like your desk is lacking something?
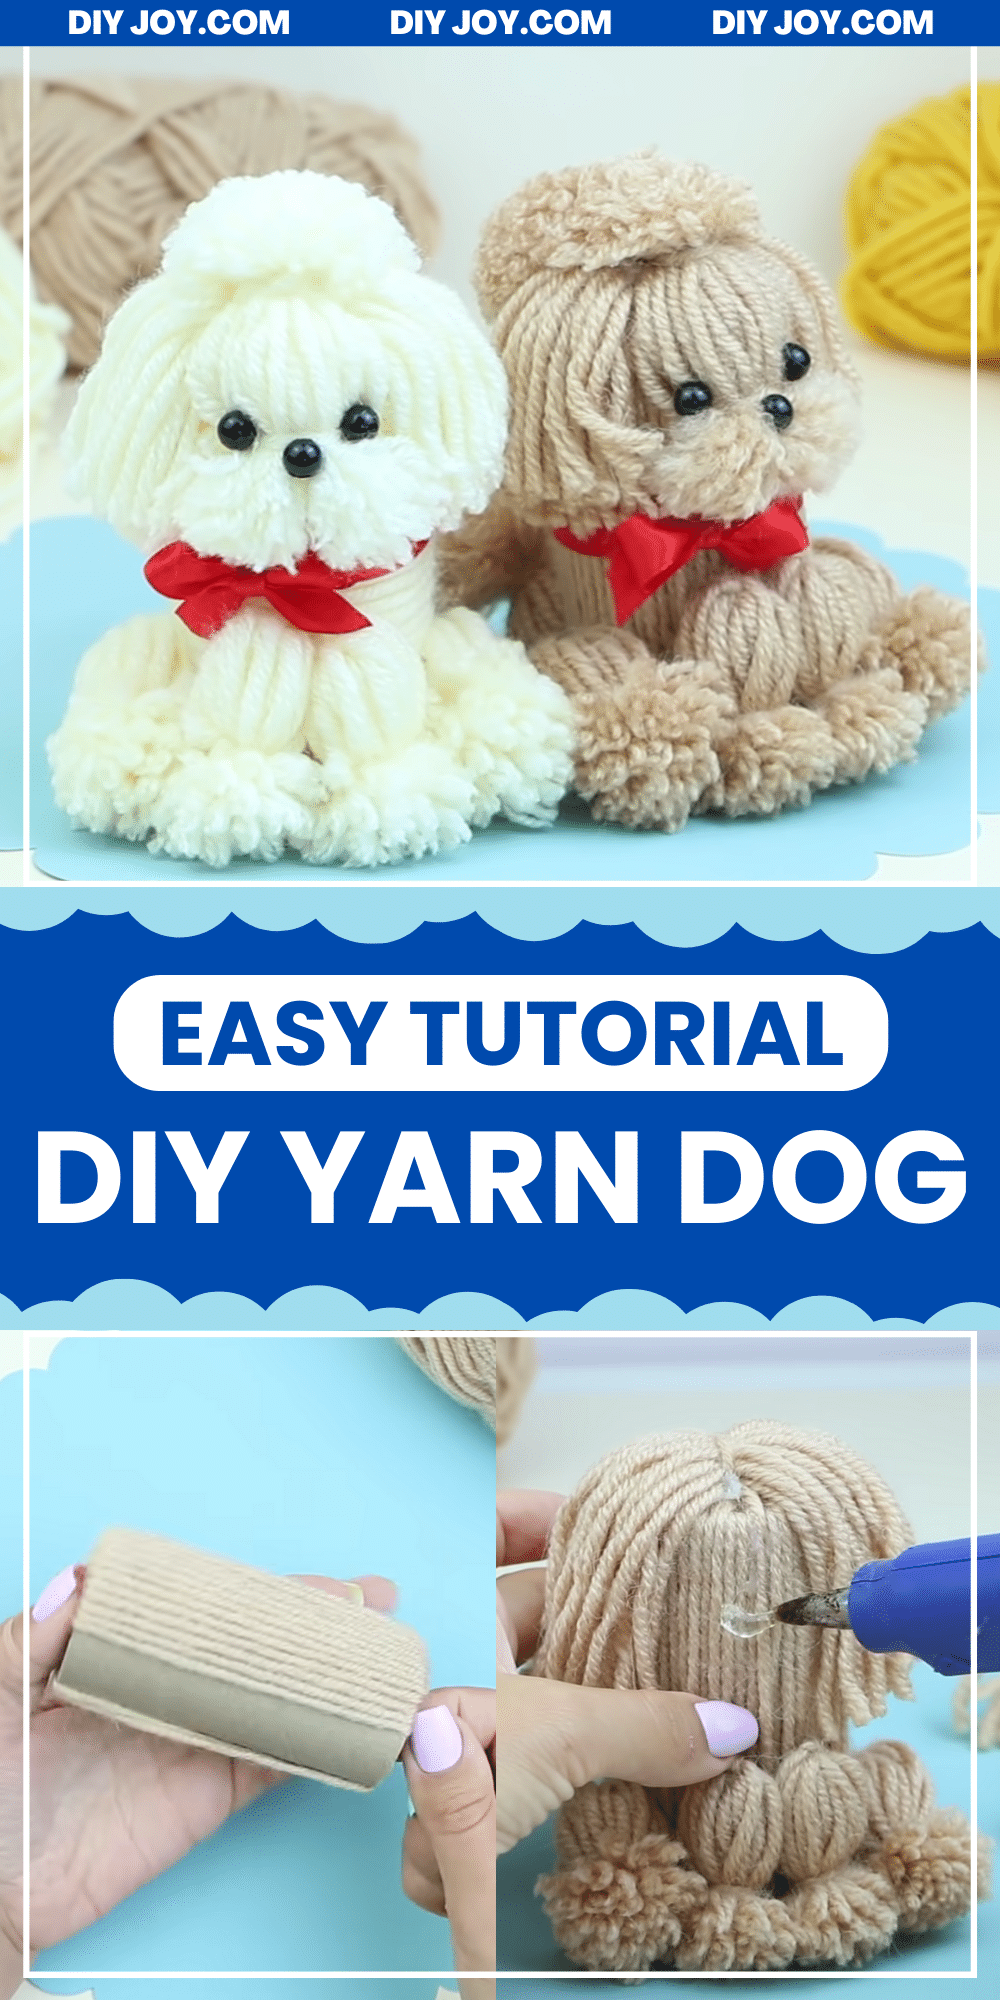
Whichever way it can be used for, these yarn dogs are definitely cute to look at.
Materials:
Directions:
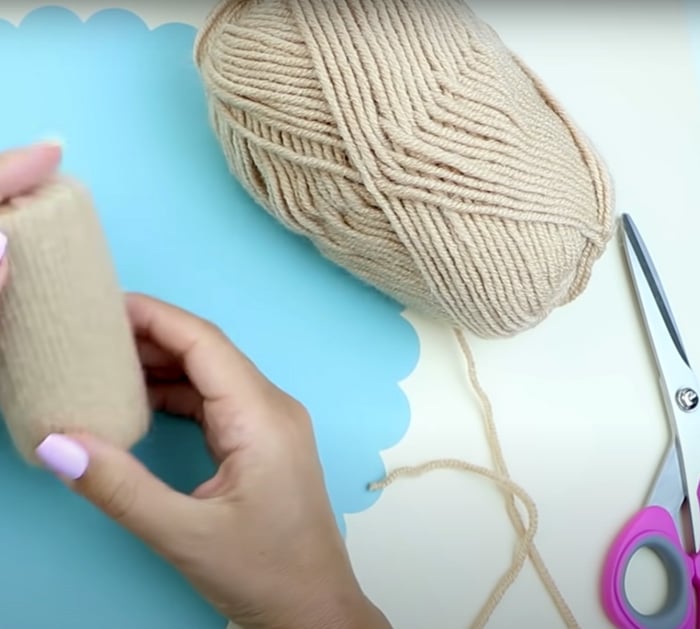
Prepare all of your materials.

Image credit: NataliDoma DIY on Youtube
Hold your cardboard tube like a cup and place the end of the yarn underneath your thumb.
Cut the end and glue it with hot glue.
Secure the yarn to cover the tube and put it aside.
Cut a short length of yarn and tie it securely around the bundled yarn.
With another short length of yarn, wrap it around the center of the bundled yarn.
Repeat the process until you make 3 thick bundles.
Repeat another 2 but in thinner sizes.
For all 5 bundles, cut and trim all the other ends, forming the dog fur.
Attach with glue 1 big bundle at the bottom end of the tube to make the dogs tail.
Place the 2 thinner-sized bundles together on the other side with glue.
see to it the fur parts face downwards!
Trim them to form the paws.
Glue the remaining two big bundles diagonally on each side of the paws.
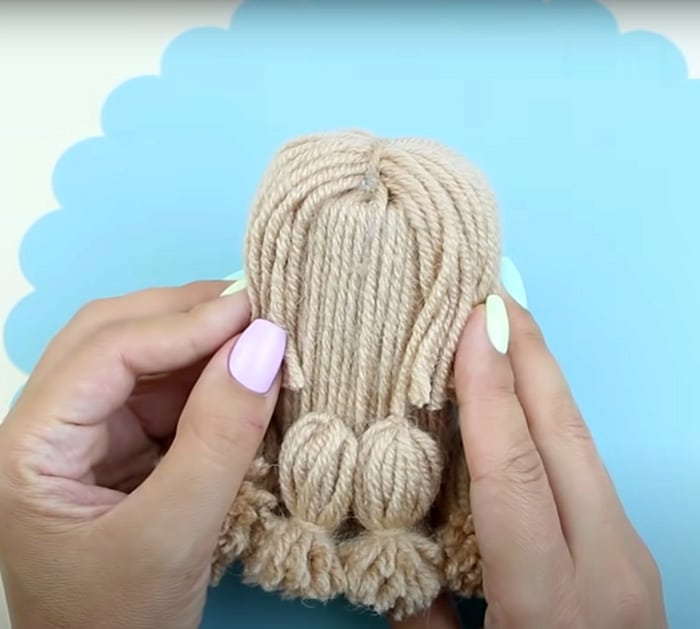
With your yarn, its time to measure its cute and furry head.
Do the same process of making a giant bundle of yarn.
But this time, cut both the furry ends.
Put a good amount of hot glue blob on top of the tube.
Place the center of the bundle on it.
Trim and groom the ends of the fur.
To secure the fur, glue it behind them.
Make another bundle, but this time, tie two yarns like candy.
Cut both ends and fluff them using a comb.
Glue and attach it to the top of the tube.
Make a smaller bundle with one tie around the center and cut both ends to make a pom-pom yarn.
Then, glue and attach it to the top center of the tube.
Trim to groom the fur hairs of your yarn dog.
Use your red yarn and make a tiny knot bundle for its bell collar.
Glue on the beads to form the dogs eyes and nose.
Wrap it around its neck to make the collar and the bow with your ribbon.
Secure it with glue and viola!
You now own a cute and fluffy dog.
