Heres a guide byJust Get it Done Quiltsto help you master this basic block.
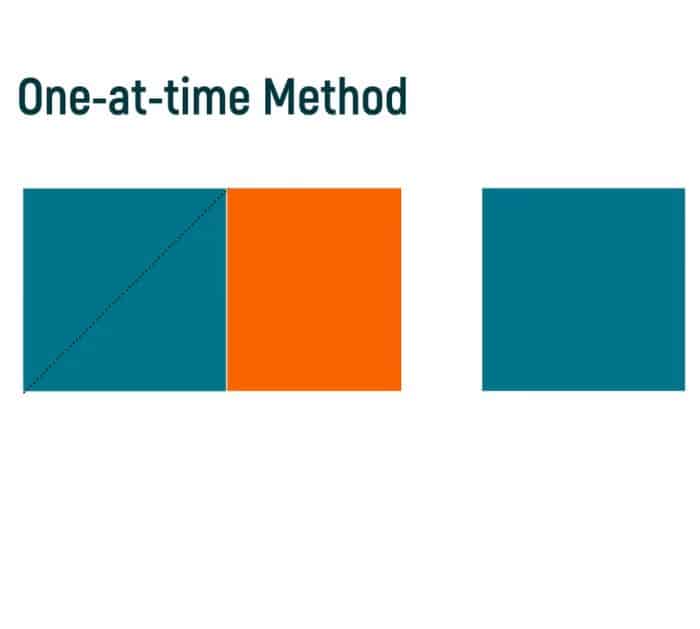
One-At-A-Time
The finished block width is twice the height.
For example, a 3 and 6 finished block.
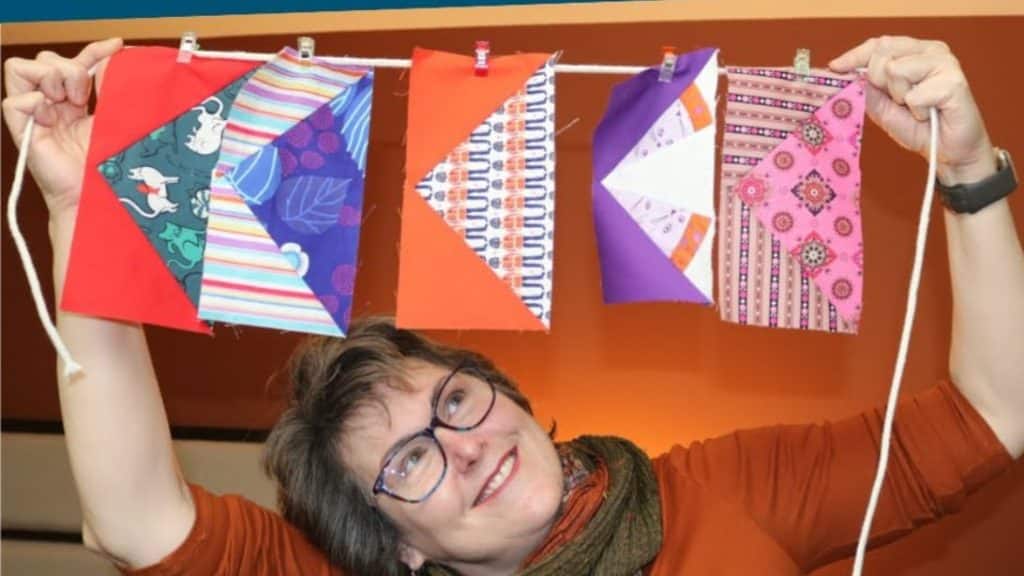
Image by Just Get it Done Quilts via Youtube
The unfinished size is 1/2 larger in both height and width.
You will need two 3 1/2 squares and one 3 1/2 x 6 1/2 rectangle.
Instructions
Step 1:
Place one square on the left side of the rectangle aligning the corners.
Step 2:
Sew on a diagonal line from one corner to the other.
Step 3:
Trim 1/4 away from the diagonal line on the outside part.
Repeat on the other side.
To increase accuracy
Fold the rectangle in half and mark 1/4 down on the center fold.
Line your ruler up on the 45 with the bottom.
Draw a diagonal through the bottom corner up to the dot.
Repeat on the other side.
Sew on the lines, trim, and press.
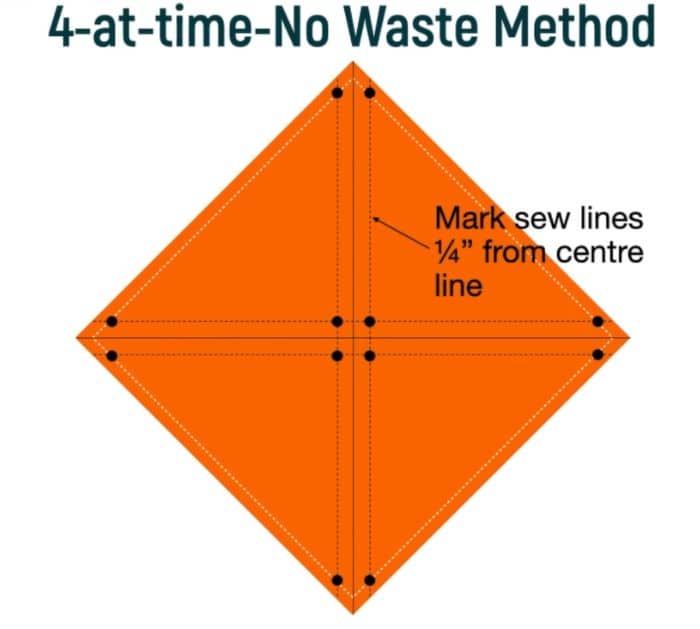
Draw diagonal lines from corner to corner in both directions.
Next, draw lines 1/2 away from the center lines on either side.
Pin and flip it over.
Snip the tip and sew on the two lines beside the center line.
Cut between the two lines and press the block open.
Take the remaining small square and align it to the corner of the block.
Repeat with the other block and sew.
