Dont know how to decorate your Christmas tree?
With this DIY tutorial byShabby Fabrics, you will learn how to make a no-sew Scandinavian star ornament easily.
Watch the video below for detailed instructions.

Image by Shabby Fabrics
Iron the fusible webbing on the back side of each square fabric.
Next, fold the corner and peel the paper away.
Step 2:
Place the fabric squares wrong sides together and iron them.

Once done, cut into a 6 square.
Step 3:
Cut them into half-inch strips.
There are two sides, you will use 6 pieces for each.
Step 4:
Fold the two pieces in half and just do a finger crease.
On one of the pieces, put a little bit of glue on the middle section.
Place the other piece across.
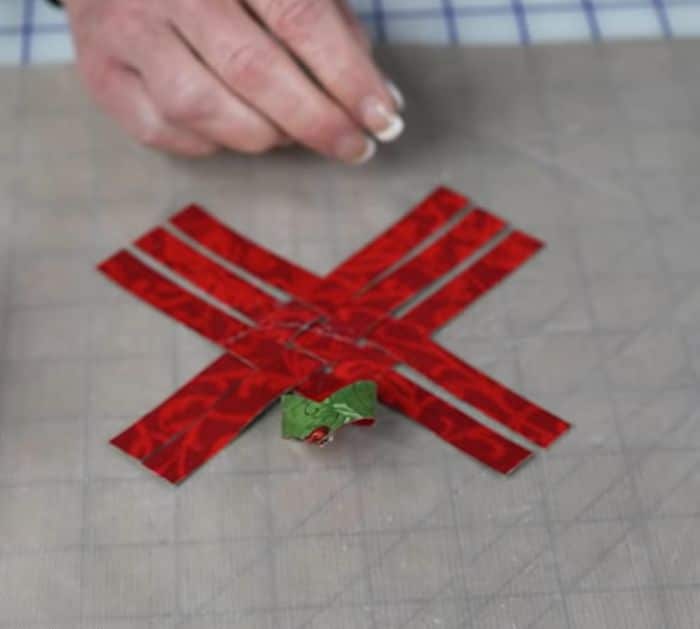
Next, take another 2 pieces and place them beside the middle vertical strip on the same side.
The spacing is at your discretion.
Glue them in place.
For the last two strips, place them horizontally beside the middle strip, making a weave.
Glue them to secure them.
Pivot the other strip on the corner and glue it to the end of the other.
Do the same for the four corners.
Do the same process for the other side of the ornament.
Step 6:
Place the front side to the back side of the ornament.
Rotate it so it will fit perfectly.
Tuck the strips into the loops and glue.
Repeat from the other side.
Trim off the excess.
