Spring is here, and Ive been having so much fun making paperflower crafts!
Honestly, I cant get enough.
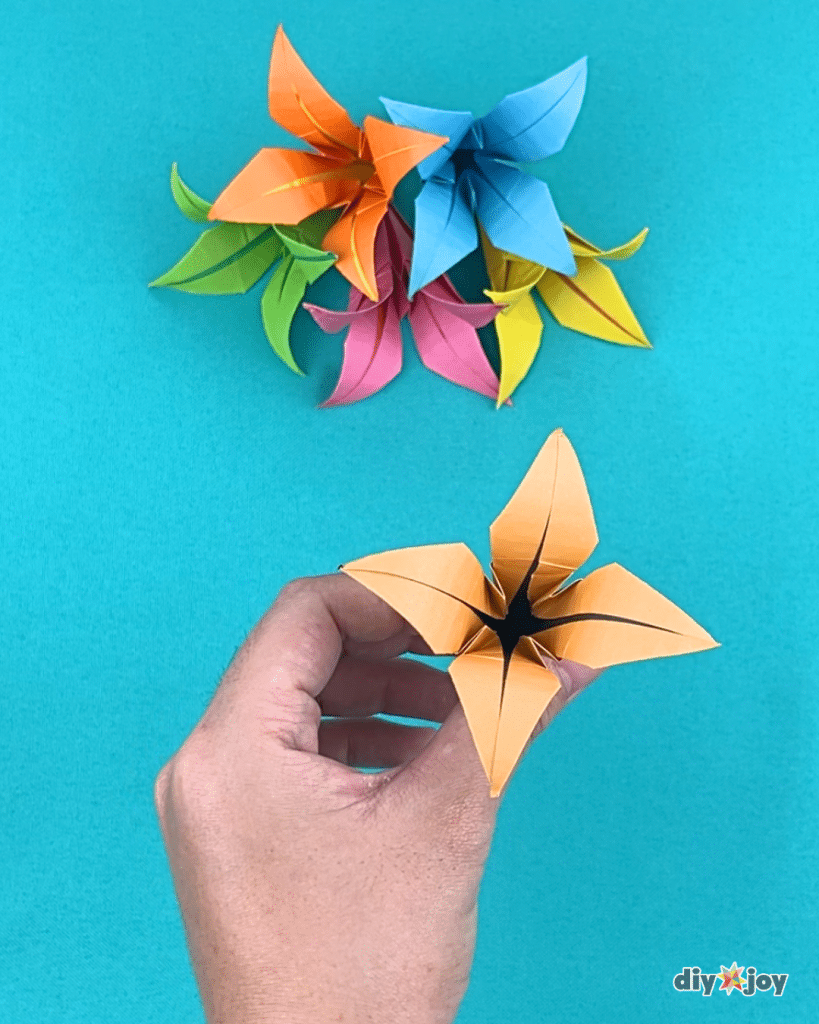
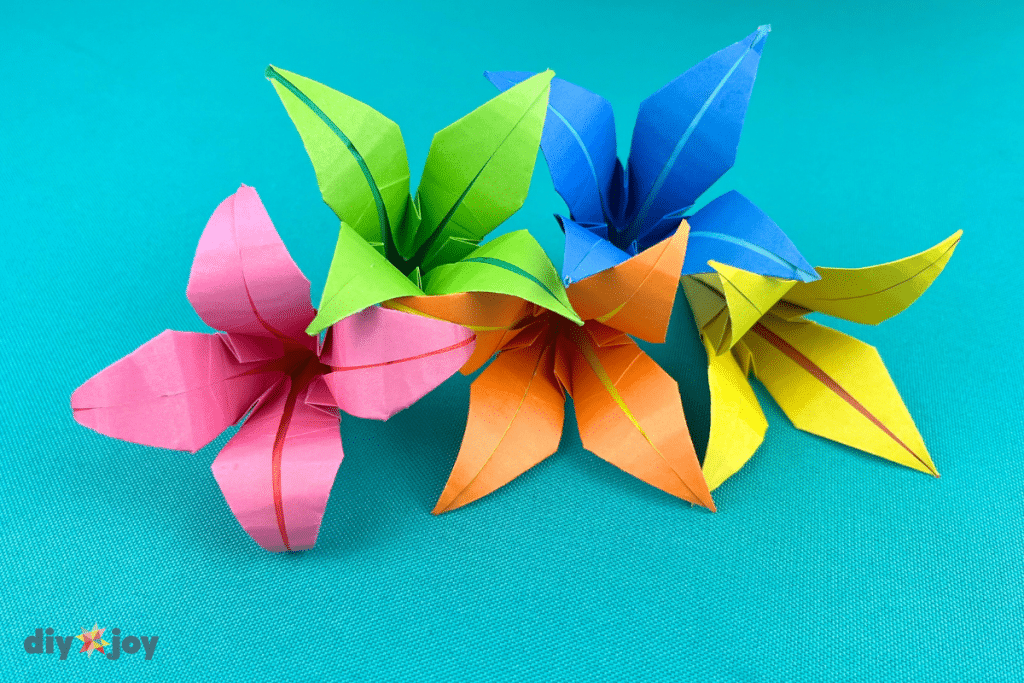
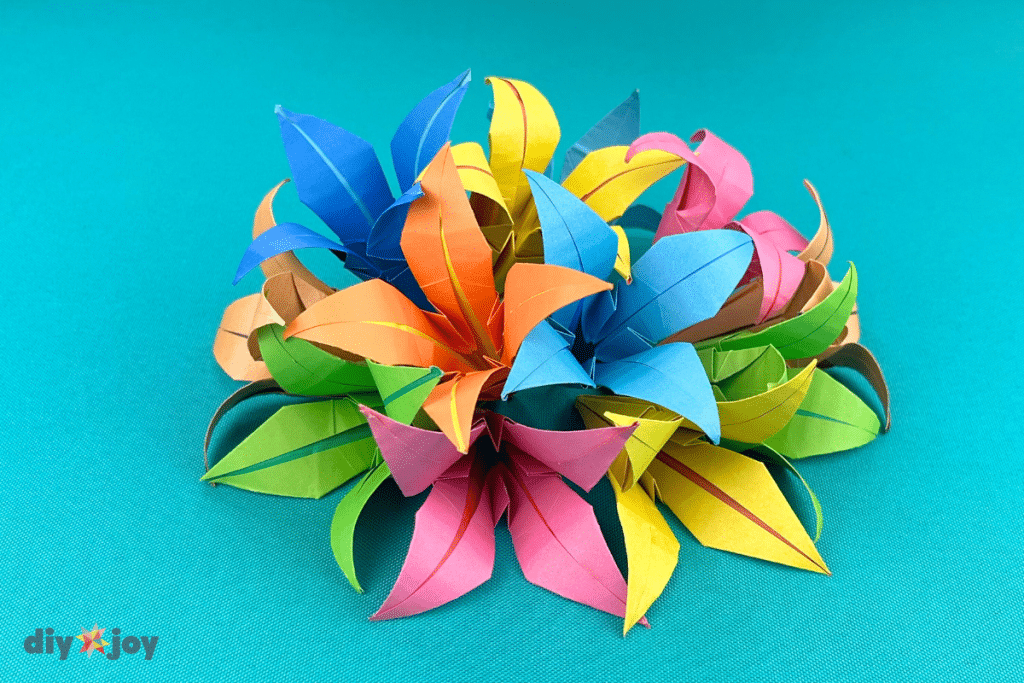
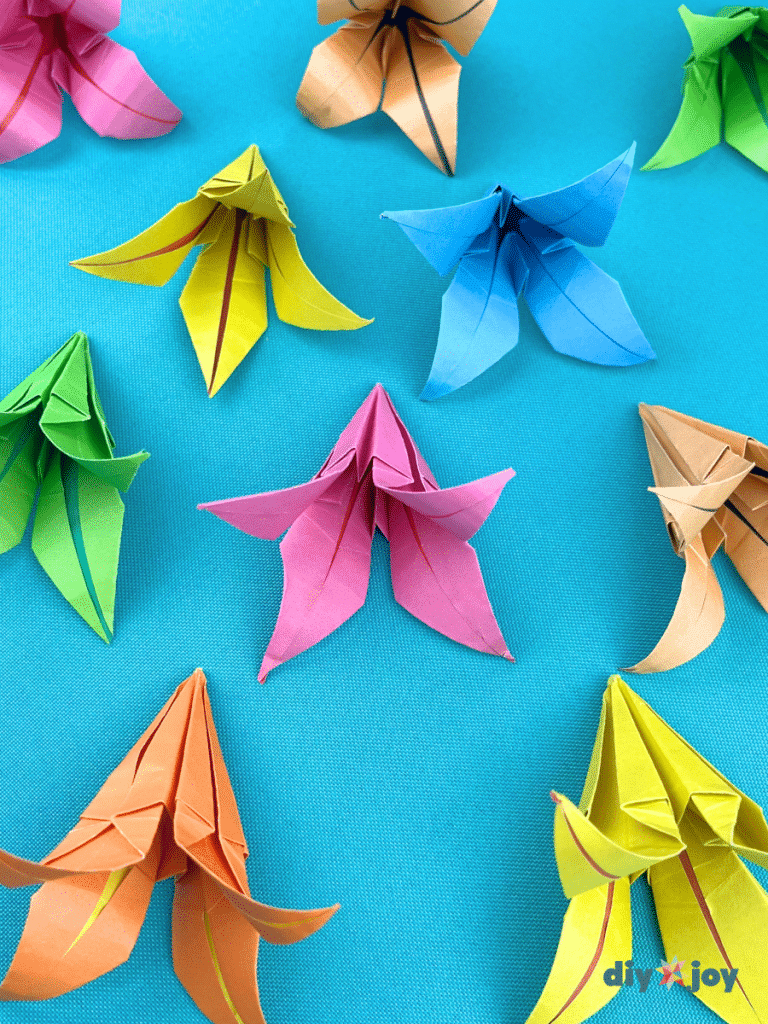
These gorgeous paper lilies have kept me happily busy for days.
Theyre beautiful, simple to make, and inexpensive.
If you are looking for aneasy craftto try this season, this is definitely it.
I also recently made atulip paper flower bouquetand it turned out even better than I imagined!

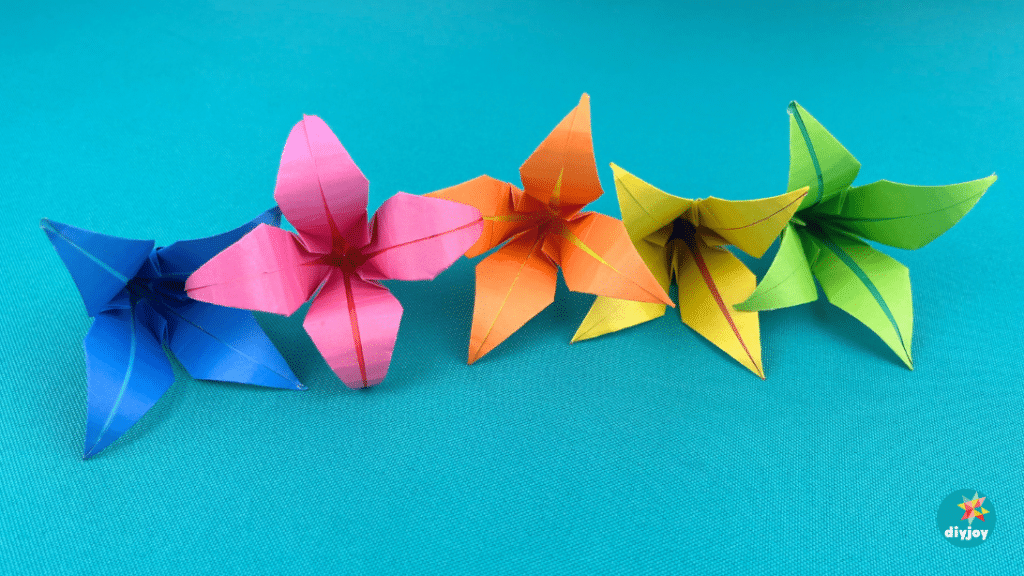
They are so lovely that Ive been using them as photo props.
These DIY paper flowers are truly the perfect spring decorations.
Whether you are a kid or an adult, youll love this fun and easy art activity.
If youd like to learn how to make paper flowers, keep reading for the step-by-step instructions!
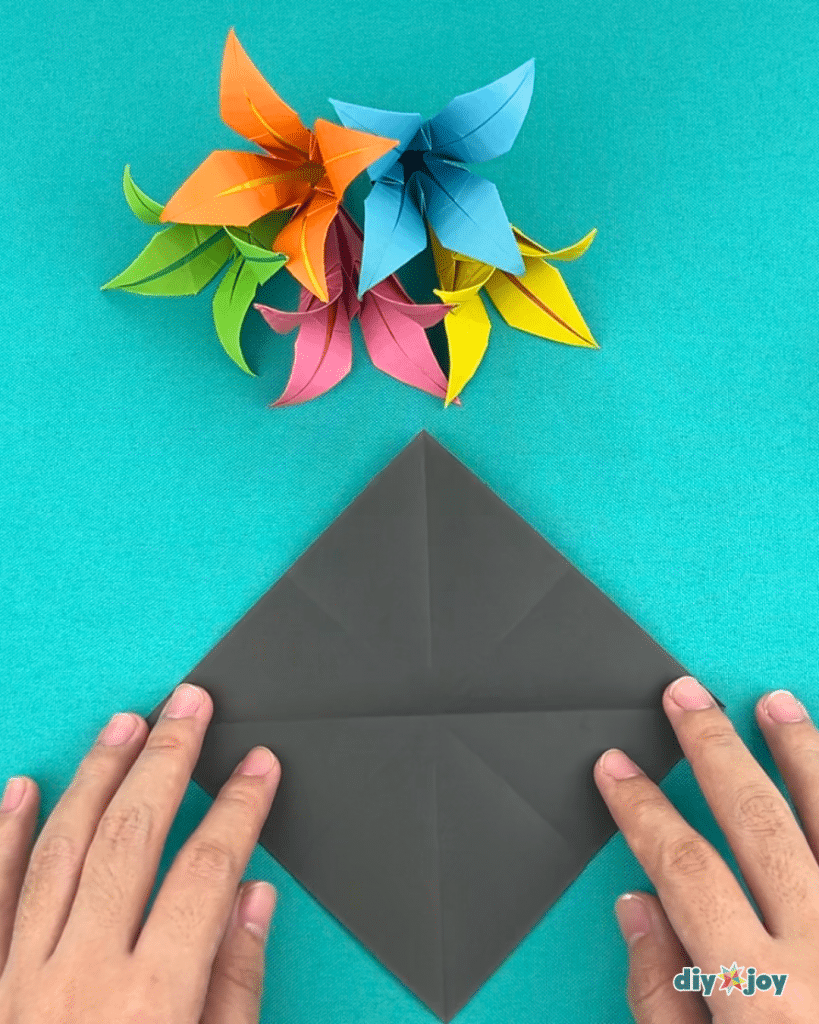
Step 2:
Open and rotate.
Fold again in half.
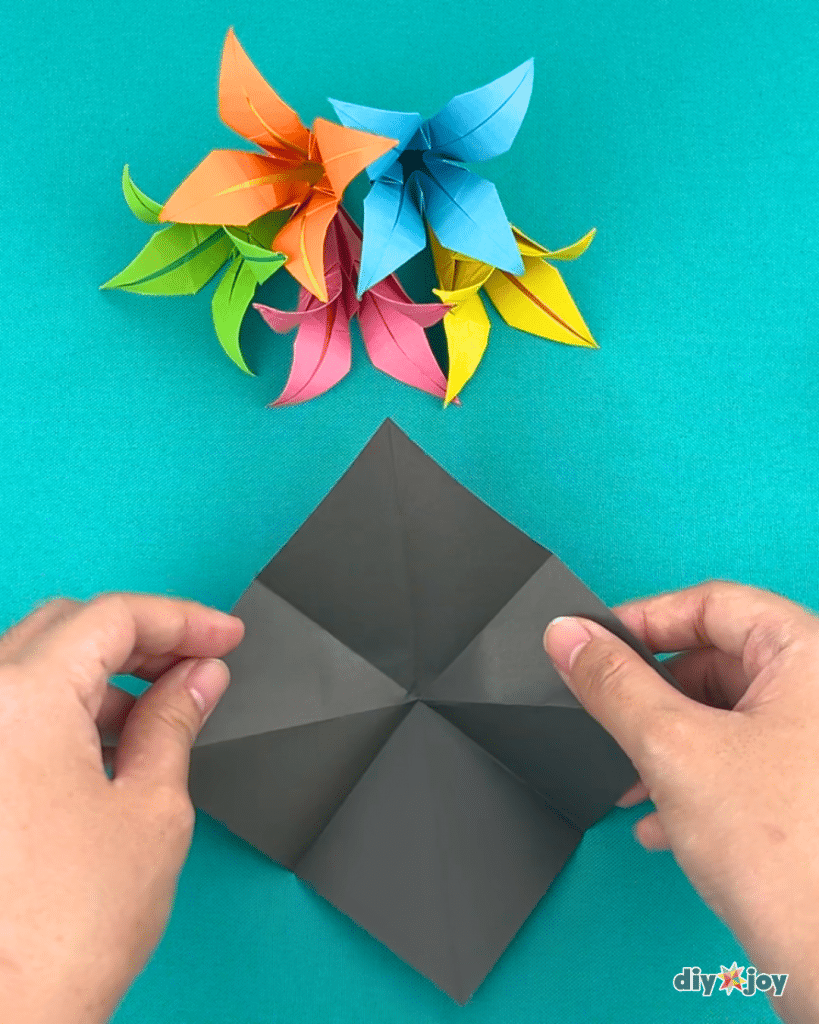
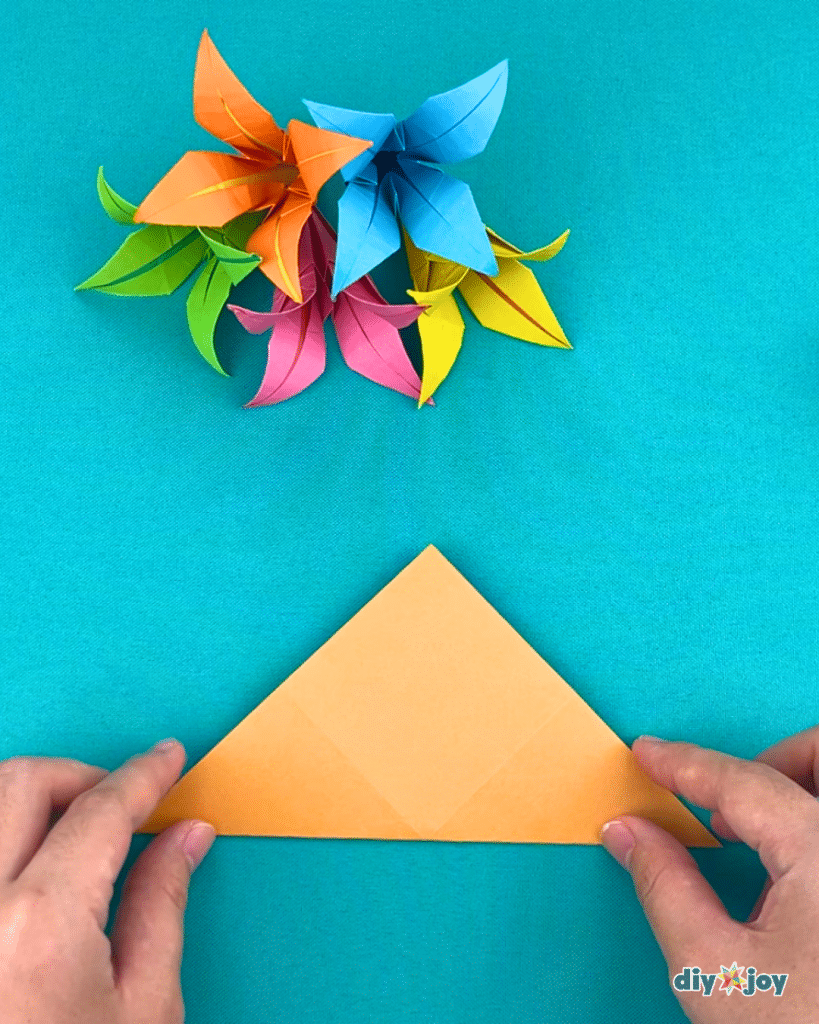
Step 3:
Rotate so one corner faces you.
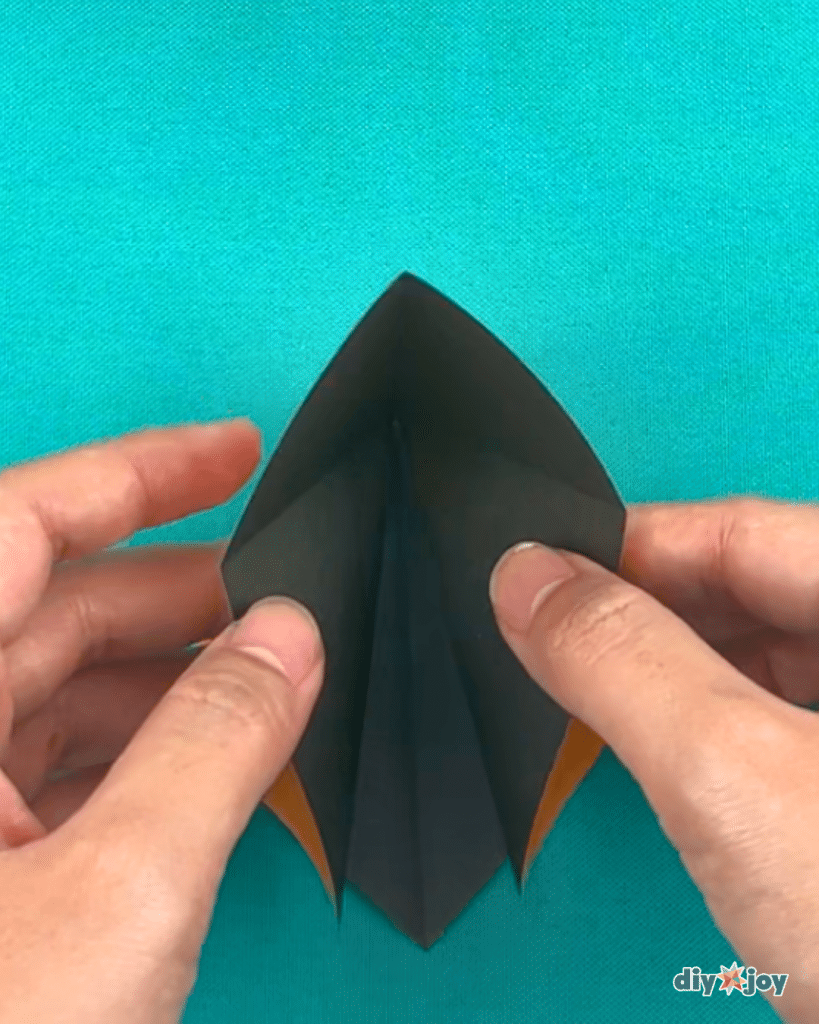
Step 4:
Open and rotate.
It should look like this once opened.
It should look like this once folded.
Step 6:
Fold the sides toward the center line.
Step 7:
Flip and repeat step 6.
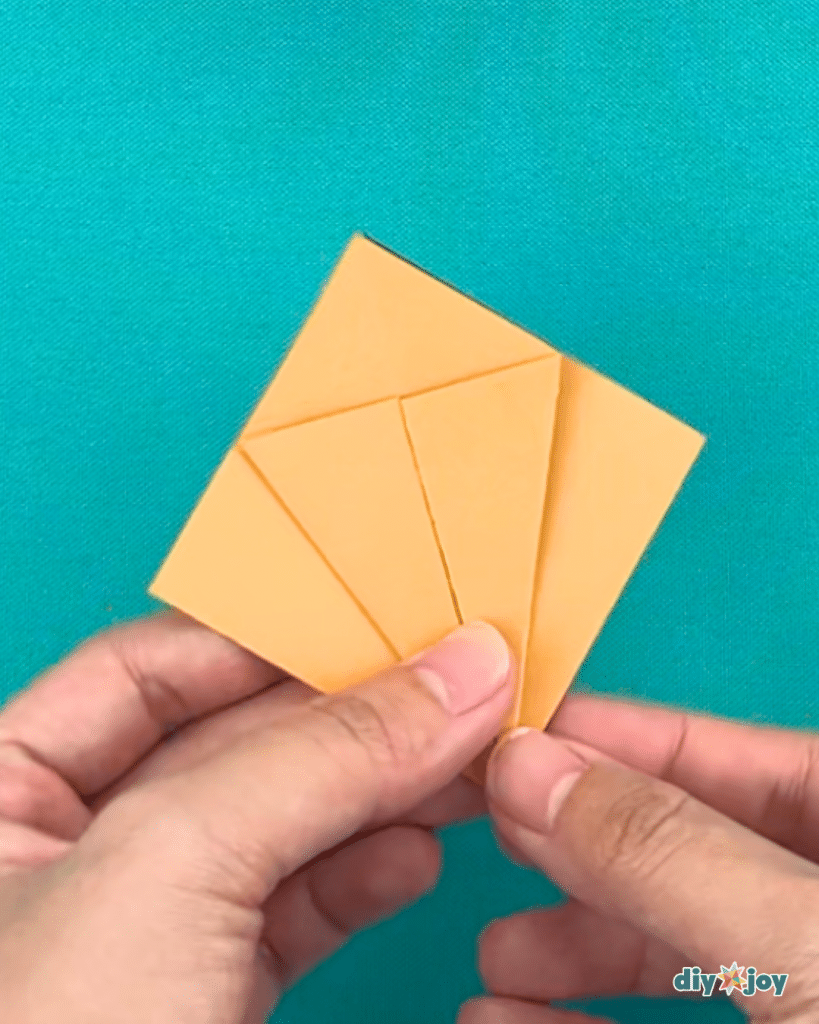
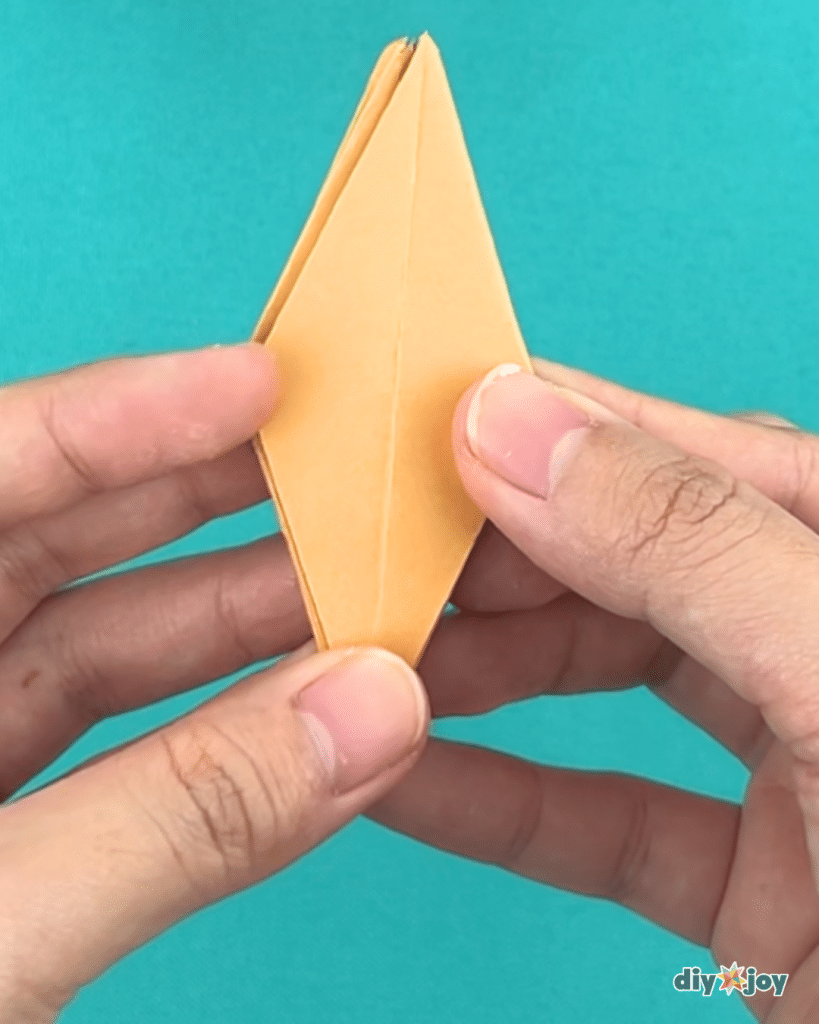
Step 8:
Open one fold, then flatten.
Repeat for all folds.
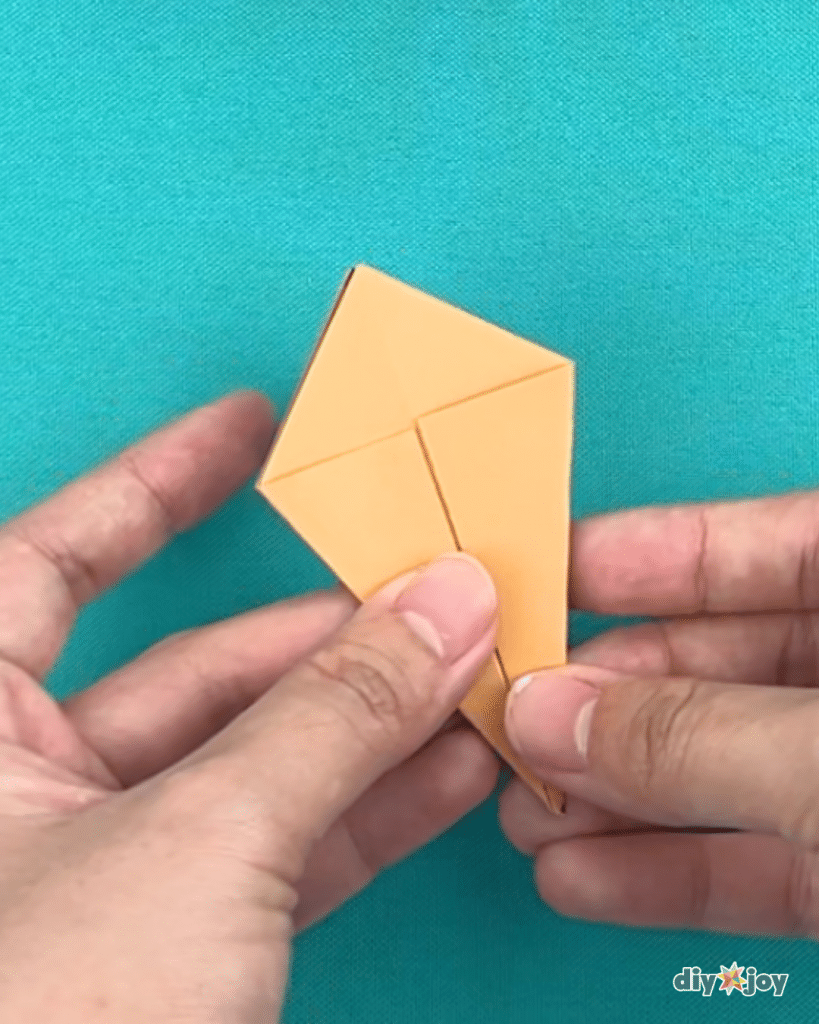
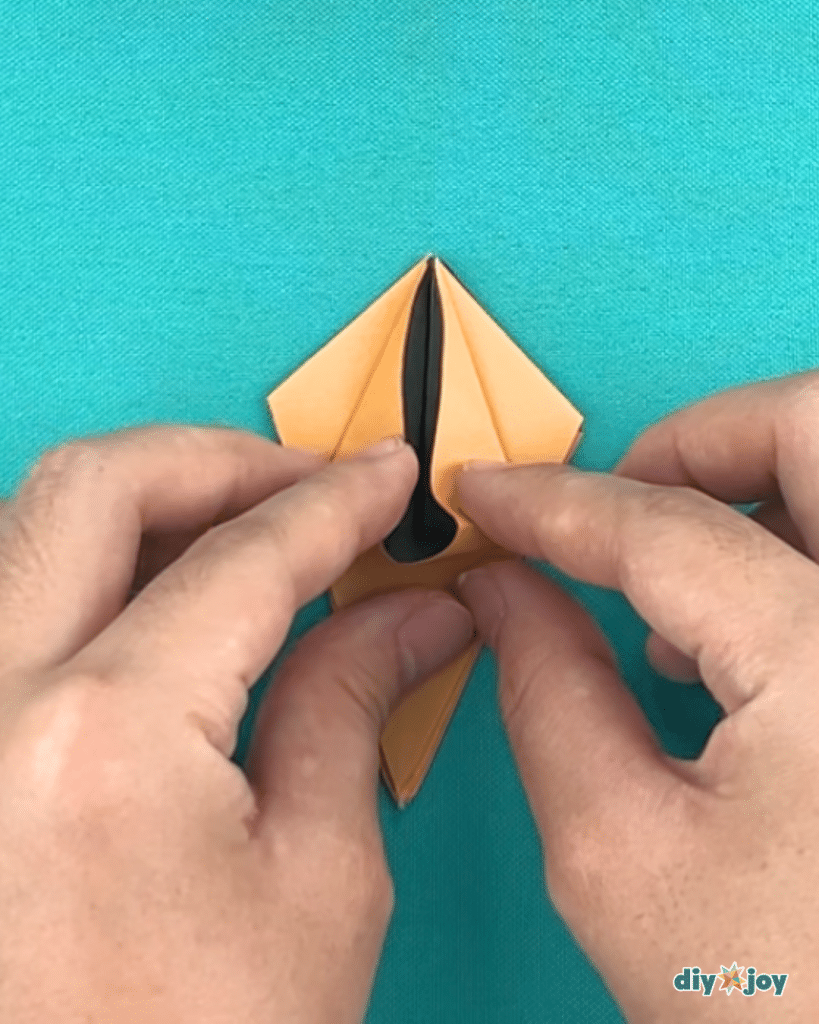
Step 9:
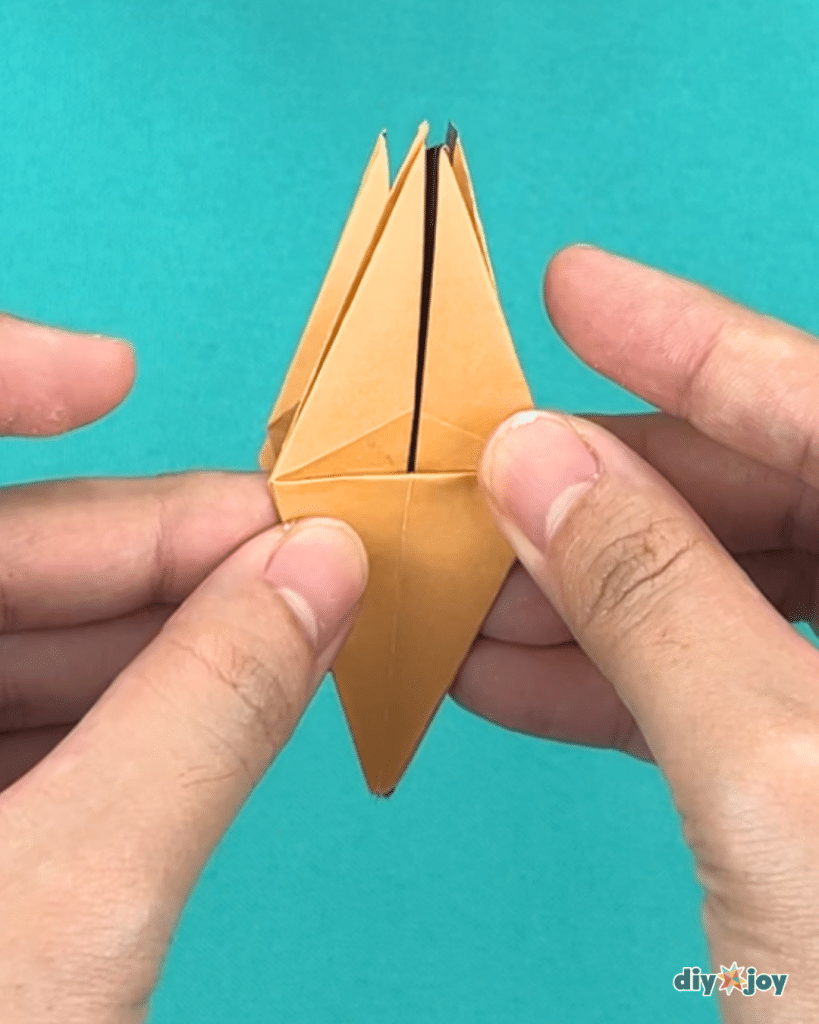
Fold both sides inward toward the center.

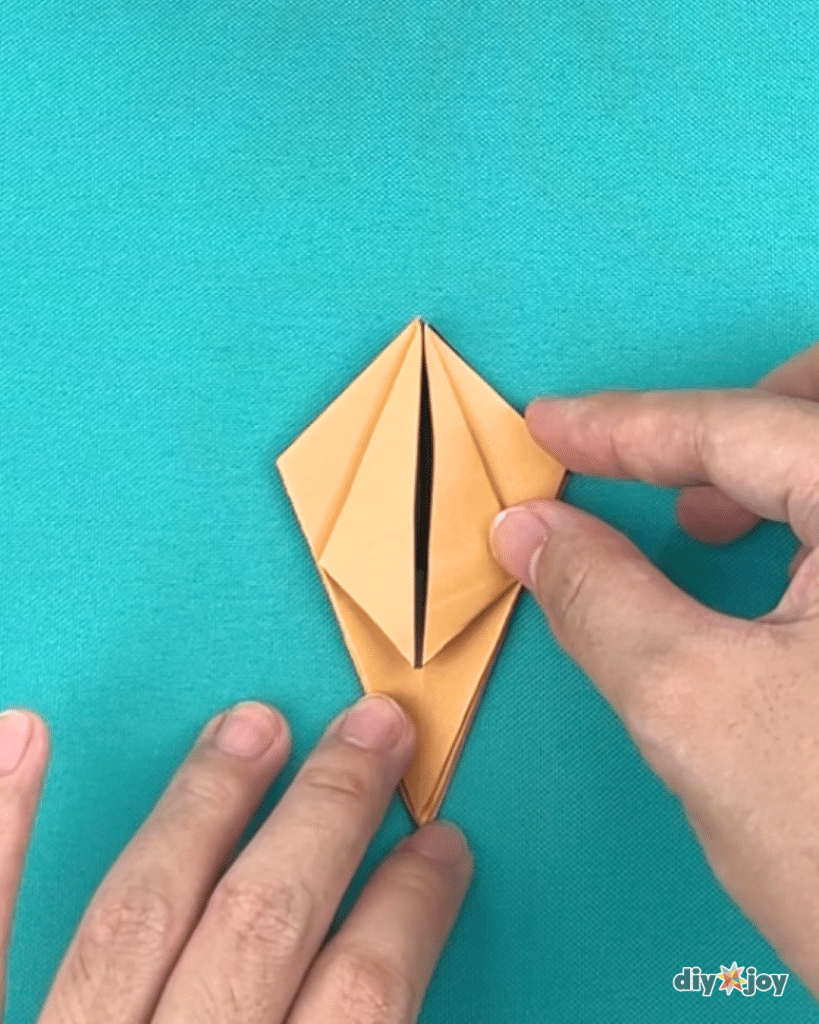
Fold the bottom point upward.
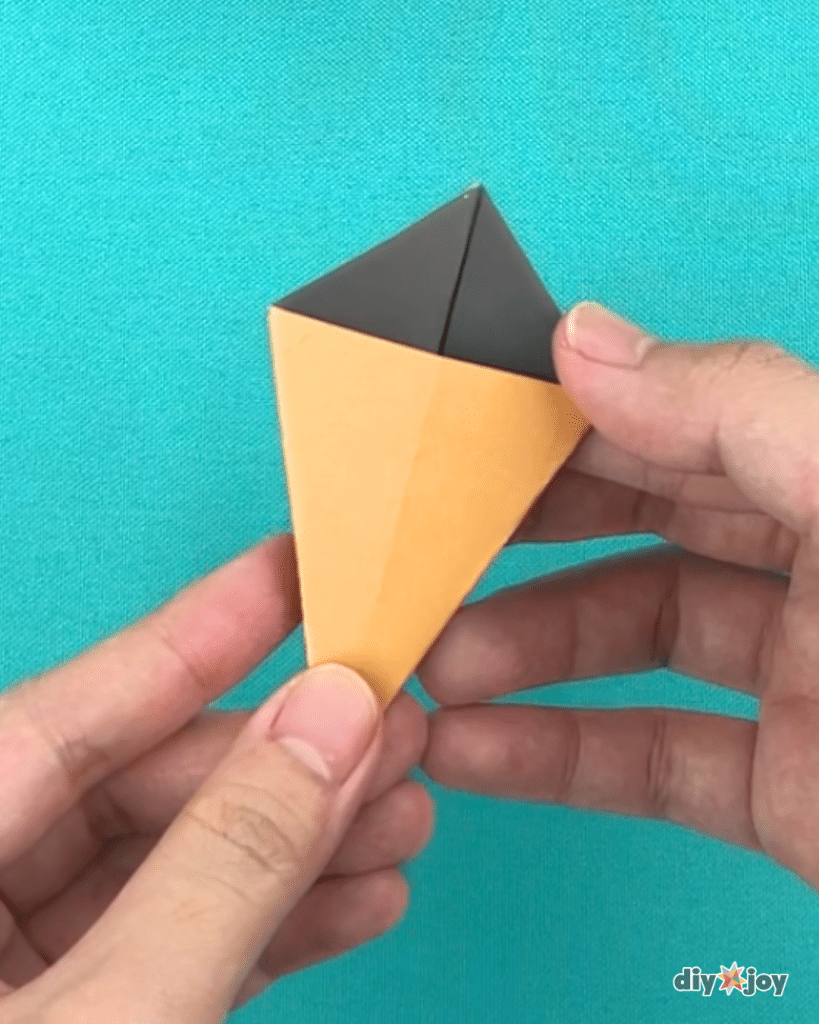
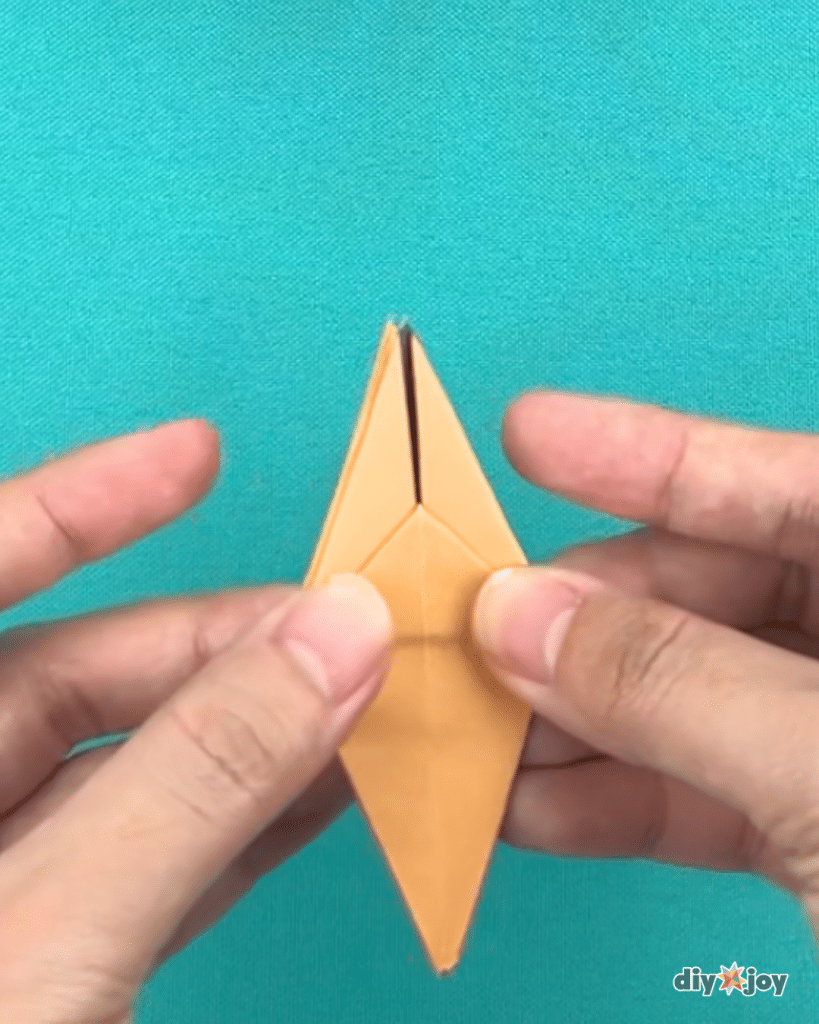
Step 11:
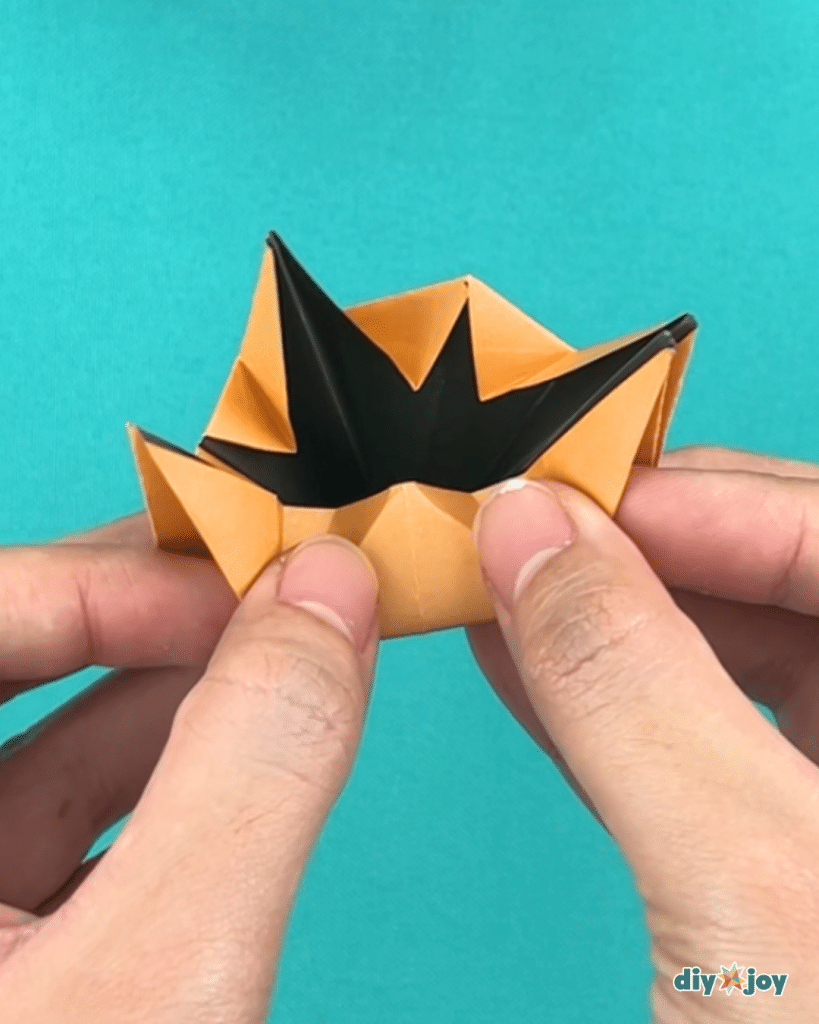
Hold the middle side folds, then gently pull to open.
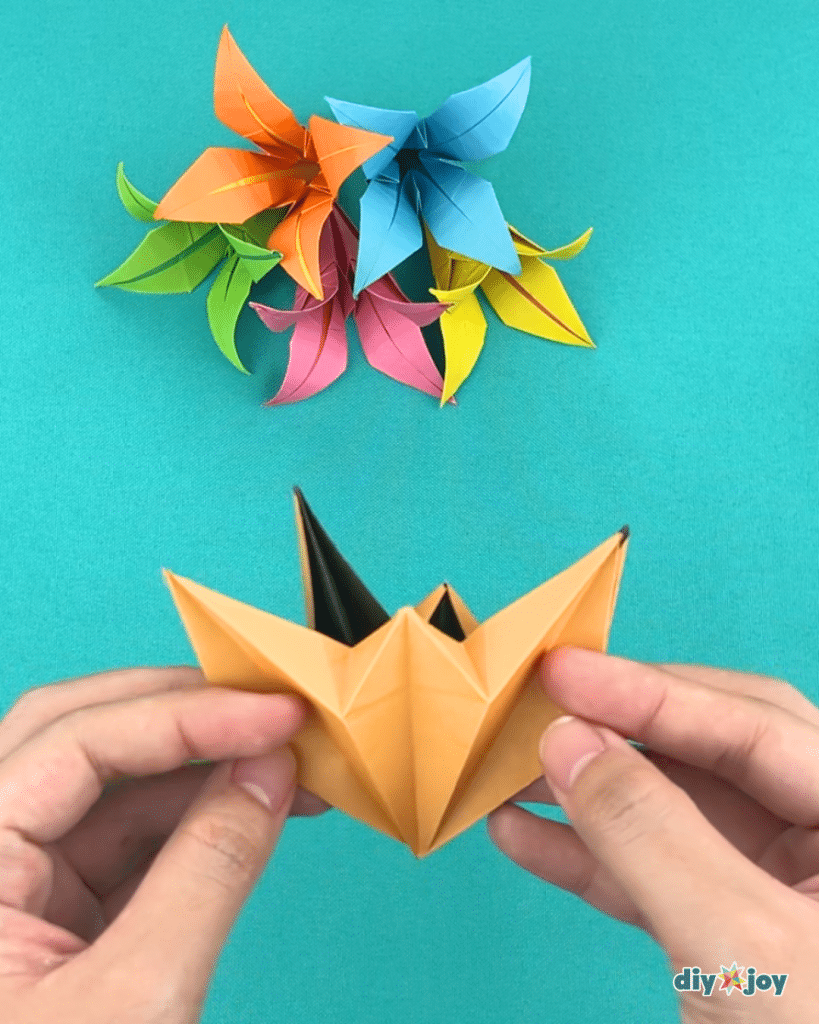
Fold the top center inward.
Repeat the steps on all sides.
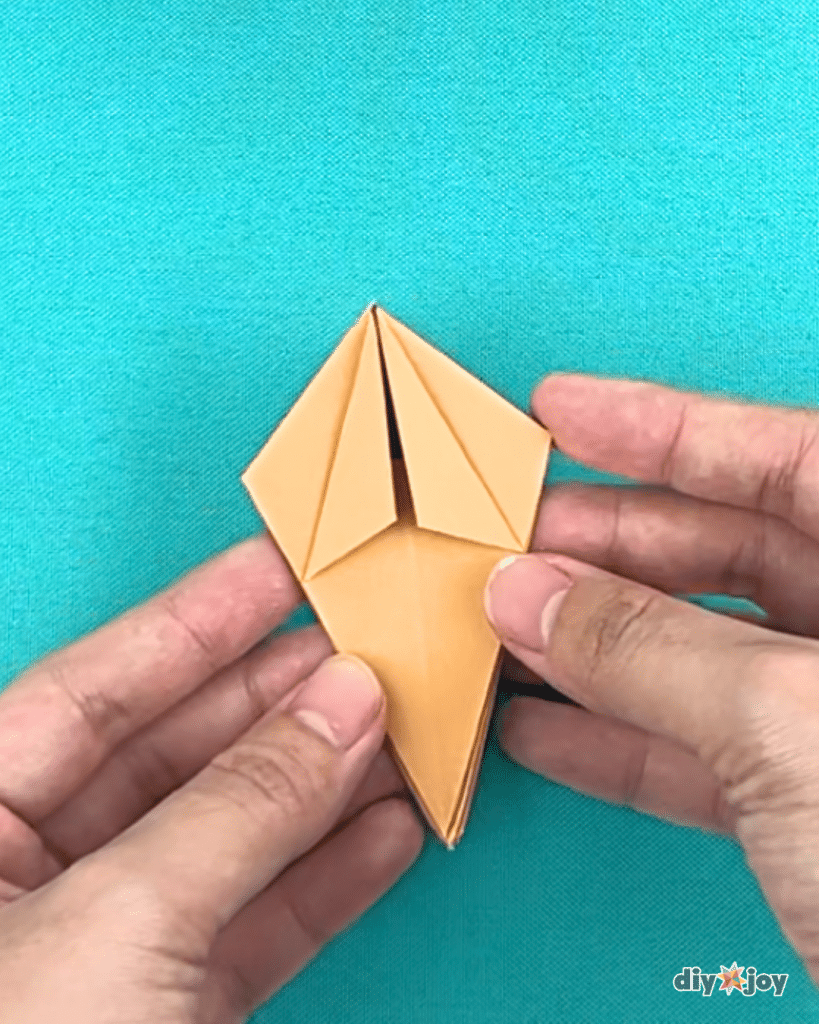
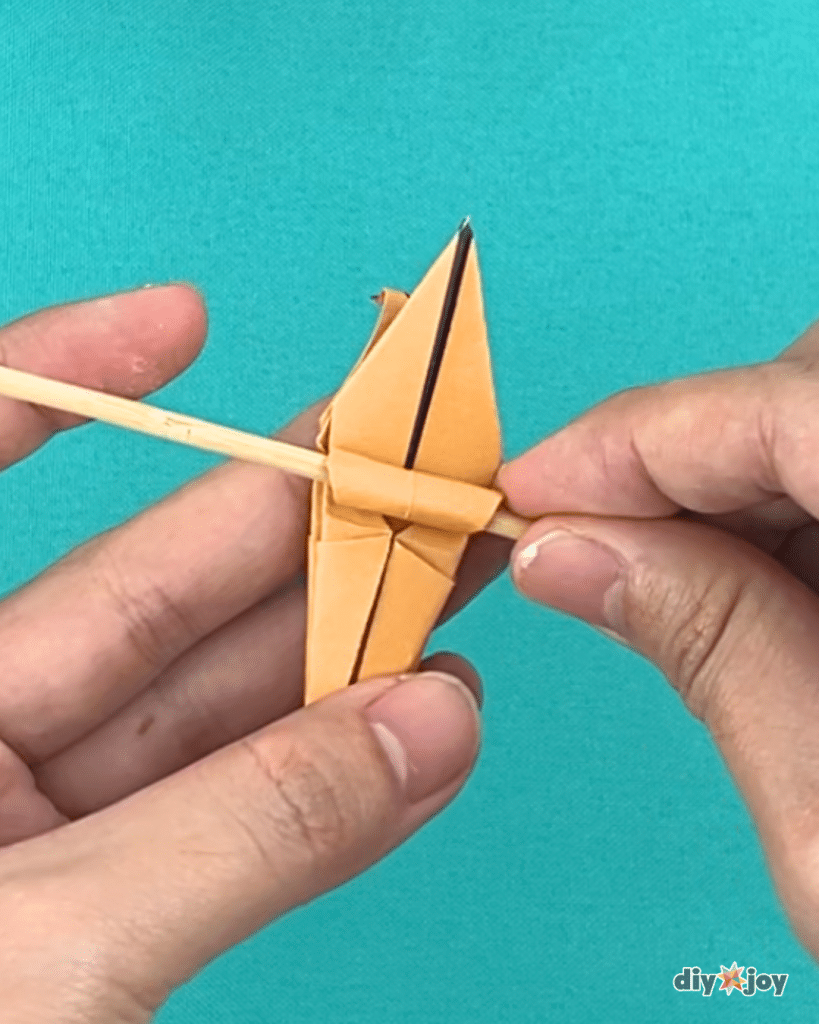
Step 13:
Curl the tips using a skewer and you are done!
https://www.youtube.com/watch?v=4X4ebIjkwL4