Looking for a last-minute gift to your friends or loved ones?
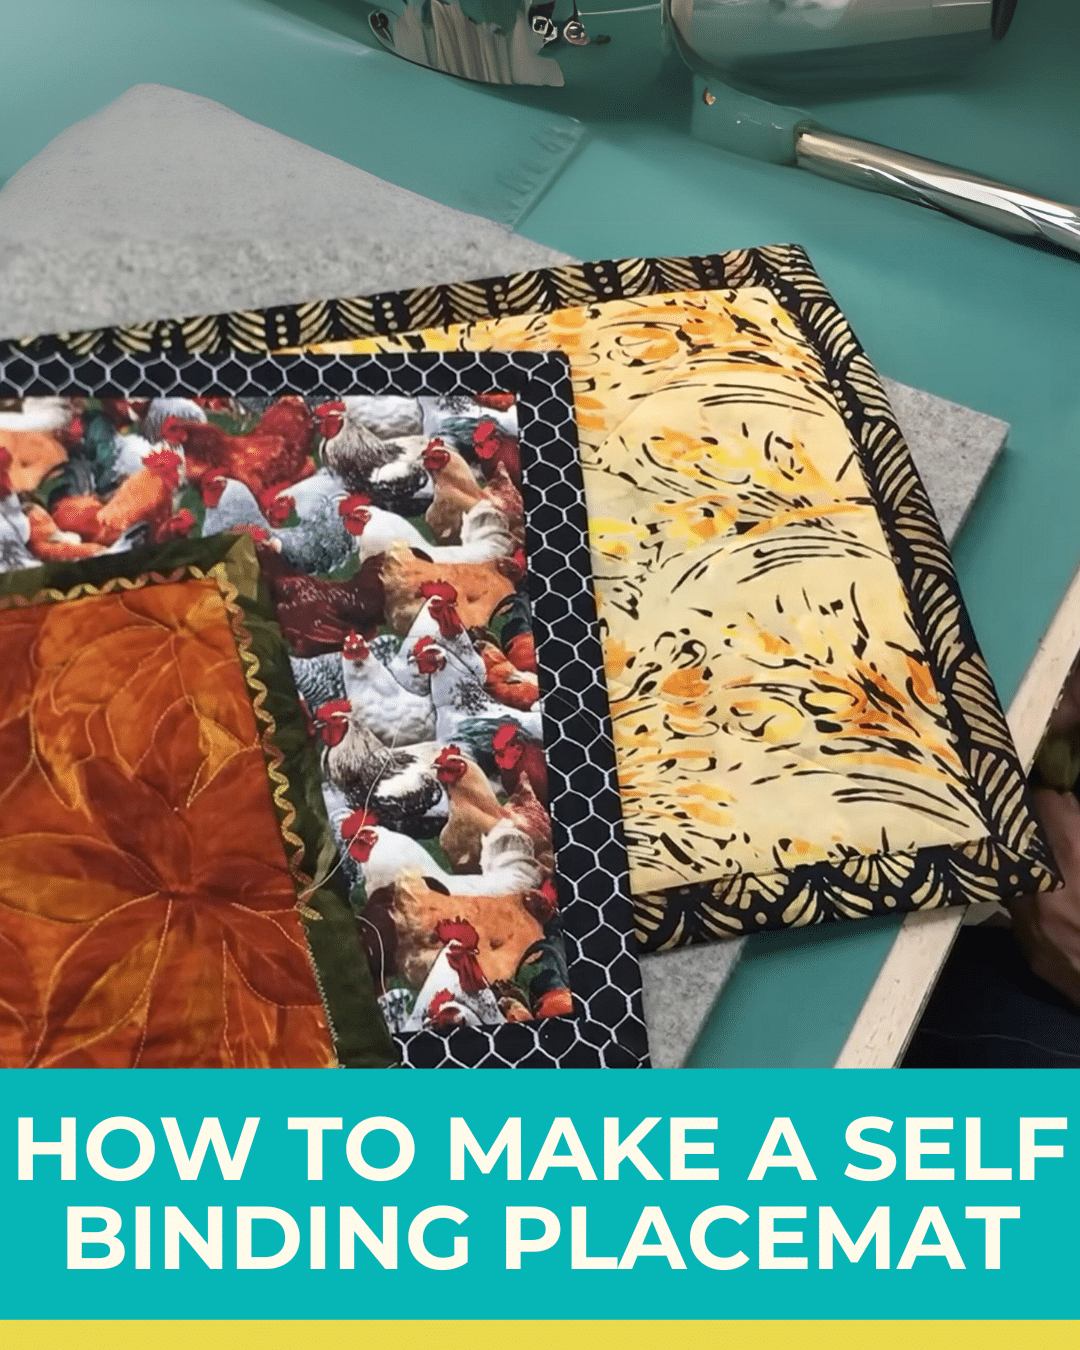
This self-binding placemat is the way to go!
you’re free to make a ton of these placemats in just a day.
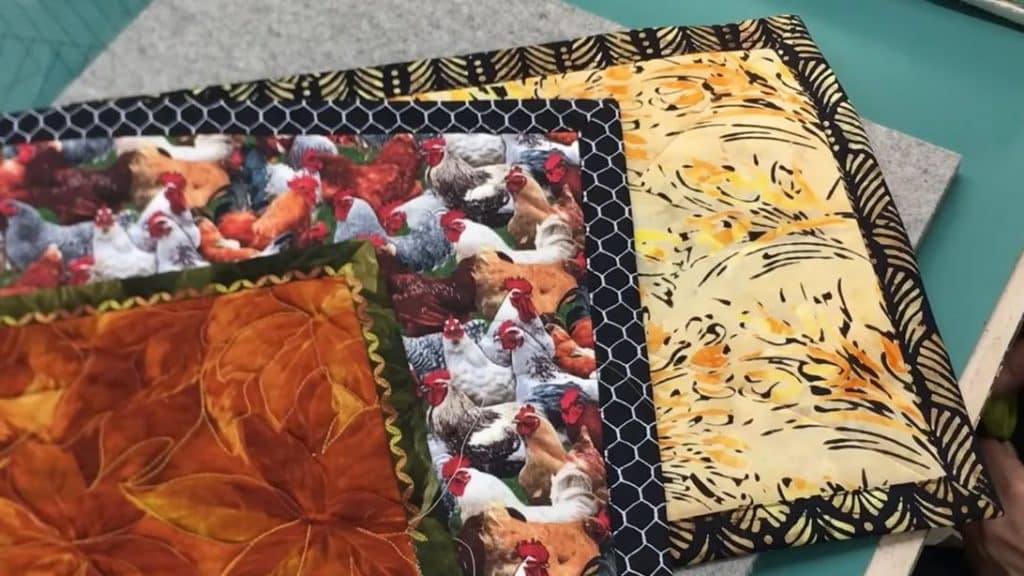
Image by Cindy Bee via YouTube
They can be customized for whatever occasion, and the size is adjustable.
Its the perfect gift for Christmas!
Making one is super simple and not as complicated as you might think.

If you find sewing the corners very challenging, you will love this simple technique byCindy Bee.
The mitered corners will turn out perfect.
you could also use this method for table runners.
The steps are clear and easy to follow.
Learn how to make a self-binding placemat by watching the video tutorial below.
Fold both in half twice and press with an iron to find the center.
Step 2:
Place the fusible batting with the rough side up.
Place the front fabric on the top right side up.
Press it to the batting.
Fold in half in both directions to find the center.
Place a pin on the centers.
Step 3:
Take the back fabric and place the wrong side up.
Place the front fabric with the fusible right side up.
check that it is centered 2 inches allowance on all sides.
Put a little bit of glue to hold it in place.
Turn it over and flatten.
Lock the stitches in the beginning and end.
Press flat with an iron.
ensure not to overlap it.
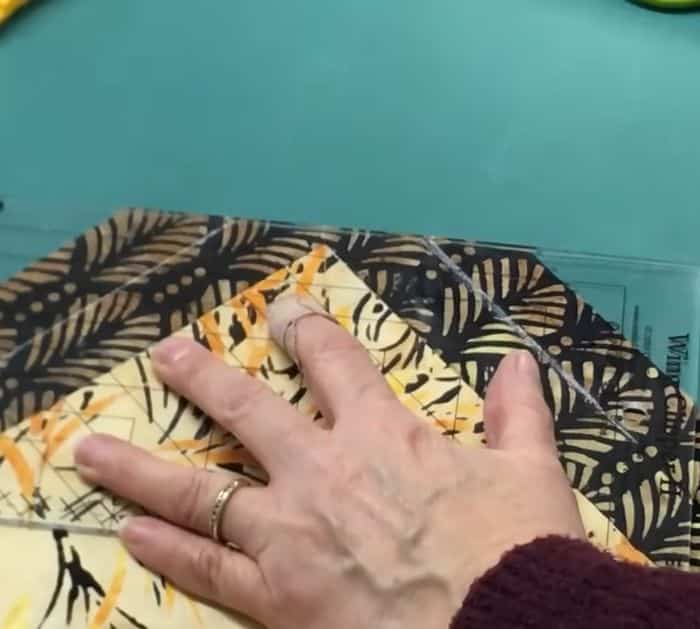
Draw right in the fold lines on the corner.
Place the ruler on the corner with the diagonal lines aligned with the edge of the front fabric.
Cut the corner off.
Step 6:
Place a quarter-inch foot on your sewing machine and stitch length back to two.
Place them right sides together and align the edges.
Sew from that drewn line off to the inside corner.
Do this for all four corners.
Step 7:
Press the seams of the corners open with your thumb, then flip.
Do the same for all corners.
Step 8:
Top stitch the binding.
