Designing your own jewelry is a dream!
Materials:
Directions:
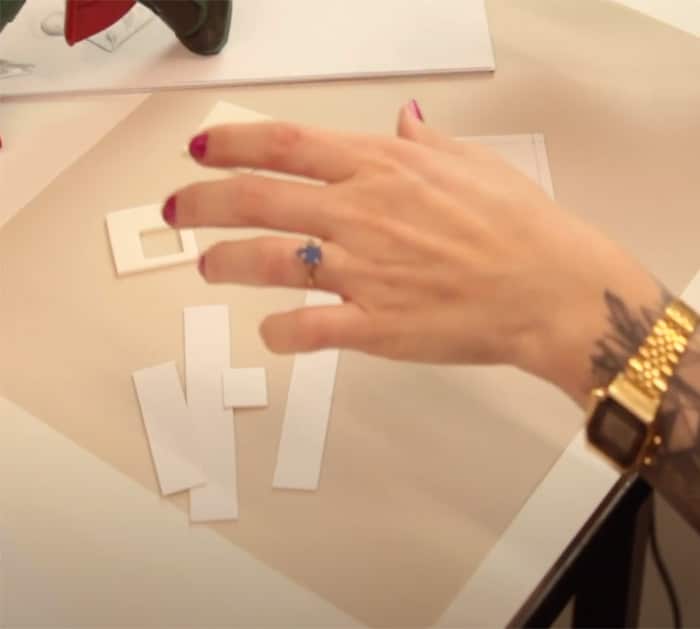
Prepare all the needed materials.
First, measure out and cut the ident for the shape of the earrings from the plastic.
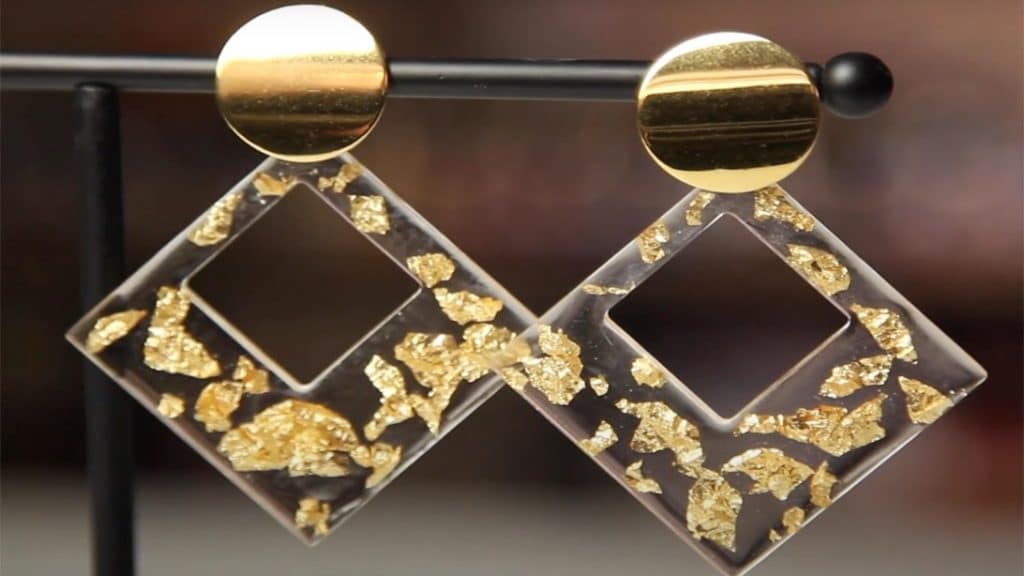
Image credit: Canvas on Youtube
Then, sand its edges with a refiner.
Second, construct a box intended to be used as a molder to be filled with the blue wax.
Use plastic and attach the pieces with hot glue.
Next, place and insert the cutouts.
They will act as the mold for the resin to be cured into.
Carefully pour in the blue wax.
Spread the wax by moving the box to fill all the edges.
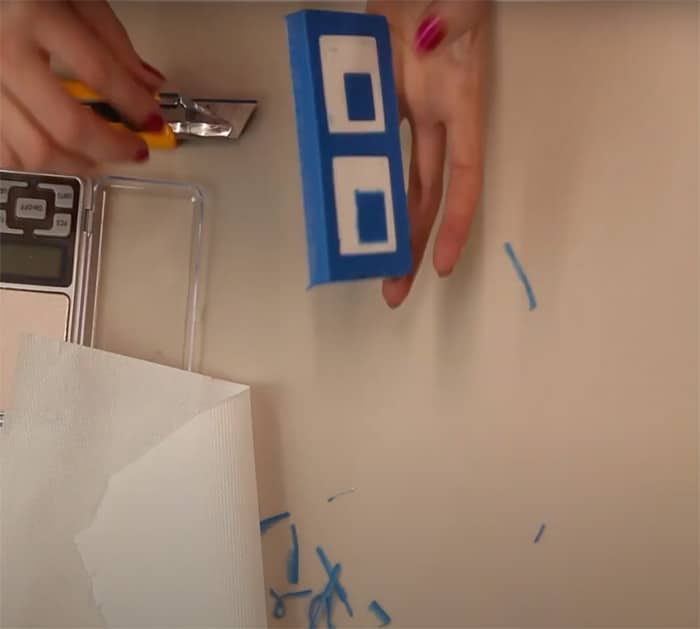
When done curing, remove the box to leave behind the wax casing and plastic cutouts.
Carefully remove the cutouts by running through a sharp cutter around its edges.
when you obtain removed the idents, gently pour in the epoxy resin in the mold halfway.
verify every part of the mold is included.
Decorate the epoxy with gold foil or any decorative item you desire.
When done, pour in the second layer of the resin and wait for it to cool.
Remove the earring from the mold once it has completely cooled.
For the last step, sand down and polish the edges of the earring to make them smooth.
Attach the earring piercing part and voila!
You have now made beautiful earrings.
Try them out and flex them with a great outfit.
