After big projects, I take a break by tackling small ones that I can do within the day.
Yesterday, I made this flower using a satin ribbon.
I learned about this idea throughPetal Arton Youtube.
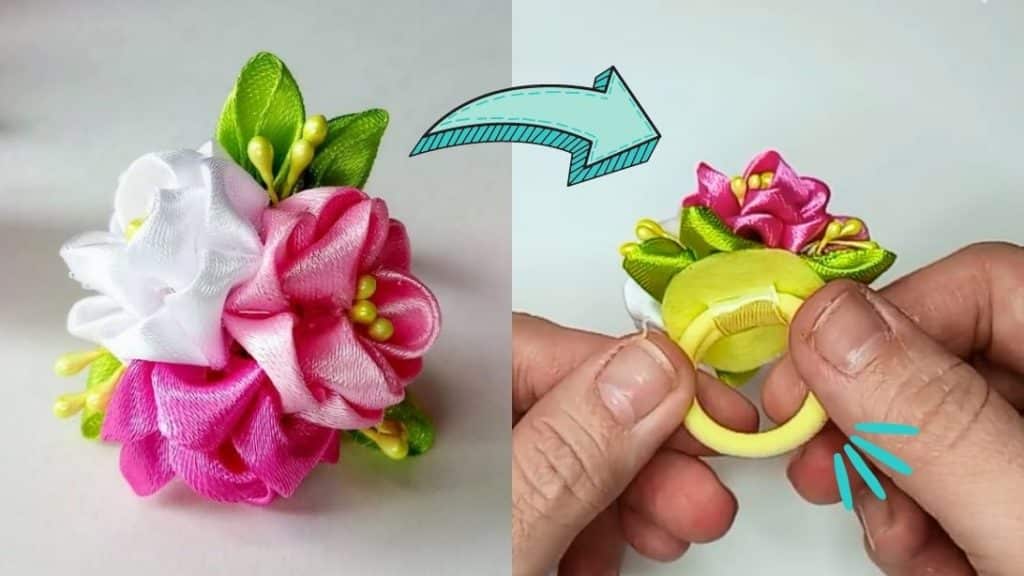
Image by Petal Art via Youtube
I still cant believe how gorgeous it turned out!
Watch the video below for full instructions.
Get one of the squares and fold it in half diagonally.
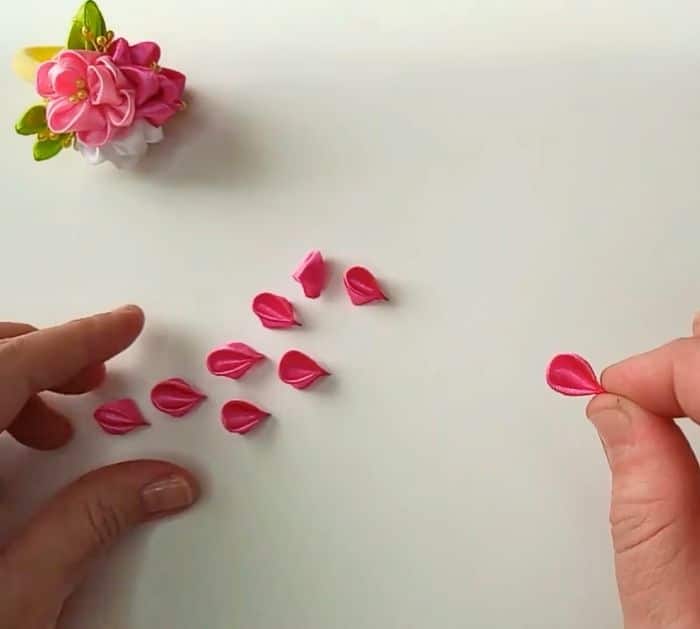
Get the tips and fold toward the center.
Fold it in half then heat the tips with a lighter.
Repeat with the remaining squares.
Step 2:
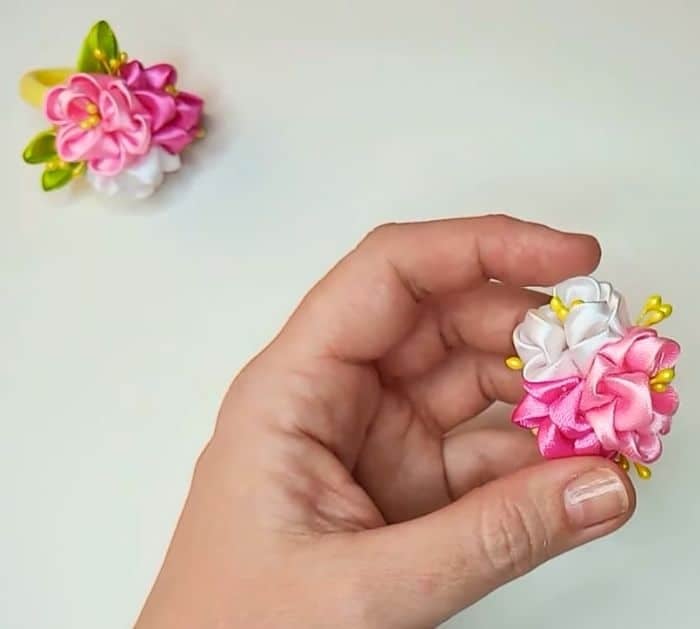
Glue 6 pieces together to make a flower.
After that, glue the remaining 3 pieces on top.
Step 3:
Twist the stamens together and insert them in the center of the flower.
Step 4:
Make two more of these flowers in different colors.
Step 5:
Glue the three flowers together, then attach more stamens in between each flower.
Step 6:
Cut a 2-inch from the 0.55-inch satin ribbon.
Using a tweezer, pinch the straight edge, then fold the ends upward.
Trim off some of the ends and heat to stop it from fraying.
Repeat the process to make 3 more leaves.
Step 7:
Glue the leaves at the back of the flower.
Next, cut a small circle from the felt.
The circle should be a little bit smaller than the flower.
Cut two small vertical lines on the felt paper for the ribbon.
Insert the ends of the ribbon into the holes, then glue them onto the felt.
Step 9:
Glue the back of the flower to the felt.
