If you sew, you might also use it as a pincushion.
Learn how to make pumpkin socks with this tutorial byA Well Purposed Womanon Youtube.
Its an easy DIY project you’re free to do with your friends and family.
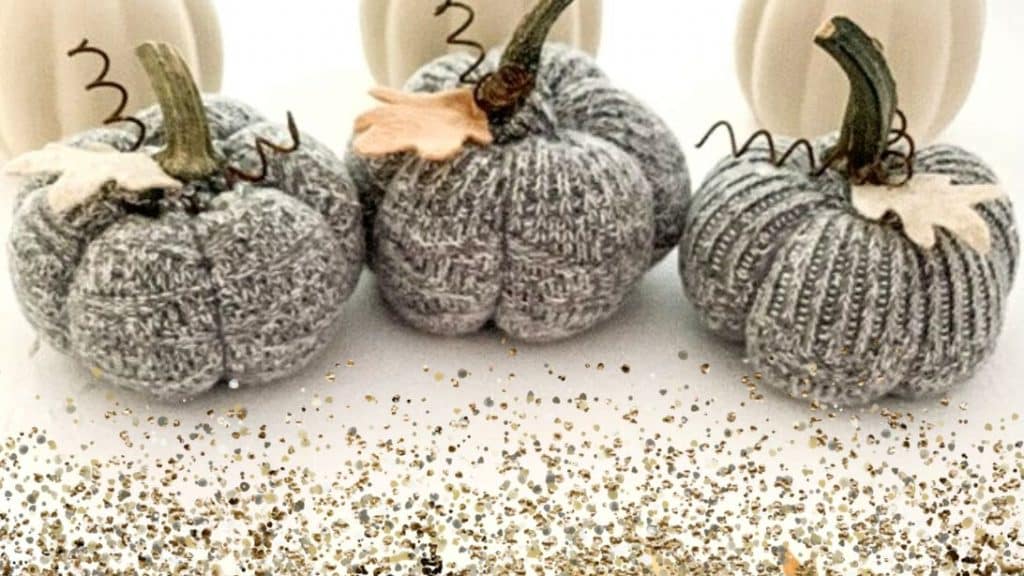
Image by: A Well Purposed Woman
Watch the video below for the full instructions.
Get the tube part and turn it inside out.
Insert the embroidery floss on the needle and make a knot on the end.
Hand-sew the top portion of the sock.
After that, tie up the thread and cut the excess.
Step 2:
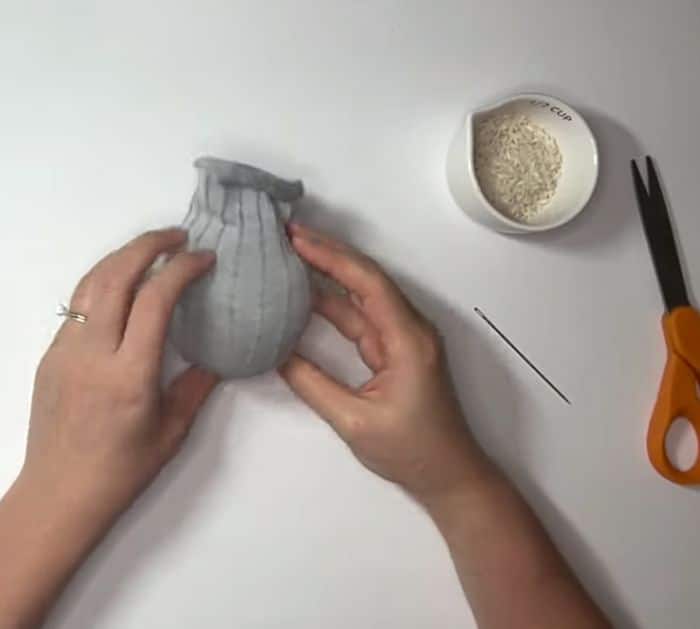
Put a little bit of rice into the bottom of the sock.
Next, add the polyfill to make it look plump.
Press it inside until it becomes like a ball.
Take your thread and needle again.
Go in and out around the top edge of the sock.
Cut the thread and the excess fabric sock on top.
Step 3:
Take a long embroidery thread and insert it into the needle.
Pull it tight and wrap it around the pumpkin, and go through the top again.
Repeat until you have 6 sections then make a knot to secure.
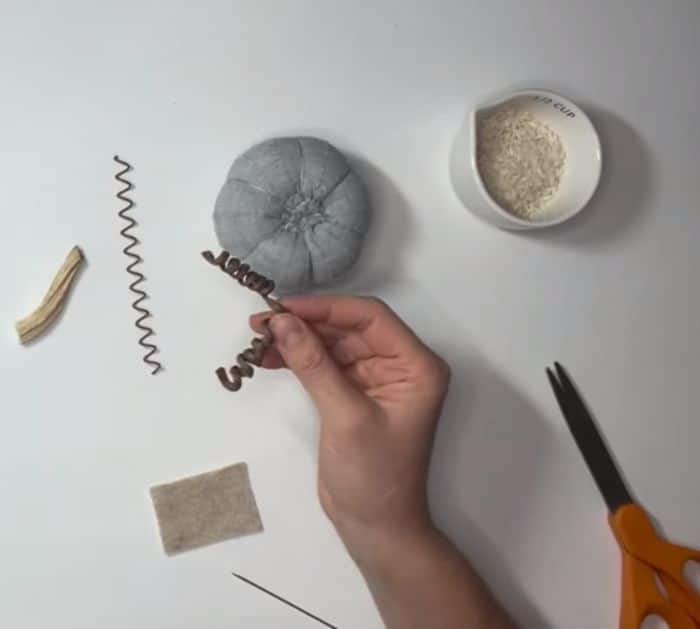
Step 4:
Bend the springs into half and cut leaves on the felt paper.
Glue the leaf and the pumpkin stem on top of the pumpkin and hold for 30 seconds.
Then lastly glue the rusty springs.
