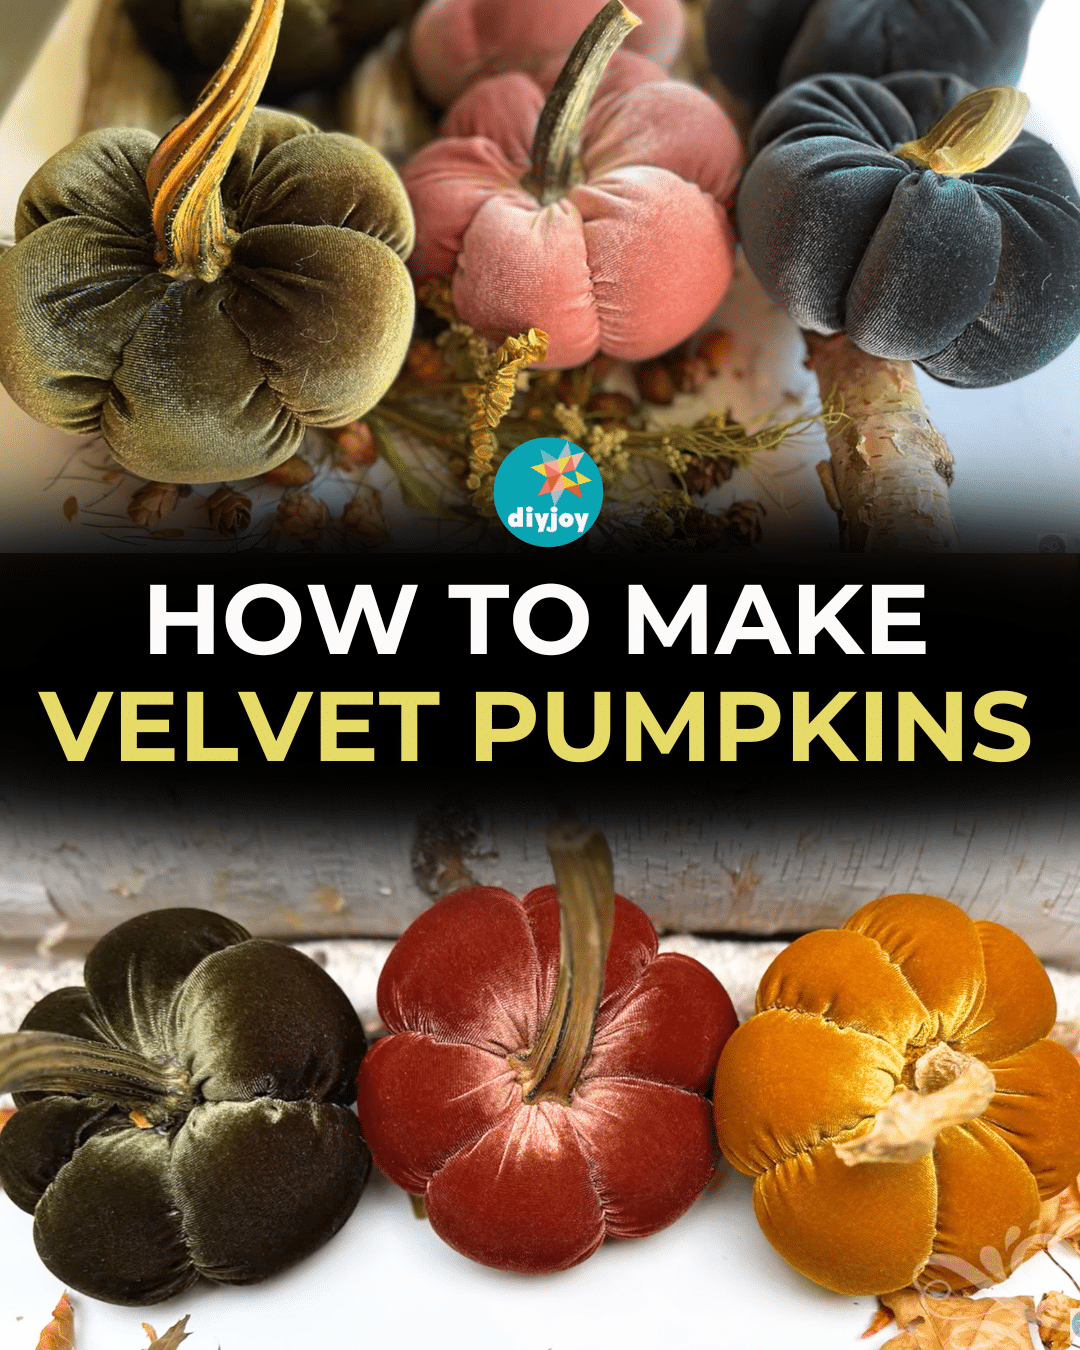
Looking for the perfect Fall decoration?
Look no further than these velvet pumpkins!
How lovely are these DIY pumpkins?
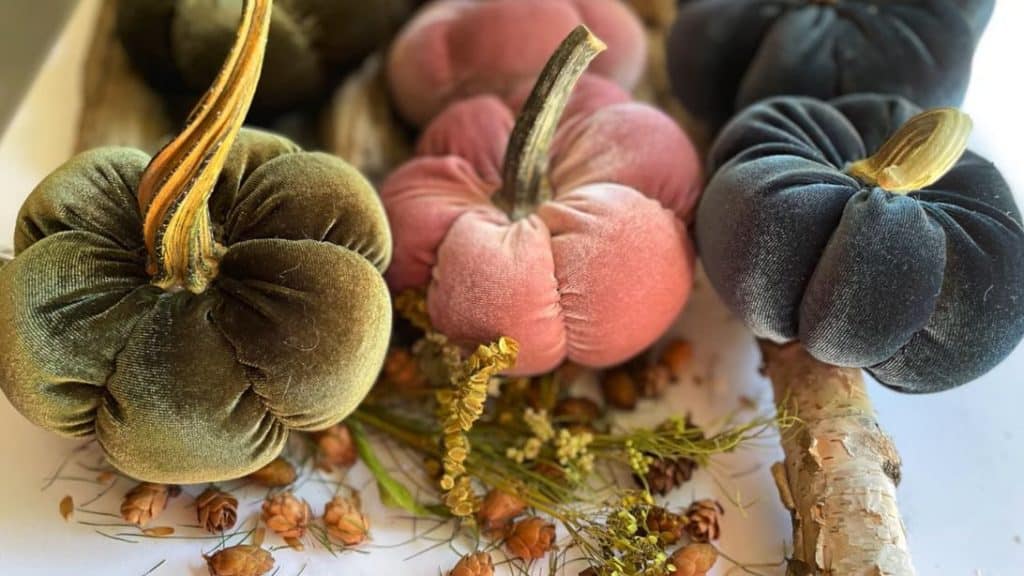
Image by A Well Purposed Woman via YouTube
I discovered them onA Well Purposed Womans YouTube channel.
They surely look more magical and elegant compared to the plain orange or white ones.
These pumpkins have a more upscale appearance due to the use of velvet fabric.
As for the stems, they are real pumpkin stems that have been dried in the oven.
Adding real stems gives a nice touch to these pumpkins.
Cut the excess fabric.
Step 3:
Take the matching embroidery thread and cut an 18-inch thread.
Insert the thread into the needle and tie a knot on the end.
Stitch on the top edge from one end to the other.
Tie up the thread three to four times.
Step 4:
Turn the fabric right side out.
Add some sand, pebbles, or rice on the bottom for some weight.
Stuff the fabric with polyfill.
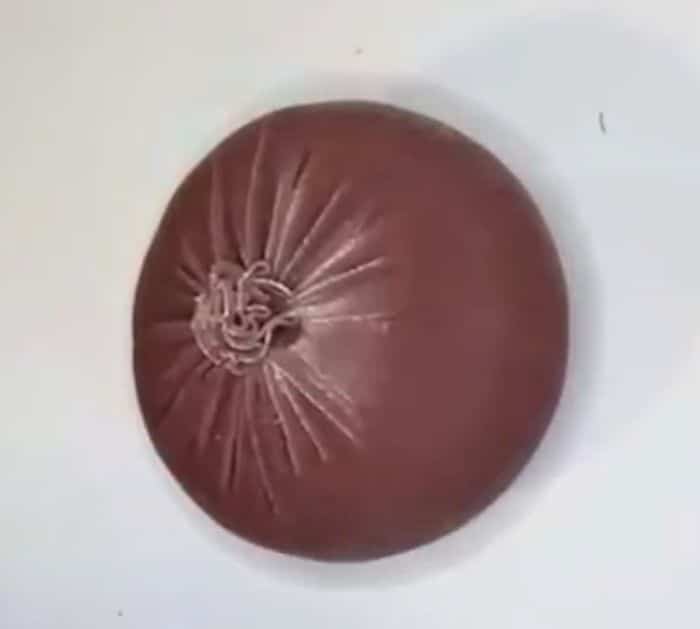
Step 5:
Baste stitch all the way around the top edge of the fabric.
Thread the needle in and out of the center three to four times.
Make three to four knots.
Cut the excess thread and fabric on top.
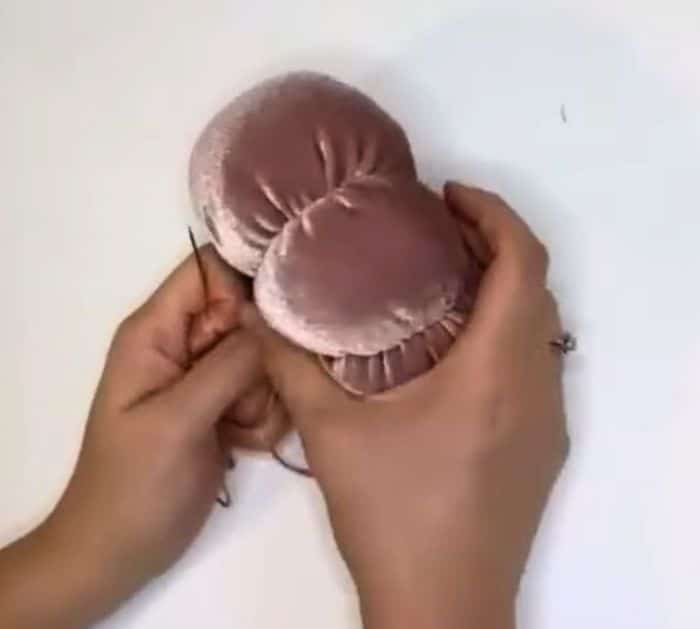
Step 6:
Cut 30 to 36 inches of thread and make sections of the pumpkin.
Repeat 5 more times to make 6 sections.
Make three to four knots to secure it in place.
Step 7:
Glue the stem using hot glue on top of the pumpkin.
