This simple rag quilt bySew Yeahis one of my favorite projects I have made this year.
Its just cozy and lovely.
Read on or watch the video below for full instructions.
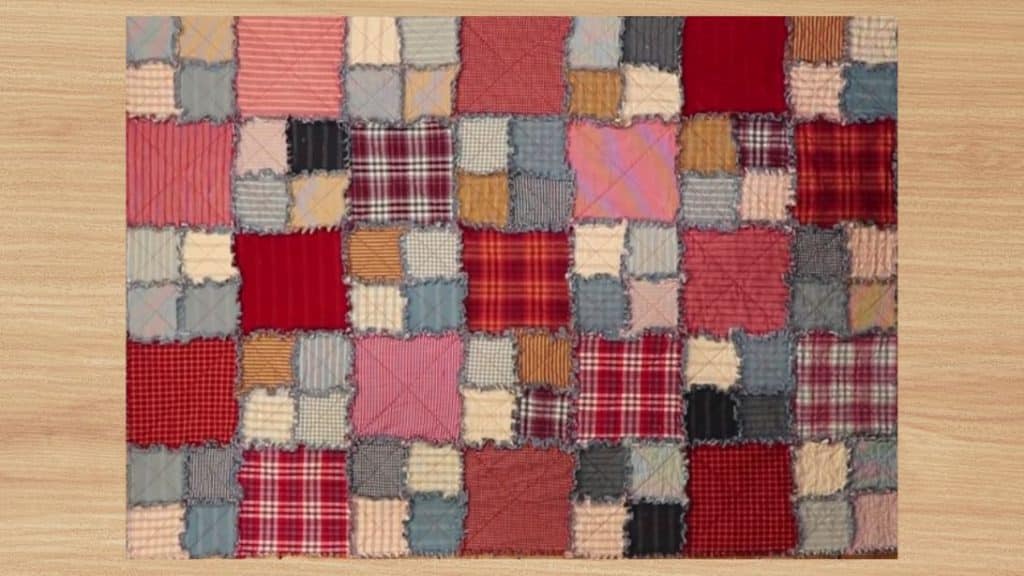
Image by Sew Yeah via Youtube
Materials
Note: This project is a quilt as you go.
Use a 1/2 seam allowance.
For the first pile, it should have all the dominant colors.
Trim them into 9 x 9 squares.
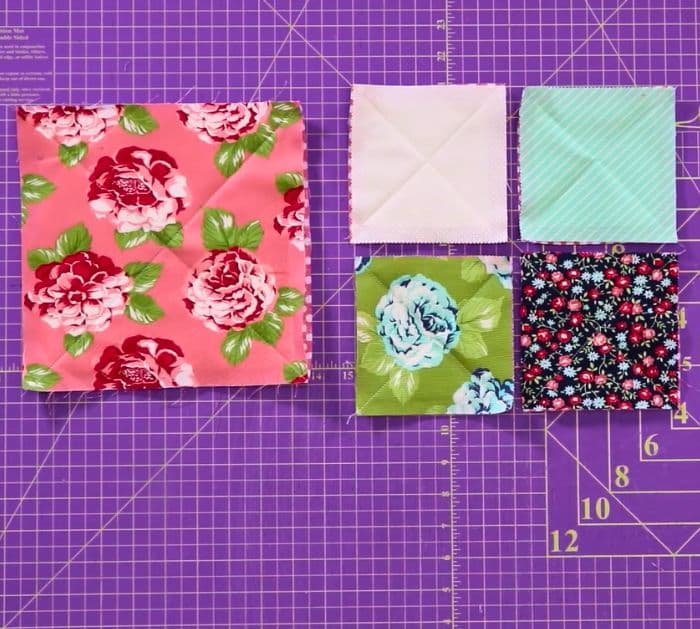
For the second pile, cut them into 84 pieces of 5 x 5 squares.
Next, place a corresponding piece of batting in the center of the backing fabric.
Place a layer cake right side up, then align it to the edges.
Do this for all 21 of the large fabric sandwiches and 84 of the small fabric sandwiches.
Step 6:
Lay the 84 pieces of 5 x 5 sandwiches into 21 four-patch squares.
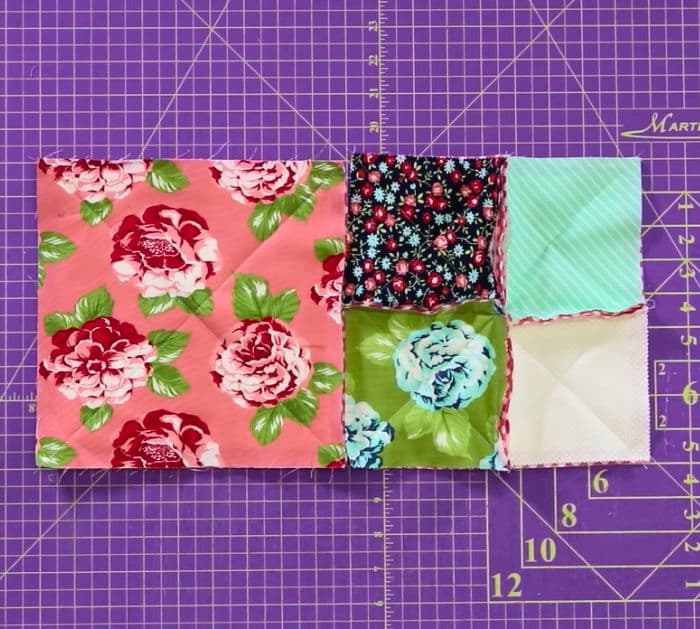
Step 7:
Get the top 2 squares and place them with back sides together.
Sew with a 1/2 seam allowance on one side.
Repeat for the bottom 2 squares.
Sew them together with back sides together with a 1/2 seam allowance.
Your raw edges should be facing up towards your layer cake fabric.
Step 8:
Lay out your design using 7 rows of 6 blocks.
Alternate the large sandwiches with the four-squares ones.
Step 9:
Sew each row first, then sew all the rows together.
double-check to nest the seams.
Once done, sew a 1/2 seam around the outer edges, on all four sides.
To make the raggy look, snip all of your seam allowances/raw edges.
Do not snip through the seams.
you might space your snips about 1/2 apart.
In areas where your blocks intersect, snip about 1/4 on either side of the seam.
