This looks like a difficult pattern at first glance, but its actually very easy to do.
LetSew Yeahteach you how to sew a strip mirage quilt step-by-step.
I had fun making this one, and Ill make another one in a different color this weekend.
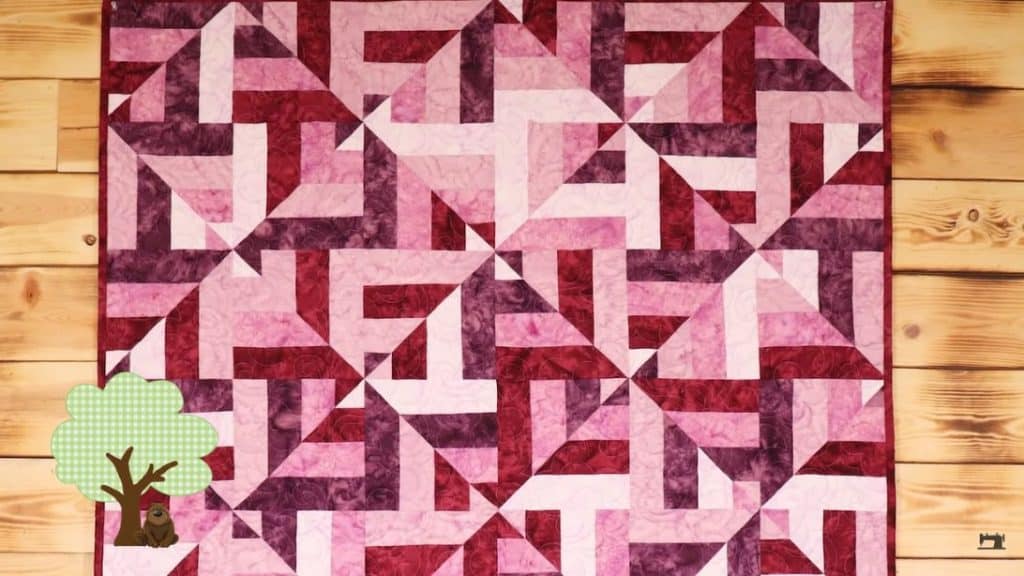
Image by Sew Yeah via Youtube
Read on or watch the video below for full instructions.
Get one light and one dark fabric and place them right sides together.
Sew on the edge with a 1/4 seam allowance.
Repeat until you have 20 strip units.
All the seams must be nested for this project.
Step 2:
Sew two different double strips together, alternating the dark and light.

You will have a total of 10 strips.
Once done, press all seams to the dark side.
Step 3:
Cut 8.5 squares from your sewn strips.
You will need 48 squares in total.
Draw a diagonal line from corner to corner, and sew 1/4 from both sides of the line.
Cut directly on the line.
bring up the half-square triangles and press them flat.
Step 5:
Start assembling the rows.
Sew with 1/4 seam allowance.
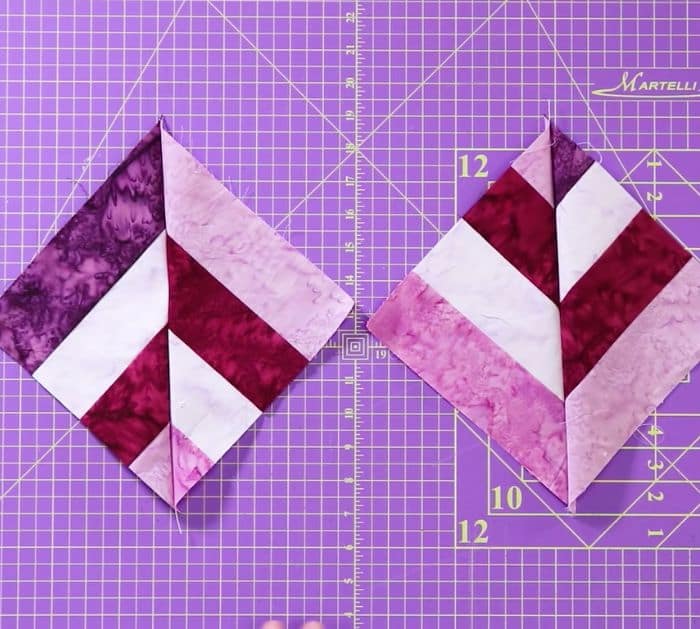
Take note of the direction the points are going.
Repeat with the next rows.
Step 6:
Create 8 rows of 6 blocks.
Remember to alternate rows between left and right-facing points to create the mirage illusion.
