Are you a sewing beginner looking for some awesome tips to get your foundation solid?
Check this tutorial fromMy DIY styleon YouTube!
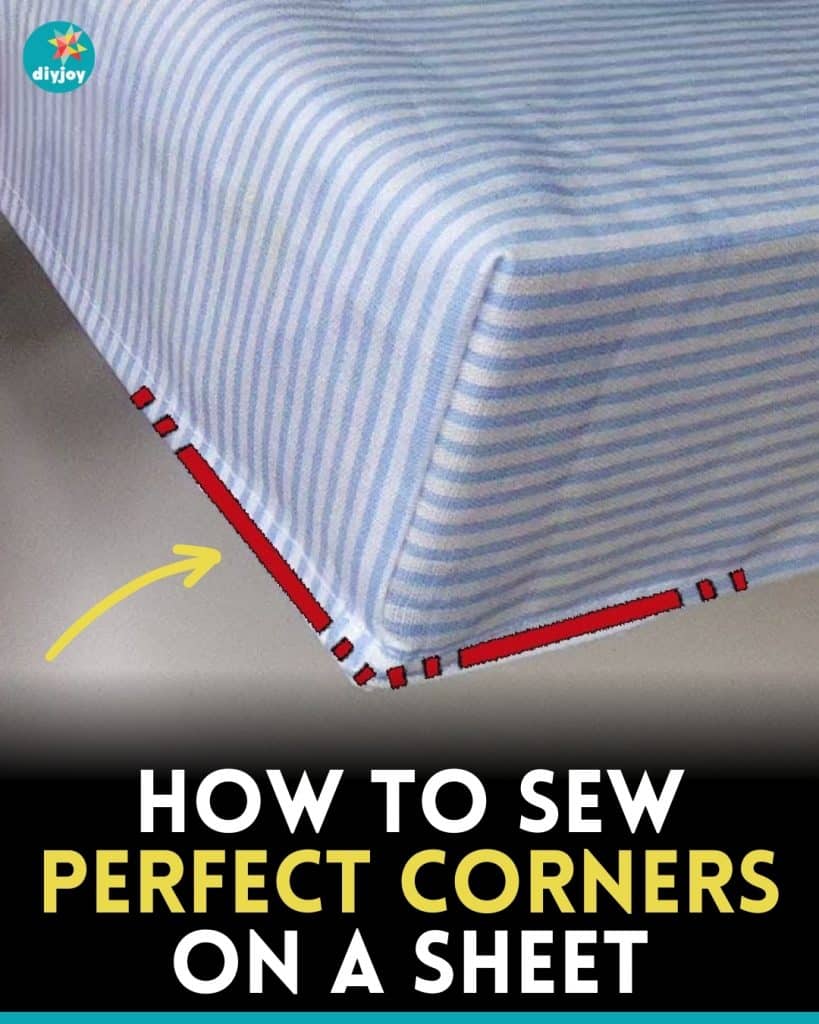
This clever tip will teach you how to sew perfect corners on a sheet.
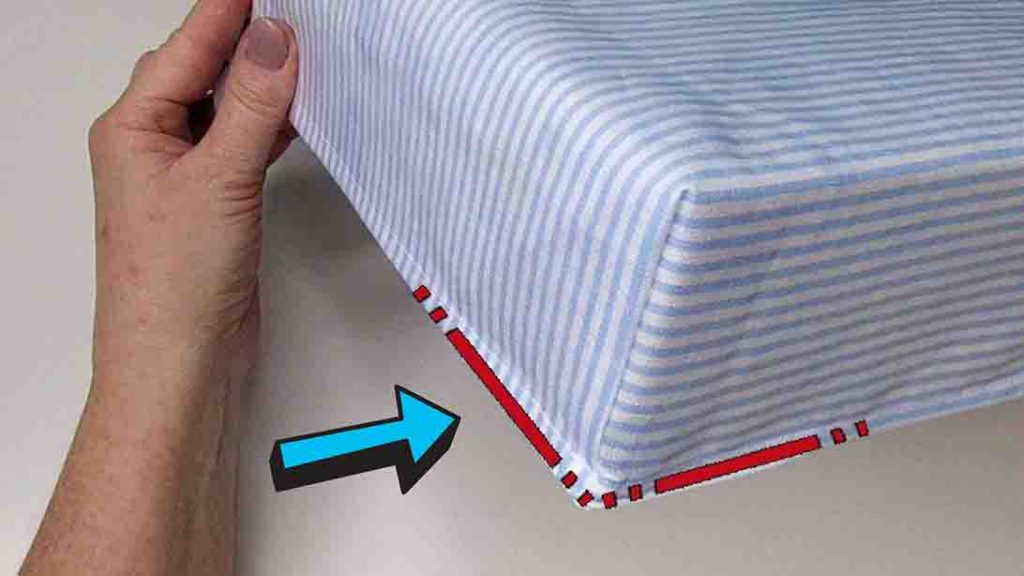
Image credits: My DIY style via YouTube
This skill may look advanced, but its actually quite easy, you just have to follow the steps.
In this step by step tutorial,My DIY stylewill teach you how to sew your corners perfectly.
It doesnt matter whether youre a beginner or a pro, this is perfect for any skill level.
Learn how by watching the video tutorial below for the step by step instructions.
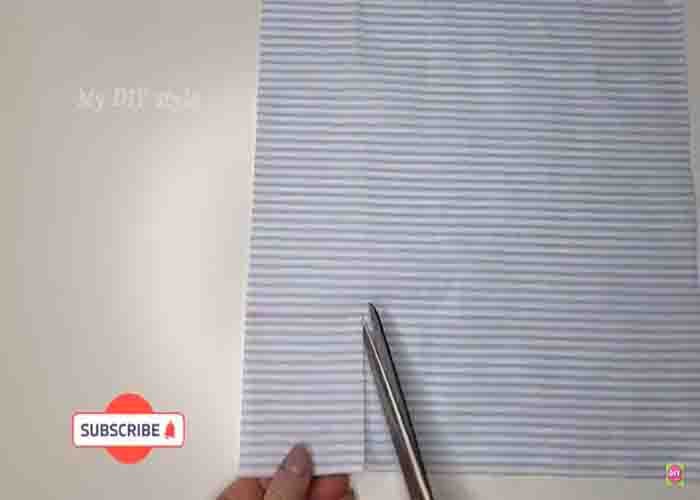
Cut the excess, turn the fabric inside out, then sew another 1/2 cm seam.
After this, fold the rough edges with a 1/2 cm seam allowance, and then sew.
Once done, turn the project right side out.
Step 2
Take the square and fold it diagonally on the right side.
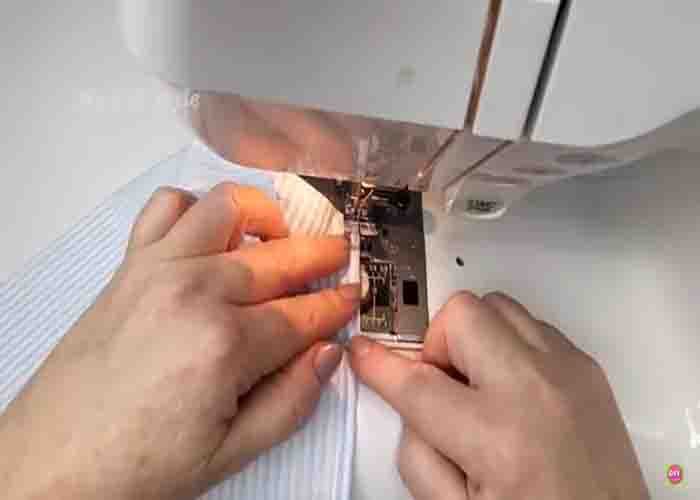
Sew the edges close, leaving a gap.
Trim off the corners, then turn the triangle right side out.
Bring the triangle to the project and line up the tip to the seam.
This will create the perfect corner.
Repeat this to all the sides to finish off the project.
(All measurements are adjustable to what you need on your own project.
Measurements used are for demonstration purposes.)
