As a quilter, one of my favorite patterns is the hunters star.
This tutorial is so easy to follow that I also do my block this way now.
Watch the video tutorial below to learn the step-by-step instructions.
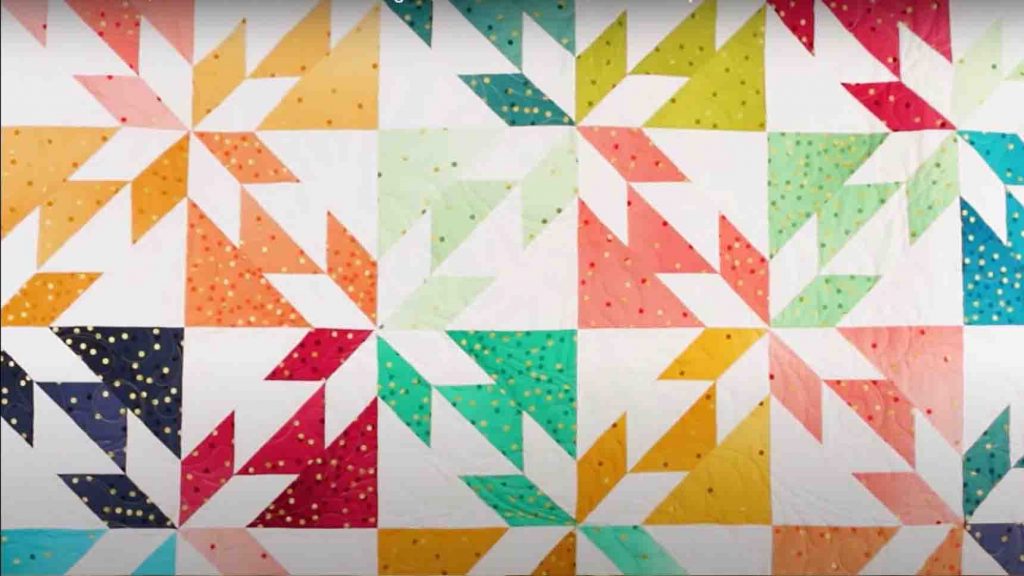
Image credits: Fat Quarter Shop via Youtube
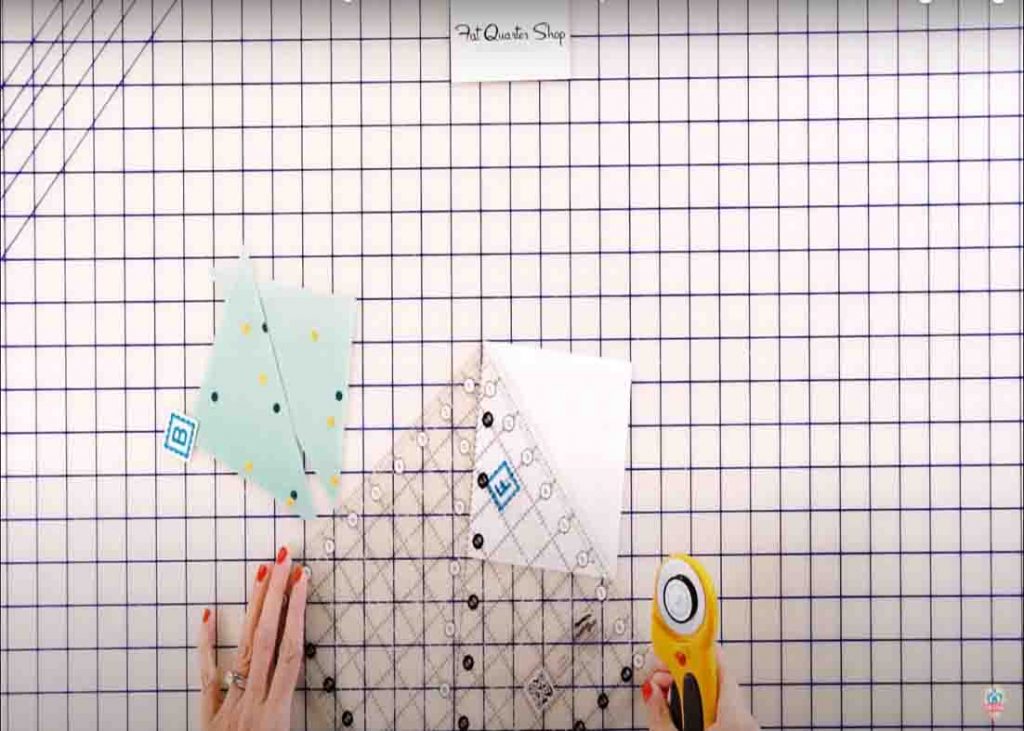
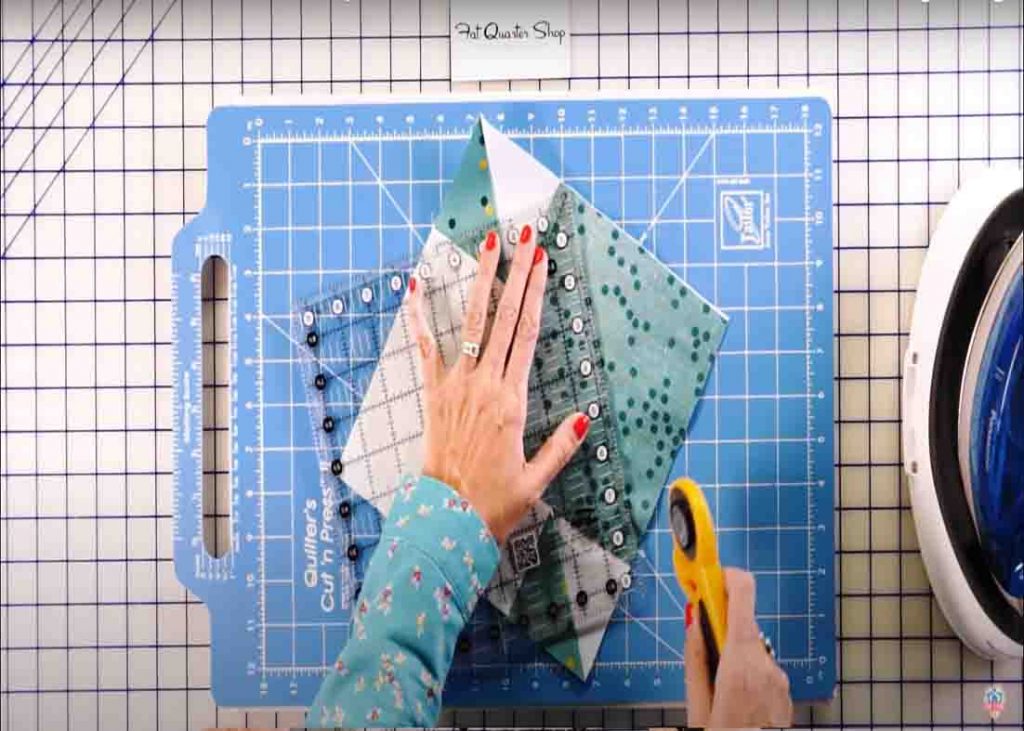
Get fabric B and fabric F and cut them on the diagonal.
Next, take a fabric B triangle and a fabric H rectangle.
Stitch those together with a 1/4 seam and press according to your pattern.
After this, add your fabric G on top and press it also.
Now, take your ruler, line it up diagonally on the left, and trim.
Make one of these for each block.
For the dark unit, get a fabric F triangle and a fabric D rectangle.
Sew and press, then add your fabric C rectangle at the bottom and press.
Take it to the machine and sew.
After sewing, press toward the dark and trim.
Now, add corners to your unit.
On the back of your fabric A and fabric E squares, draw a line from corner to corner.
Put the dark square on the light corner and pin it in place.
Then, put the light square on the dark corner and pin it also in place.
Stitch directly on the lines you draw.
