I have collected tons of pennies throughout these years.
I dont usually spend them, so my collection is big.
My sister approached me and asked, What will you do with all of it?.

Image by DIY Creators via Youtube
I said, I have no idea.
So I looked for projects online and found this next-level DIY penny table.
My table is almost done, and its looking amazing.
Watch the video below for full instructions.
Step 2:
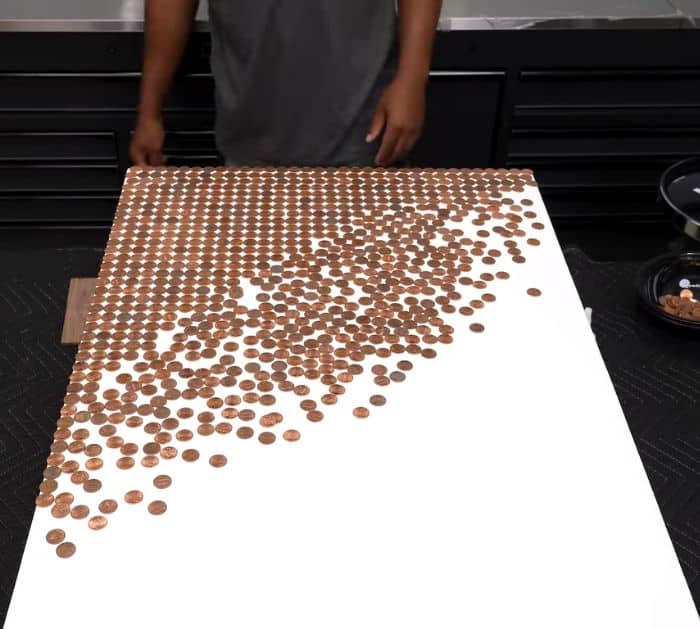
Apply a little glue on the penny and stick it on the table.
Keep doing it over and over again.
Keep the pennies tight together first then as you move forward, make it look fragmented.
Step 3:
After that, spread the pennies out and arrange them however you want.
Pick them one by one and glue them in place.
Do the same on the two long sides.
For the shorter one, fill it all with pennies.
Step 4:
Make a mold for one side using tape or scraps of wood.
Pour epoxy and spread it around.
Let it dry for about 4 hours.
Once its set, repeat on the other sides.
Step 5:
Sand it with 320 grit.
Once done, take soapy water and wash it off.
Spray alcohol, wipe it, then let it air dry.
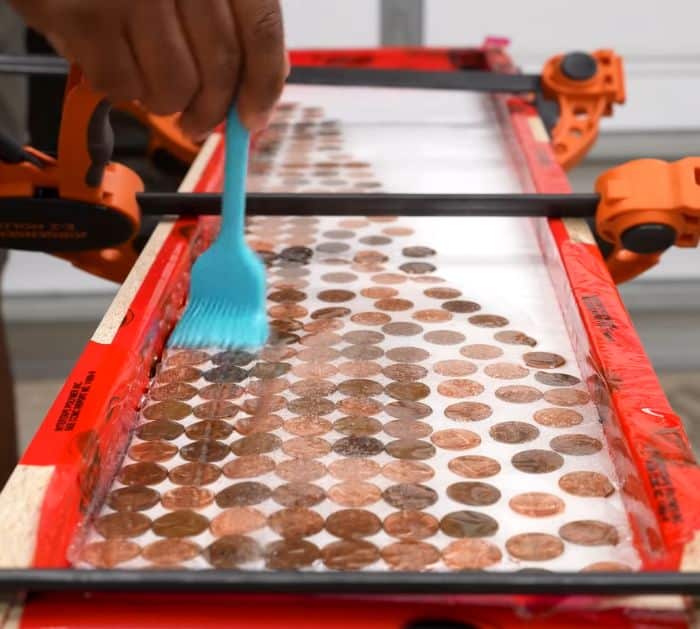
Step 6:
Pour the last layer of resin and spread it around with a brush.
Take a torch and go over the entire table to remove air bubbles.
Step 7:
Add an LED light strip around the bottom of the table.
