This pumpkin patched quilt block byLori Holtis the perfect pattern for this fall!
How adorable are these pumpkins?
Both blocks are super easy and quick to make even beginners can easily follow the steps.
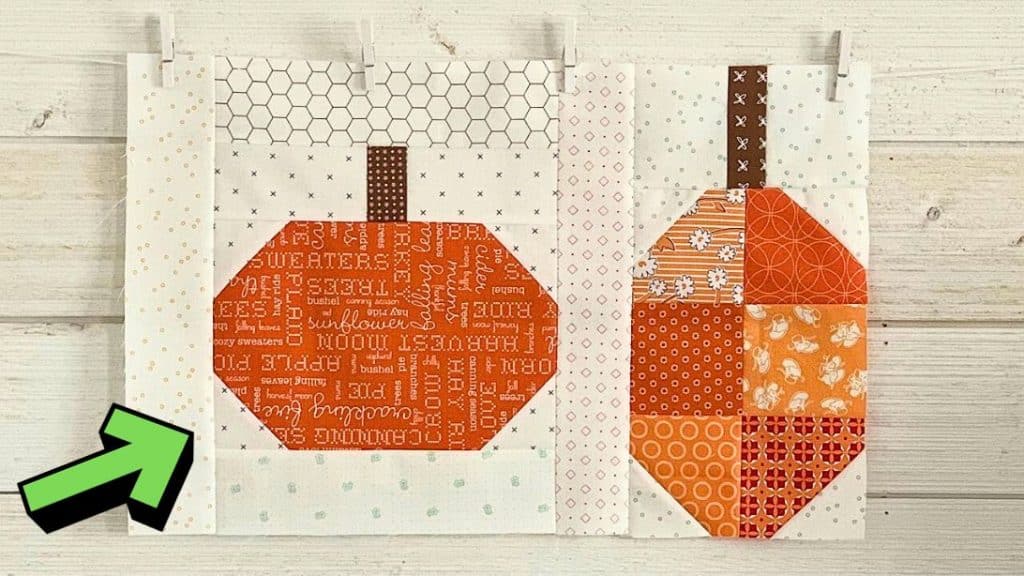
Image by Lori Holt via YouTube
Read on or watch the video below for full instructions.
Its the same for both short and tall pumpkins.
Step 2:
Grab the pumpkin patchwork or rectangle, and four background squares.
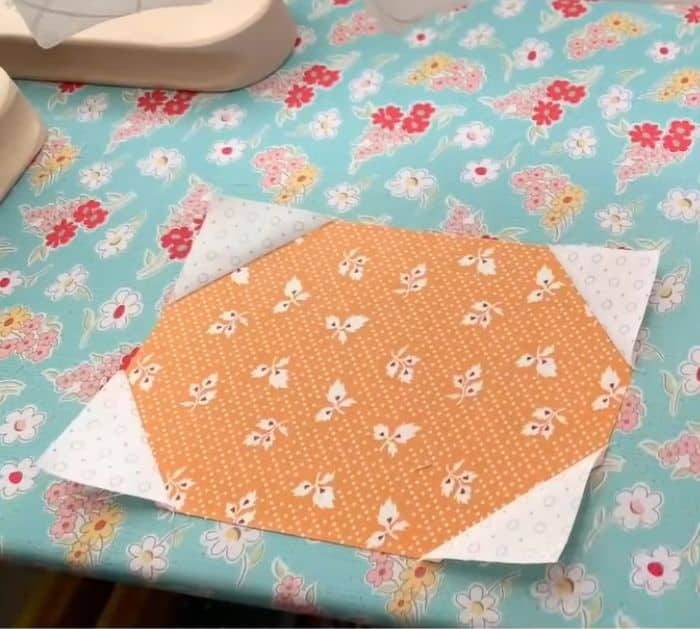
Place them on each corner of the pumpkin, and sew directly on the line.
Once done, trim off the excess on each corner and press towards the triangles.
Step 3:
Make the stem.
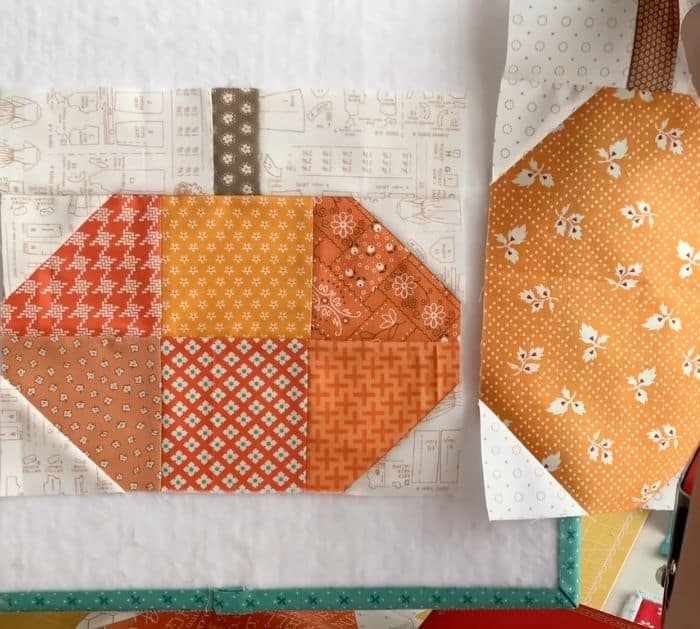
Sew the background rectangles to the sides of the brown rectangle.
double-check the sizes match up.
Step 4:
Sew the stem unit on top of the pumpkin block.
Be sure that the pumpkin and stem sizes are correct.
If you are going to make the tall pumpkin the stem unit will be shorter.
Step 5:
Add the borders to the pumpkin.
Sew the 2 1/2 by 9 1/2 rectangles to the top and bottom first.
Next, sew the 2 1/2 by 12 1/2 rectangles to the sides.
Once done, press it flat.
