Its one of my favorite quilt patterns to do, and the good news is its beginner-friendly!
Try this today, and you might just have your new favorite pattern.
Watch the video tutorial below to learn the step by step instructions.
Image credits: Missouri Star via Youtube
After sewing, trim them down to a 6 1/2 square.
Your fence rail blocks are now done.
Moving on, make the 9-patch square block.
[social_warfare]
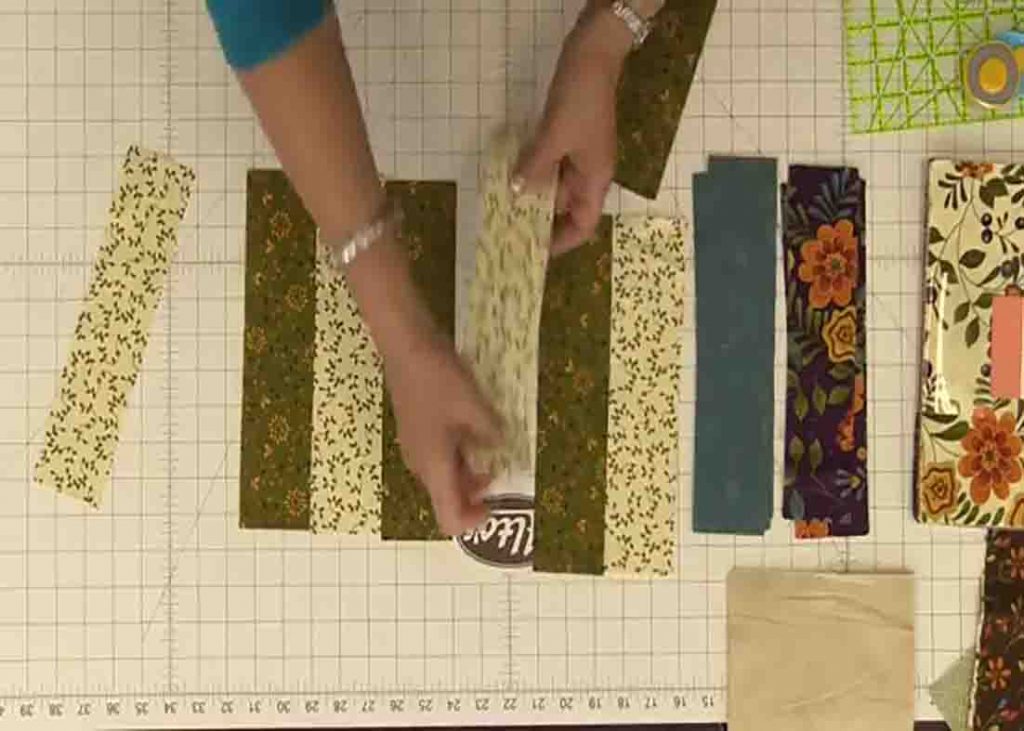
Step 2
Trim the excess fabrics from the rail fence into 2 1/2.
Now, assemble the nine-patch square with the cut pieces.
Sew them together to form rows, then sew those rows together.
Repeat this process with the whole layer cake twenty of the nine patches and thirty-one of the fence rails.
Now, take your background fabric and cut those into 6 1/2 squares (make twelve of these).
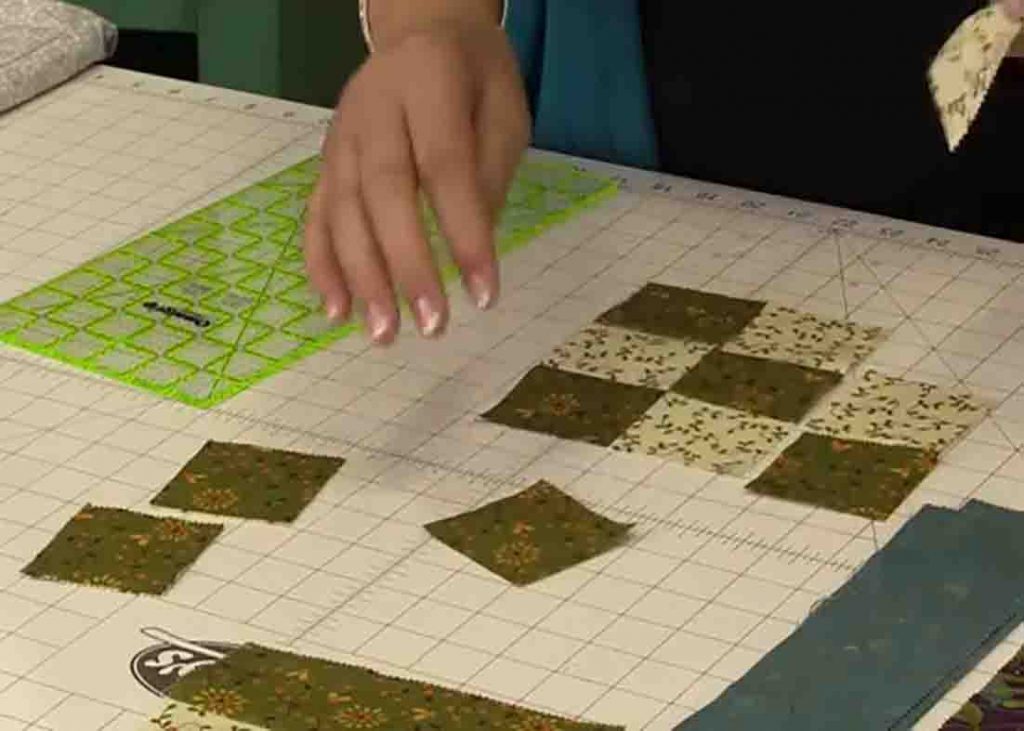
Step 3
After this, start laying them together.
Start with a nine-patch, then fence rail.
Repeat this twice and this will be your first row.
For the second row, start with a fence rail, then a background block.
Once youre done with the middle part, take your background and cut 2 1/2 strips for your border.
Then sew the leftover little squares together in one long piece to make the next outer border.
