The ear and the tail are so cute.
I made it right away and was so happy with how it turned out.
Watch the video below for full instructions.
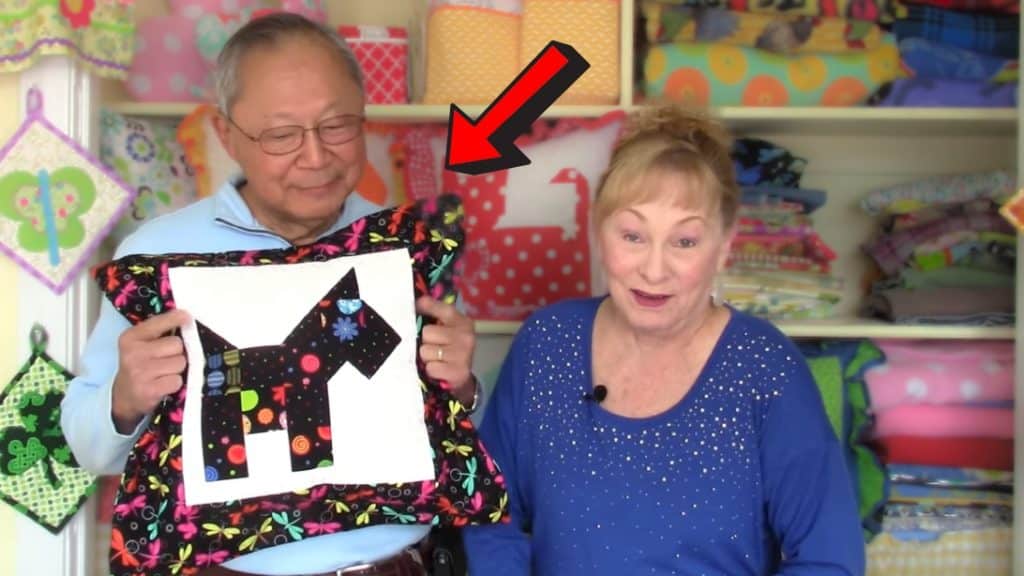
Image by The Sewing Room Channel via Youtube
Next, stitch 1/4 away from the line on each side.
Once done, cut on the drawn line.
Press the seams toward the darkest side, unfold then press on top.

Square the blocks to 2 1/2 square.
Draw a line from corner to corner on the back of the background fabric.
Place it on the front side of the printed square.
Stitch 1/4 away on each side of the line.
Cut right on the diagonal line.
Turn one half-square triangle right side down and draw a line from corner to corner on the opposite side.
Place it on top of the printed square right sides together and sew 1/4 away from the center line.
Cut in the drawn line.
Set one aside, then square the other to 2 1/2.
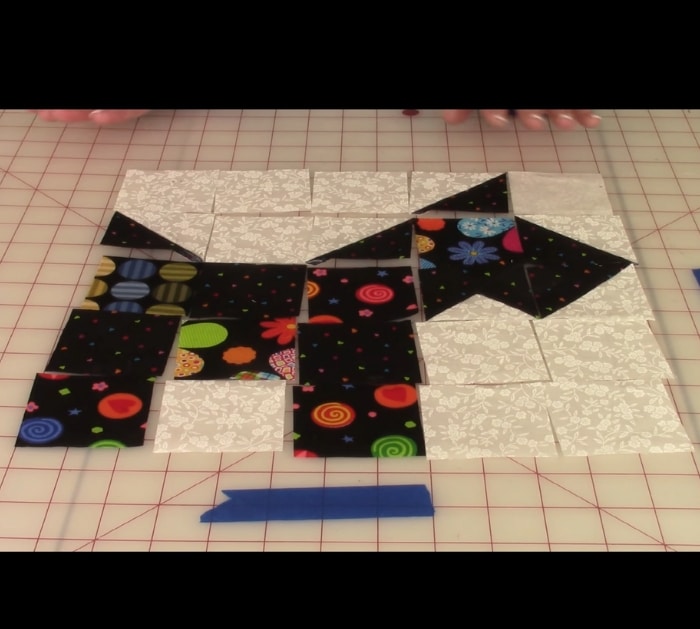
Step 3:
Arrange the pieces as shown below.
Sew them in rows first.
Press the seams of each row in opposite directions.
Once done, sew the rows together.
Press the block, then trim it to a 10 1/2 square.
