Its super easy to make and wont even take you more than 10 minutes.
If you love to sew, you might store your clips here.
you might make them in different sizes and colors.
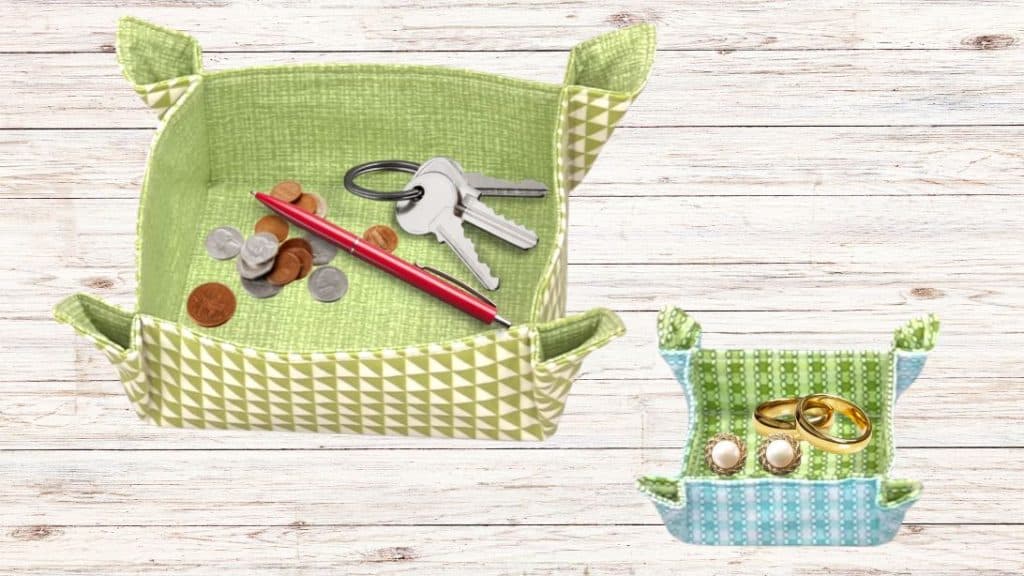
Image by SewVeryEasy
Watch the video below for full instructions.
Materials:
Note: it’s possible for you to also use your leftover blocks.
Instructions:
Step 1:
Place your squares right-side down.
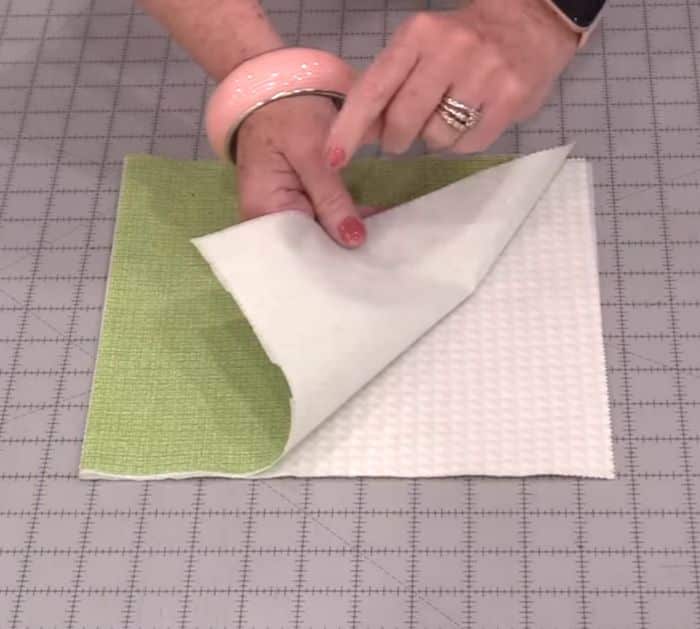
Take your fusible interfacing and glue it to the back side of both squares.
Put the edges together and feel if it going to be stiff enough to be a tray.
If its not, add another layer.
you’re able to put the fusible in layers.
Step 2:
Once the interfacing is fused in place.
Put the right sides together and match up the edges.
Stitch around with a quarter-inch seam allowance.
confirm to leave a little bit of opening.
Step 4:
Press back the opening on both sides using an iron.
Once done, turn the fabric right side out.
Press it flat, especially in the corners.
Step 5:
Do a little row stitching all the way around the outside.
Keep as close as you might to the corner.
Step 6:
Decide what fabric is going to be the outside and inside.
On the back side, make some marks.
Make a line two inches from the edge.
This will be the wall of the tray.
Do the same on all sides.
Go back to the sewing machine and sew the center square.
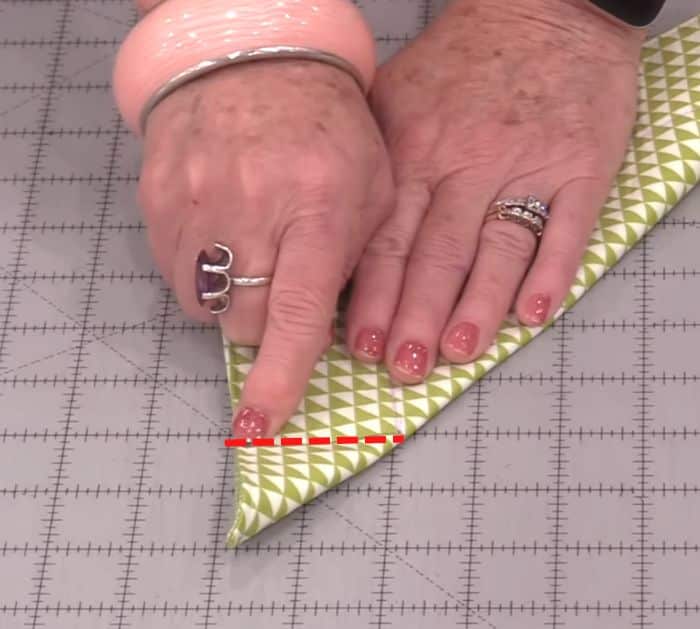
Step 7:
Fold one corner so the two marks are going to match.
Stitch along that line.
Do the same for all corners.
