I prefer an easy block that is beginner-friendly and quick to make.
If you want to learn the instructions, keep on reading or watch the video below.
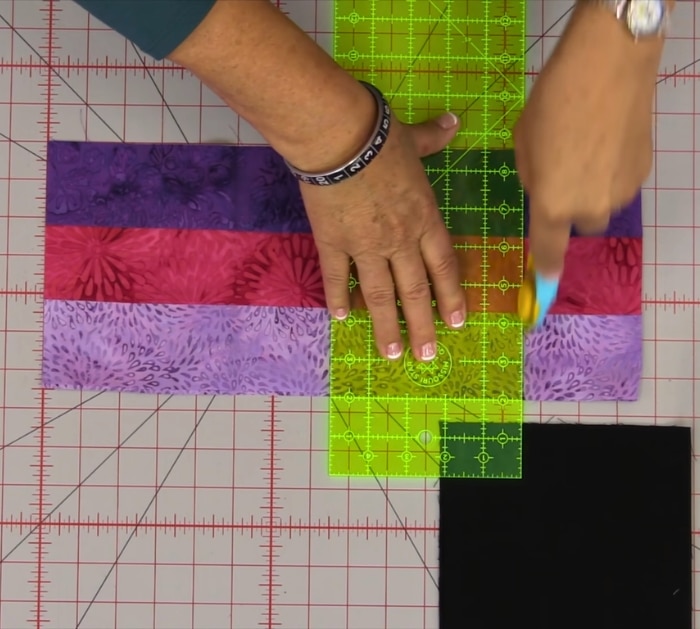
Step 2:
From the sewn strips, cut two pieces of 2 1/2 squares.
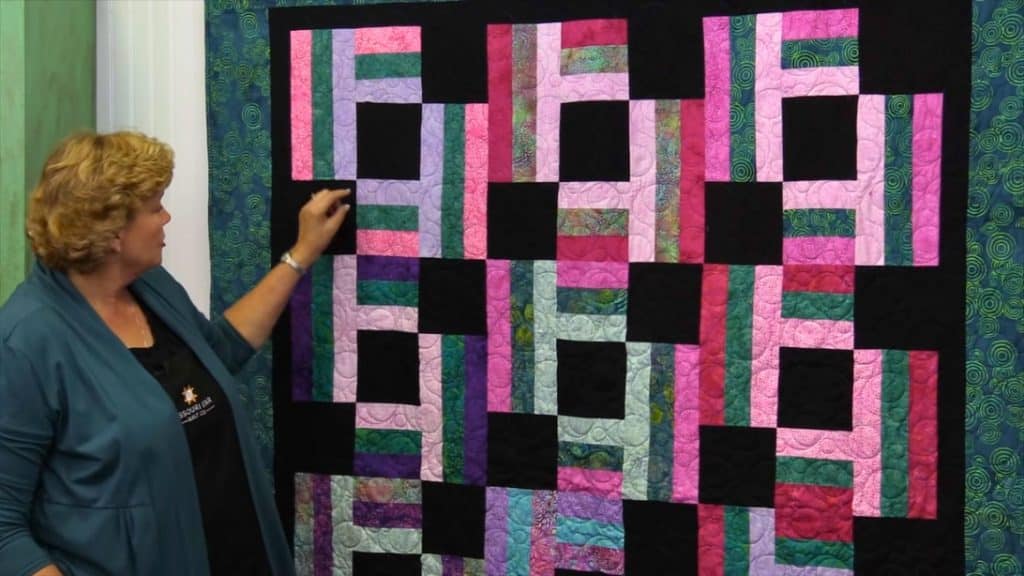
Image by Missouri Star via Youtube
Next, cut two pieces of 12 1/2 rectangles.
Set the rectangles aside.
Step 3:
Cut 6 1/2 strips from your background fabric and sub-cut into 6 1/2 squares.
ensure that the light strips are toward the center of the block.
Next, place the rectangles on the sides, making sure that the lighter ones are on the inside.
Step 5:
Take another 2 background squares and place them on the corner spaces.
Step 6:
Sew them in columns first with a quarter of an inch seam allowance.
Press them flat with an iron.
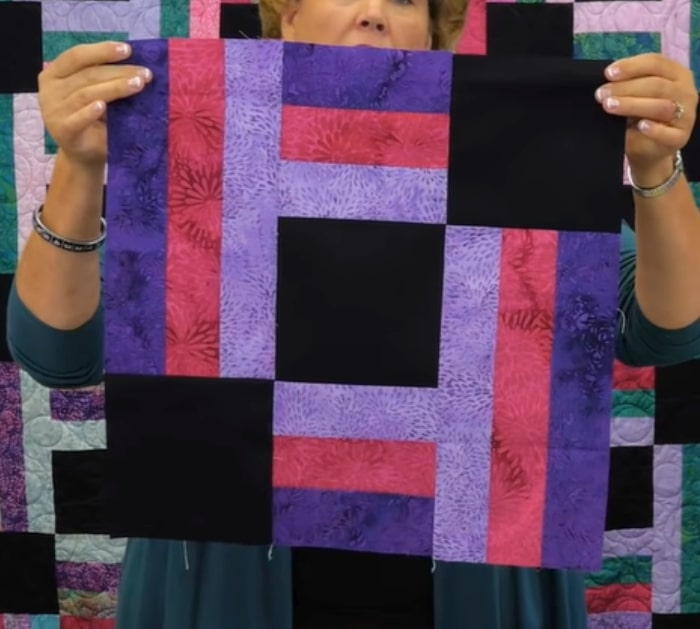
Once done, lay them on top of each other and sew the columns together.
confirm that the seams on the background squares match.
Press the block flat.
It should be an 18 square.
Step 7:
You need 12 blocks for the entire quilt.
Lay three blocks in a row and sew them together.
Be sure that the background squares are on the top right.
Repeat to make four rows.
Once done, sew them together.
For the inner border, use 2.5 strips of background fabric.
For the outer border, use 5 1/2 strips.
