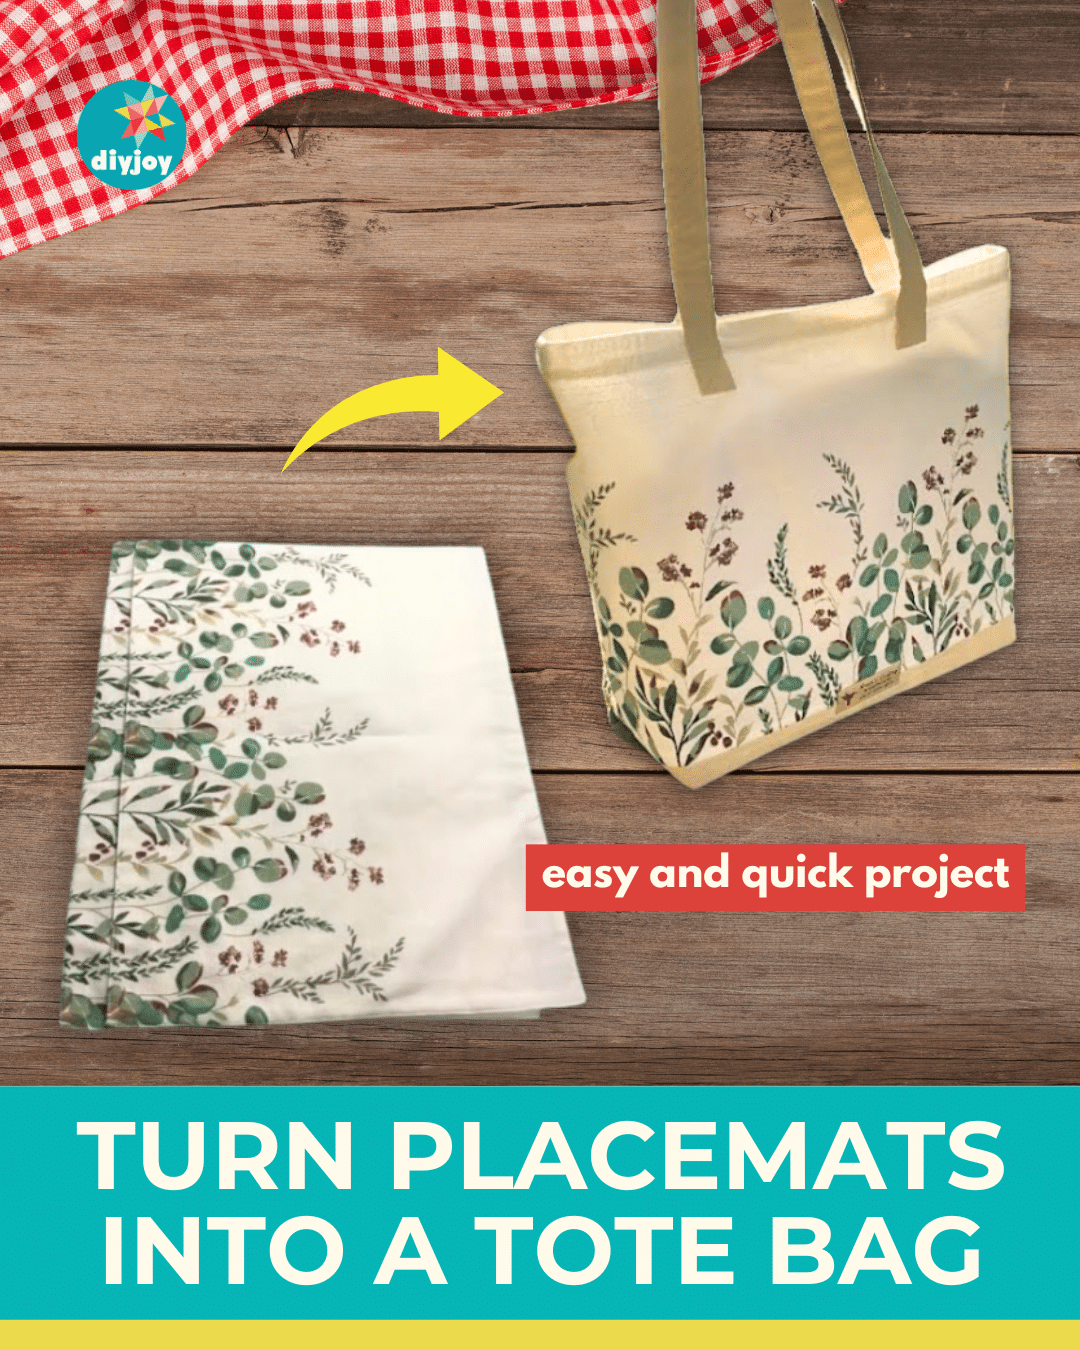
Searching for an easy sewing project?
Heres an awesome idea fromNoras Crafty!
Grab one-dollar placemats from the stores and use them to make a tote bag.
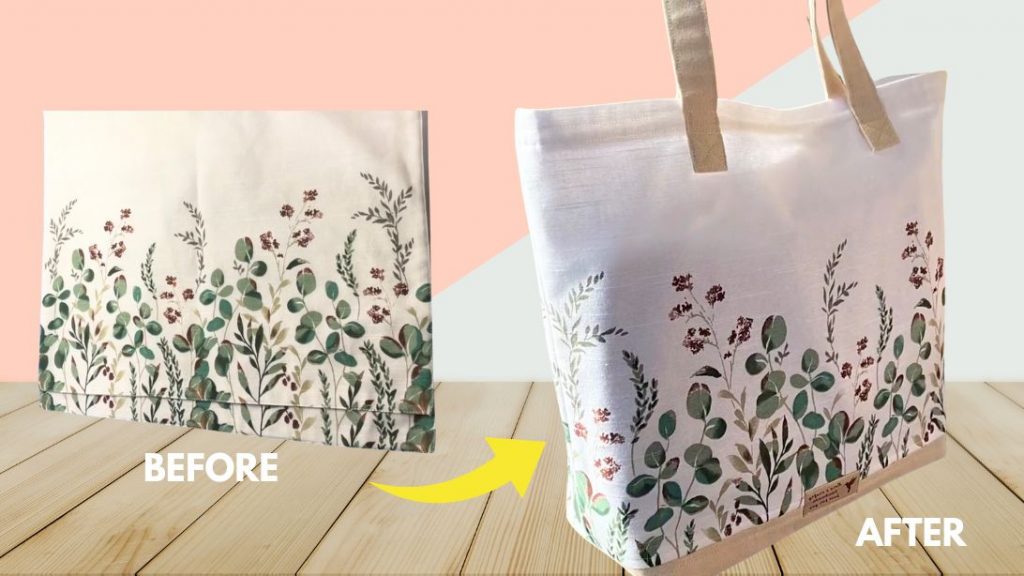
Image by Nora’s Crafty via YouTube
This tote bag is easy and quick to make and does not require a pattern.
If you are a beginner, do not worryyou can easily follow the steps.
You only need 2 placemats, fabric for the bottom panel, and canvas cloth.
Watch the video below for the full instructions.
Sew around the edges with a 0.4-inch seam allowance, leaving an opening in the center.
Press the seams open.
Fold it right side out through the opening.
Repeat with the other piece.
Step 2:
Remove the tags from the placemats.
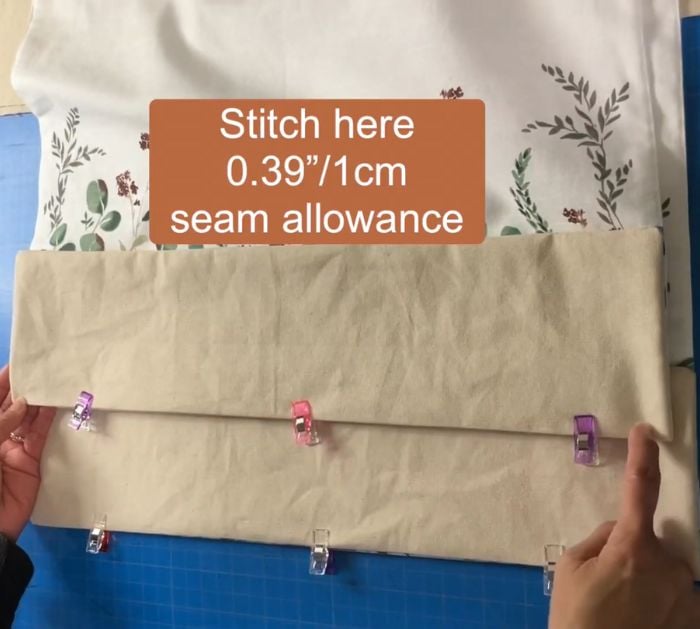
Align the bottom panels on the bottom of each one, right sides together.
Clip them in place.
Sew on the bottoms with a 0.4-inch seam allowance.
Stitch the opening of the bottom panels.
Press the seams open.
Topstitch just above and below the seams.
Step 3:
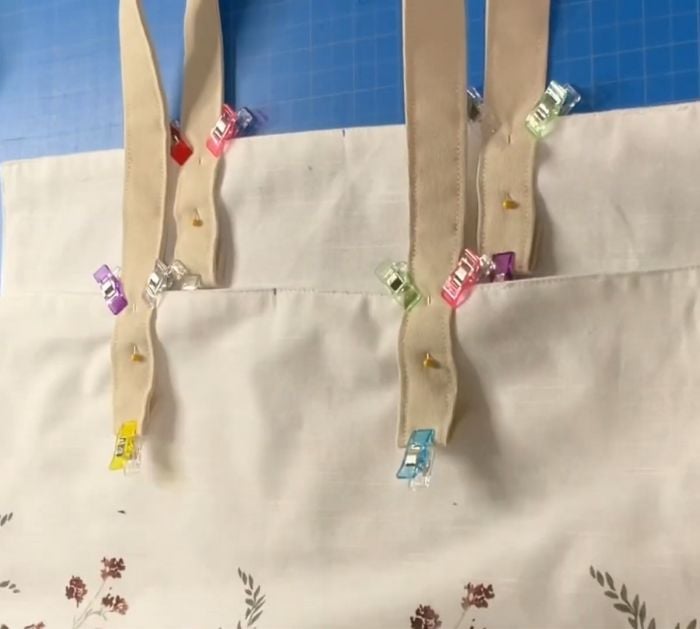
Take the canvas cloth for the handles.
Fold them in half lengthwise, open them, and then fold the sides toward the center.
Fold them again in half and clip them in place.
Sew with a 0.2 seam allowance all around the edges.
Step 4:
Mark the center of the placemats using an erasable pen.
The ends should be 4 down from the top.
Pin them in place.
Make a box x stitch on the ends.
Step 5:
Place the placemats on top of each other, right sides together.
Draw a 2.5 x 2.5 square on the bottom corners, then cut.
Stitch on the sides and bottom of the bag with a 0.4 seam allowance.
Step 6:
pop fire up bottom corners and line them up.
Sew with a 0.4 seam allowance to make box corners.
Step 7:
Top stitch the bottom panel.
